IN THIS CHAPTER, I’m going to walk you through the basics of barbecue so you can become your family’s own pitmaster. You will find some tricks in here from my 17 years (and counting) of competitive barbecuing, but I didn’t write this book for the competition folks. I want to give you home cooks a piece of me and my family. This is how we cook in our own backyard, and these tips are going to upgrade your own backyard cookouts.
Barbecue and grilling come from humble beginnings. Especially barbecue in the United States. It was born out of necessity. Its roots are in taking care of the community. If someone had a pig, they would kill it, cook it up, and invite family over. Then everyone got a little sack of pork to take back with them to feed their family. That’s what it’s all about for me. When people eat your food and they light up, that’s magic.
Food has a far deeper meaning than providing fuel for your body. Cooking with intention feeds your soul. It warms your heart, conjures good memories, and brings people together. That’s what I want this cookbook to do. And it all starts right here.
HOW TO CHOOSE A SMOKER
W HEN CHOOSING A SMOKER, consider your budget, your intentions, and (most important) how hard you want to work. Folks who are new to the game quickly realize how much TLC it takes to create a consistent temperature, which is what you want. Some of these pits help lessen the workload.
Traditional Smokers
With traditional smokers, you have to feed the fire and keep the heat consistent.
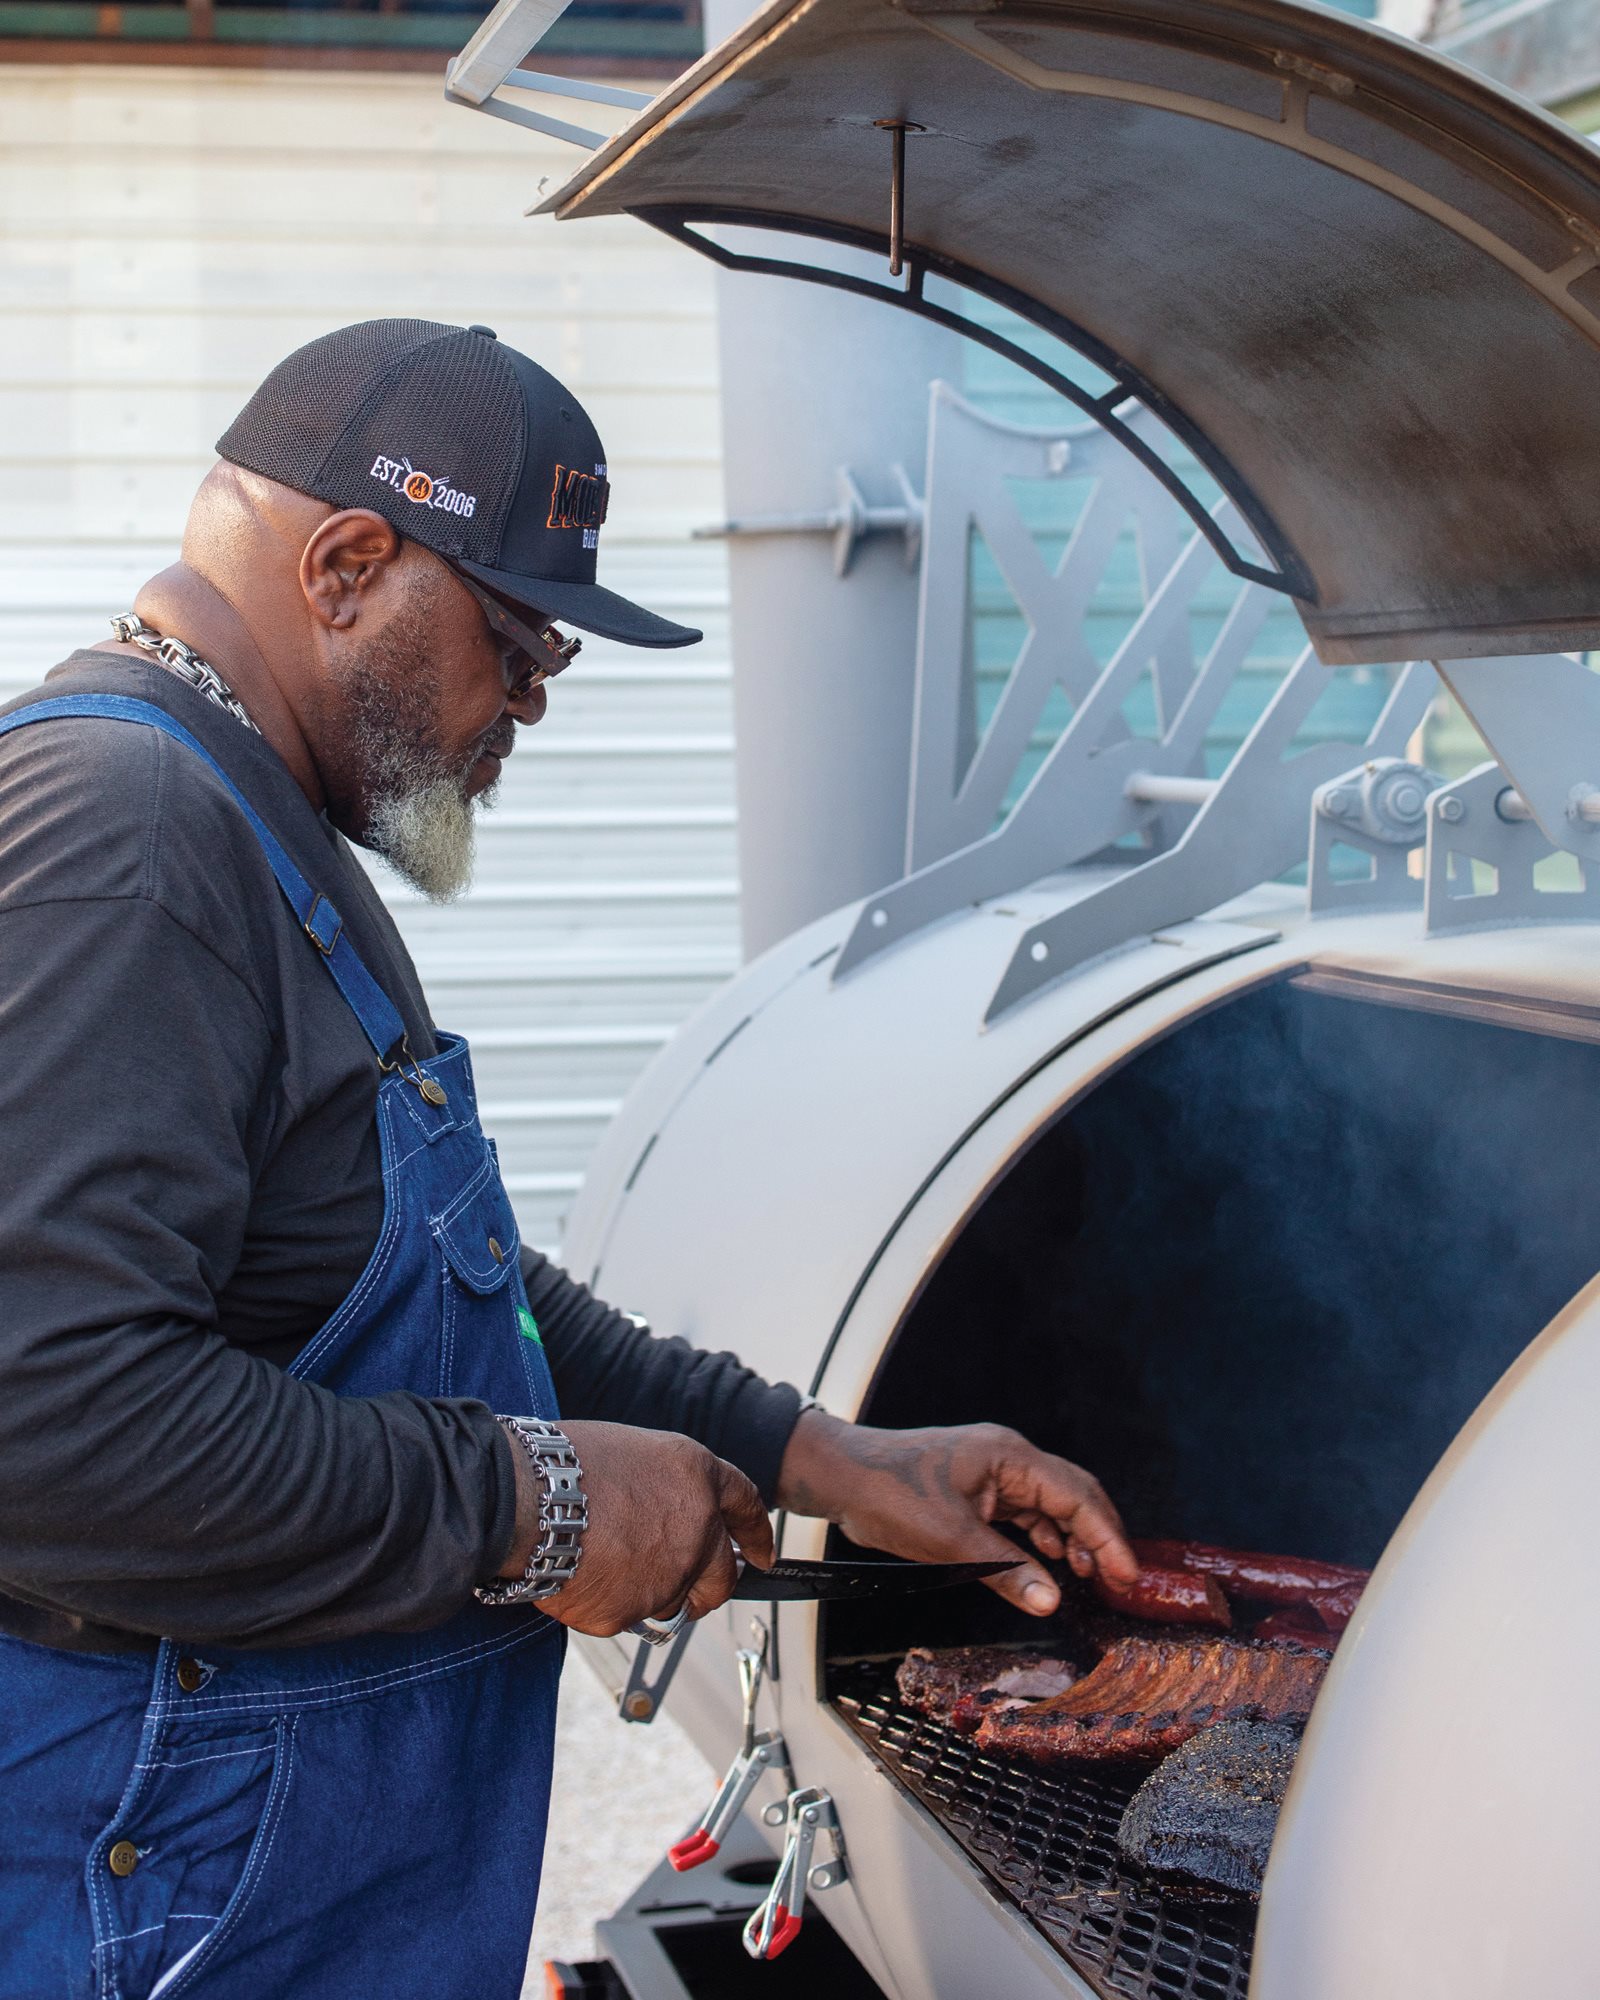
• Offset cooker: Nothing beats a quality offset—a barrel-shaped cooking chamber with an attached firebox. But they are not cheap, and you have to work to keep them at a consistent temperature.
• Gravity-fed cooker: As long as you have that chute full of charcoal lumps, this baby’s going to feed itself, thanks to gravity. (The hopper sits atop the firebox.) Considering the price ($3,000–$5,000), this is for the diehards.
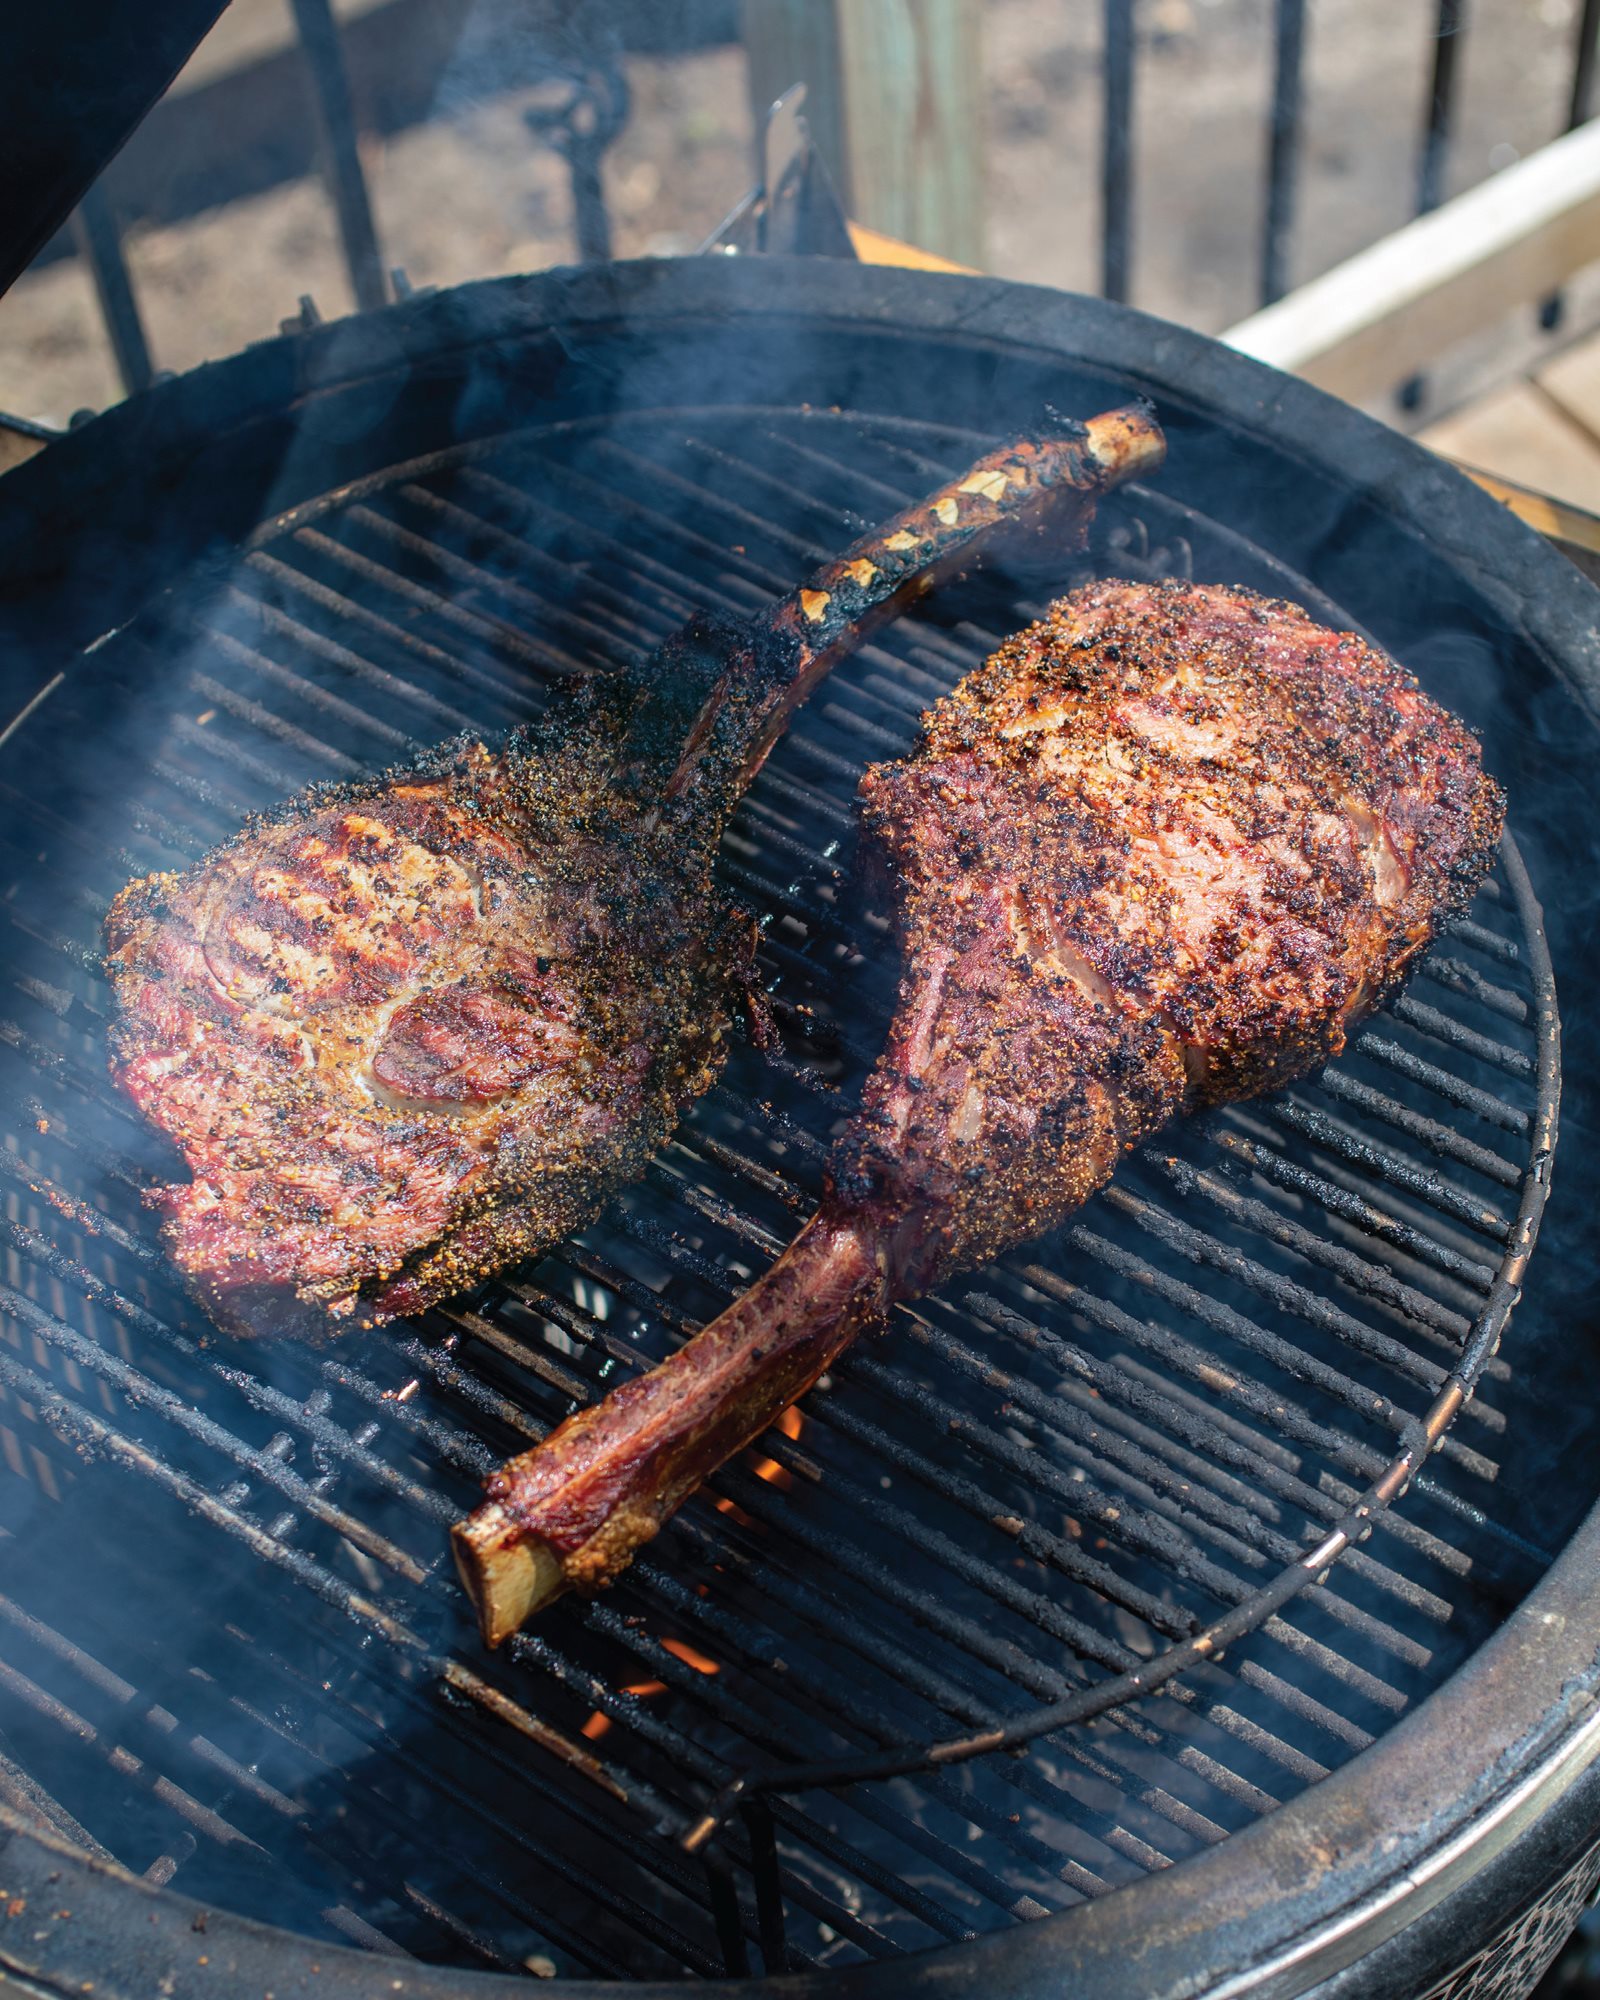
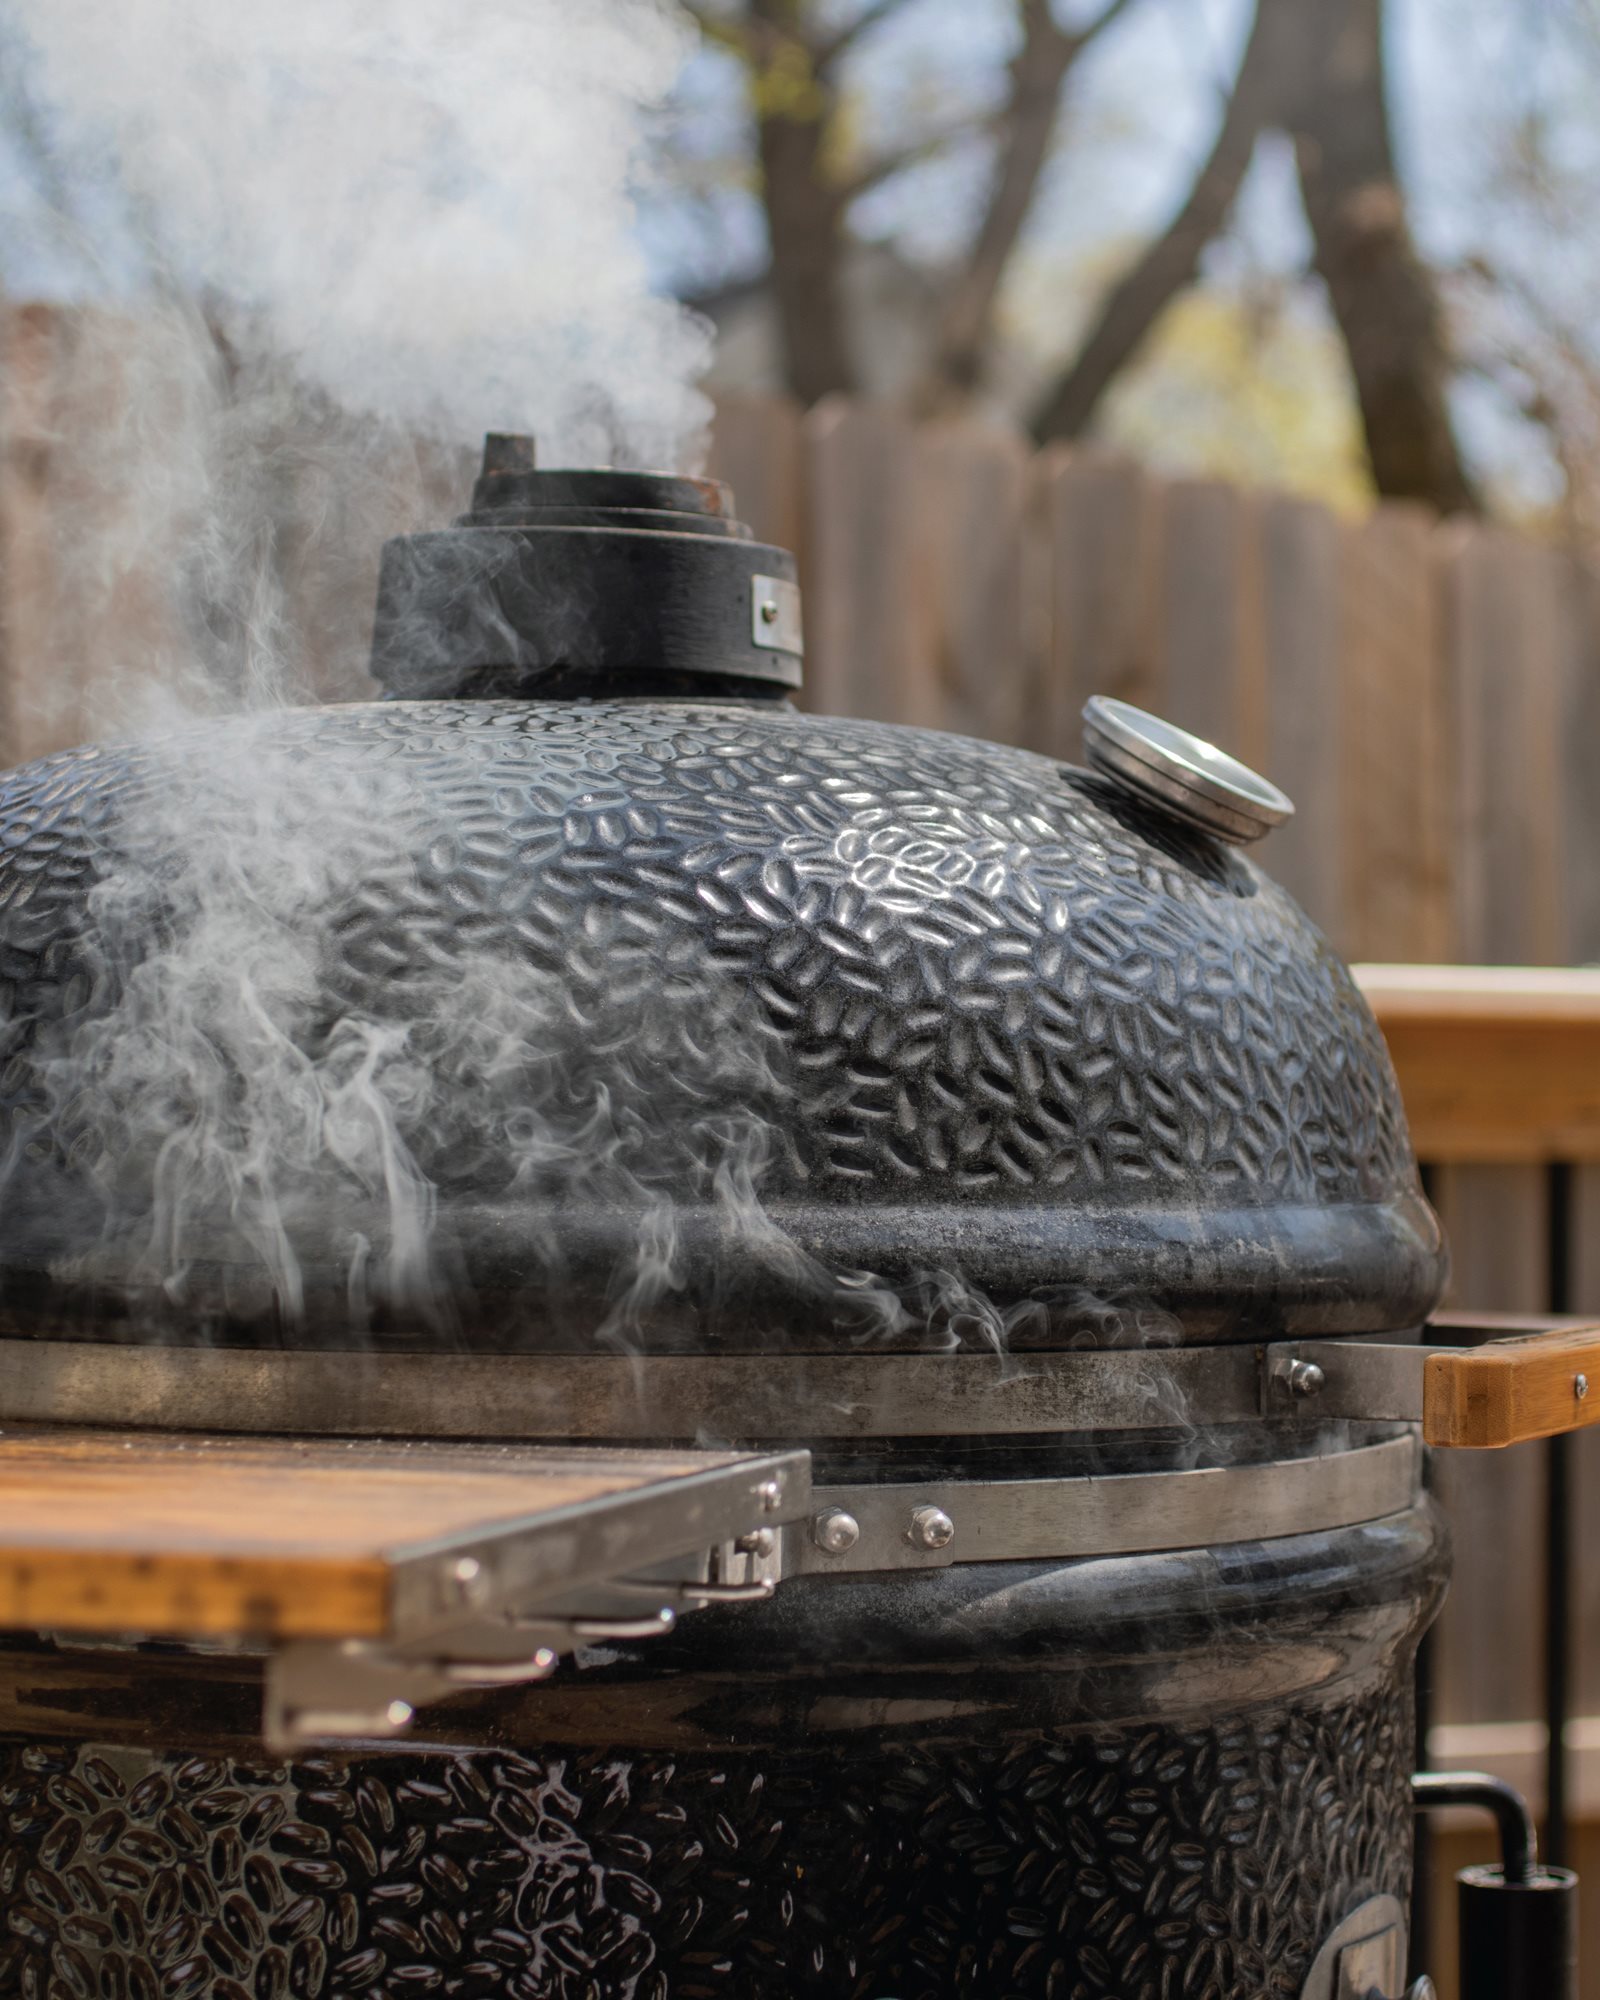
• Ceramic kamado-style cooker: The Big Green Egg is the most popular example of this style, which retains heat and moisture well. You can cook steaks at 700°F or go low and slow.
• Kettle grill: The great all-American grill, good ol’ Weber. These are handy and affordable, and you can cook over indirect heat if you put your coals on one side and your meat on the other. You’re going to have to check the meat and feed the fire more often, though.
Gas and Electric Options
When you have some help with gas or electricity, you don’t have to babysit the pit as much.
• Electric smoker: This one is the easiest to use and is good for the weekend warrior who doesn’t want to put the time in. And I get it, no judgment!
• Gas grill: You can turn a gas grill into a smoker with a chip box stuffed with wood chips and set directly on one of the four burners. Turn off the rest and put the meat on the other side.
• Pellet cooker: The hopper automatically feeds pellets into the firebox, and everything is controlled electronically. You can make a great piece of meat while you’re fishing all day.
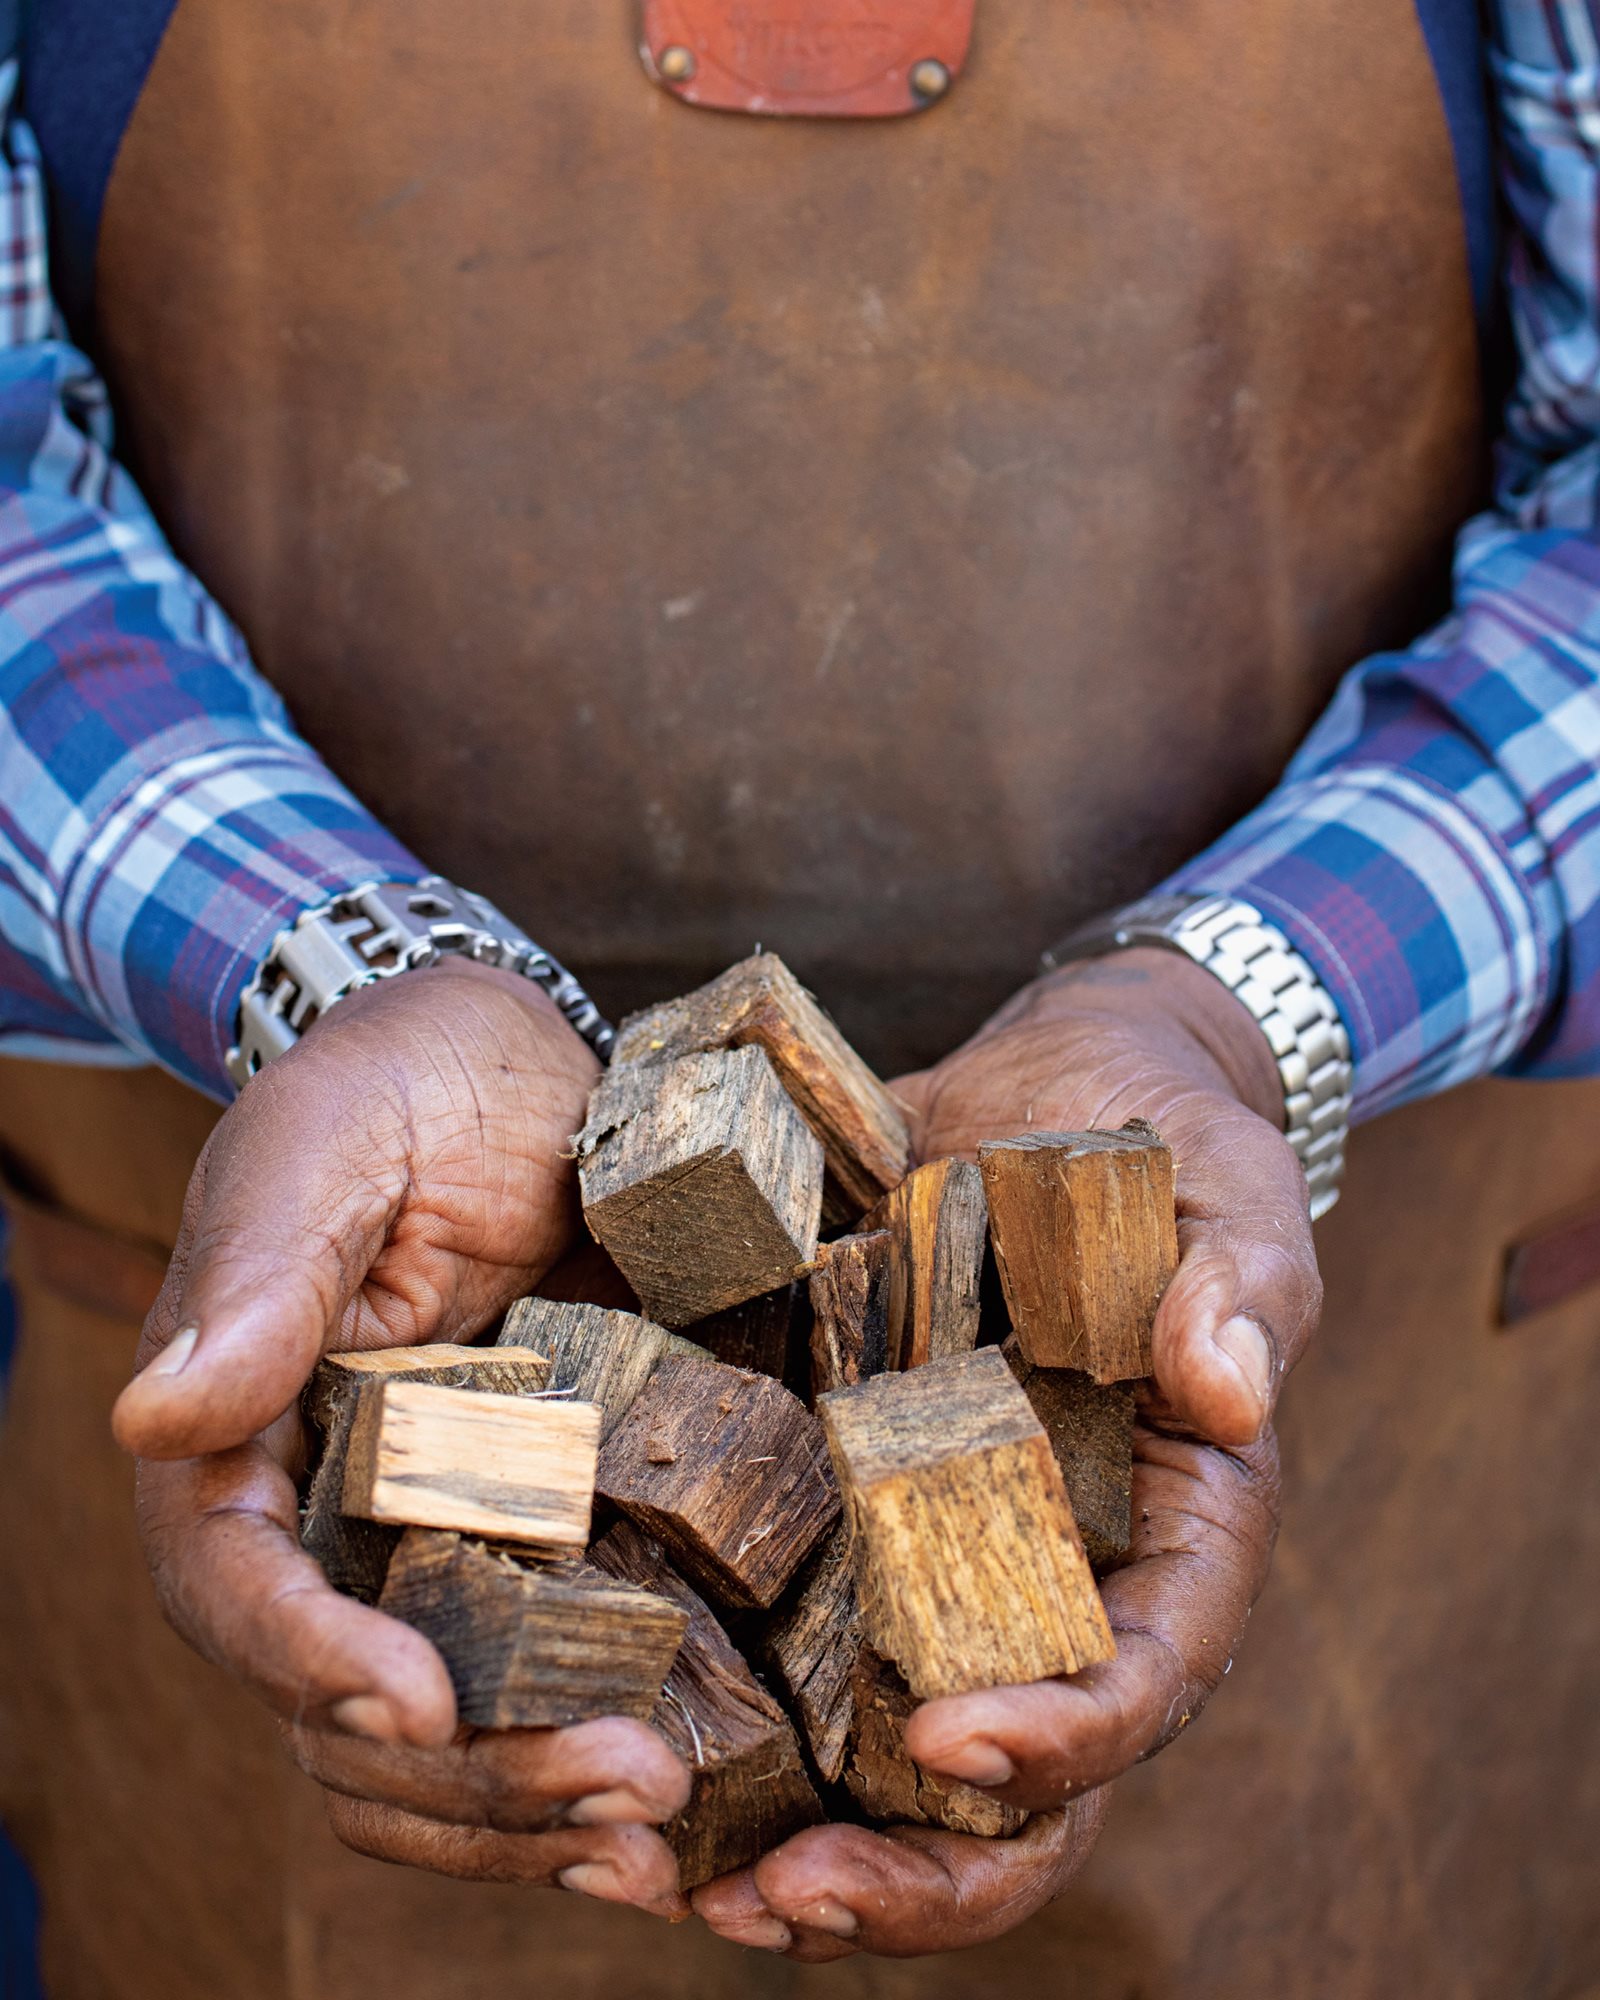
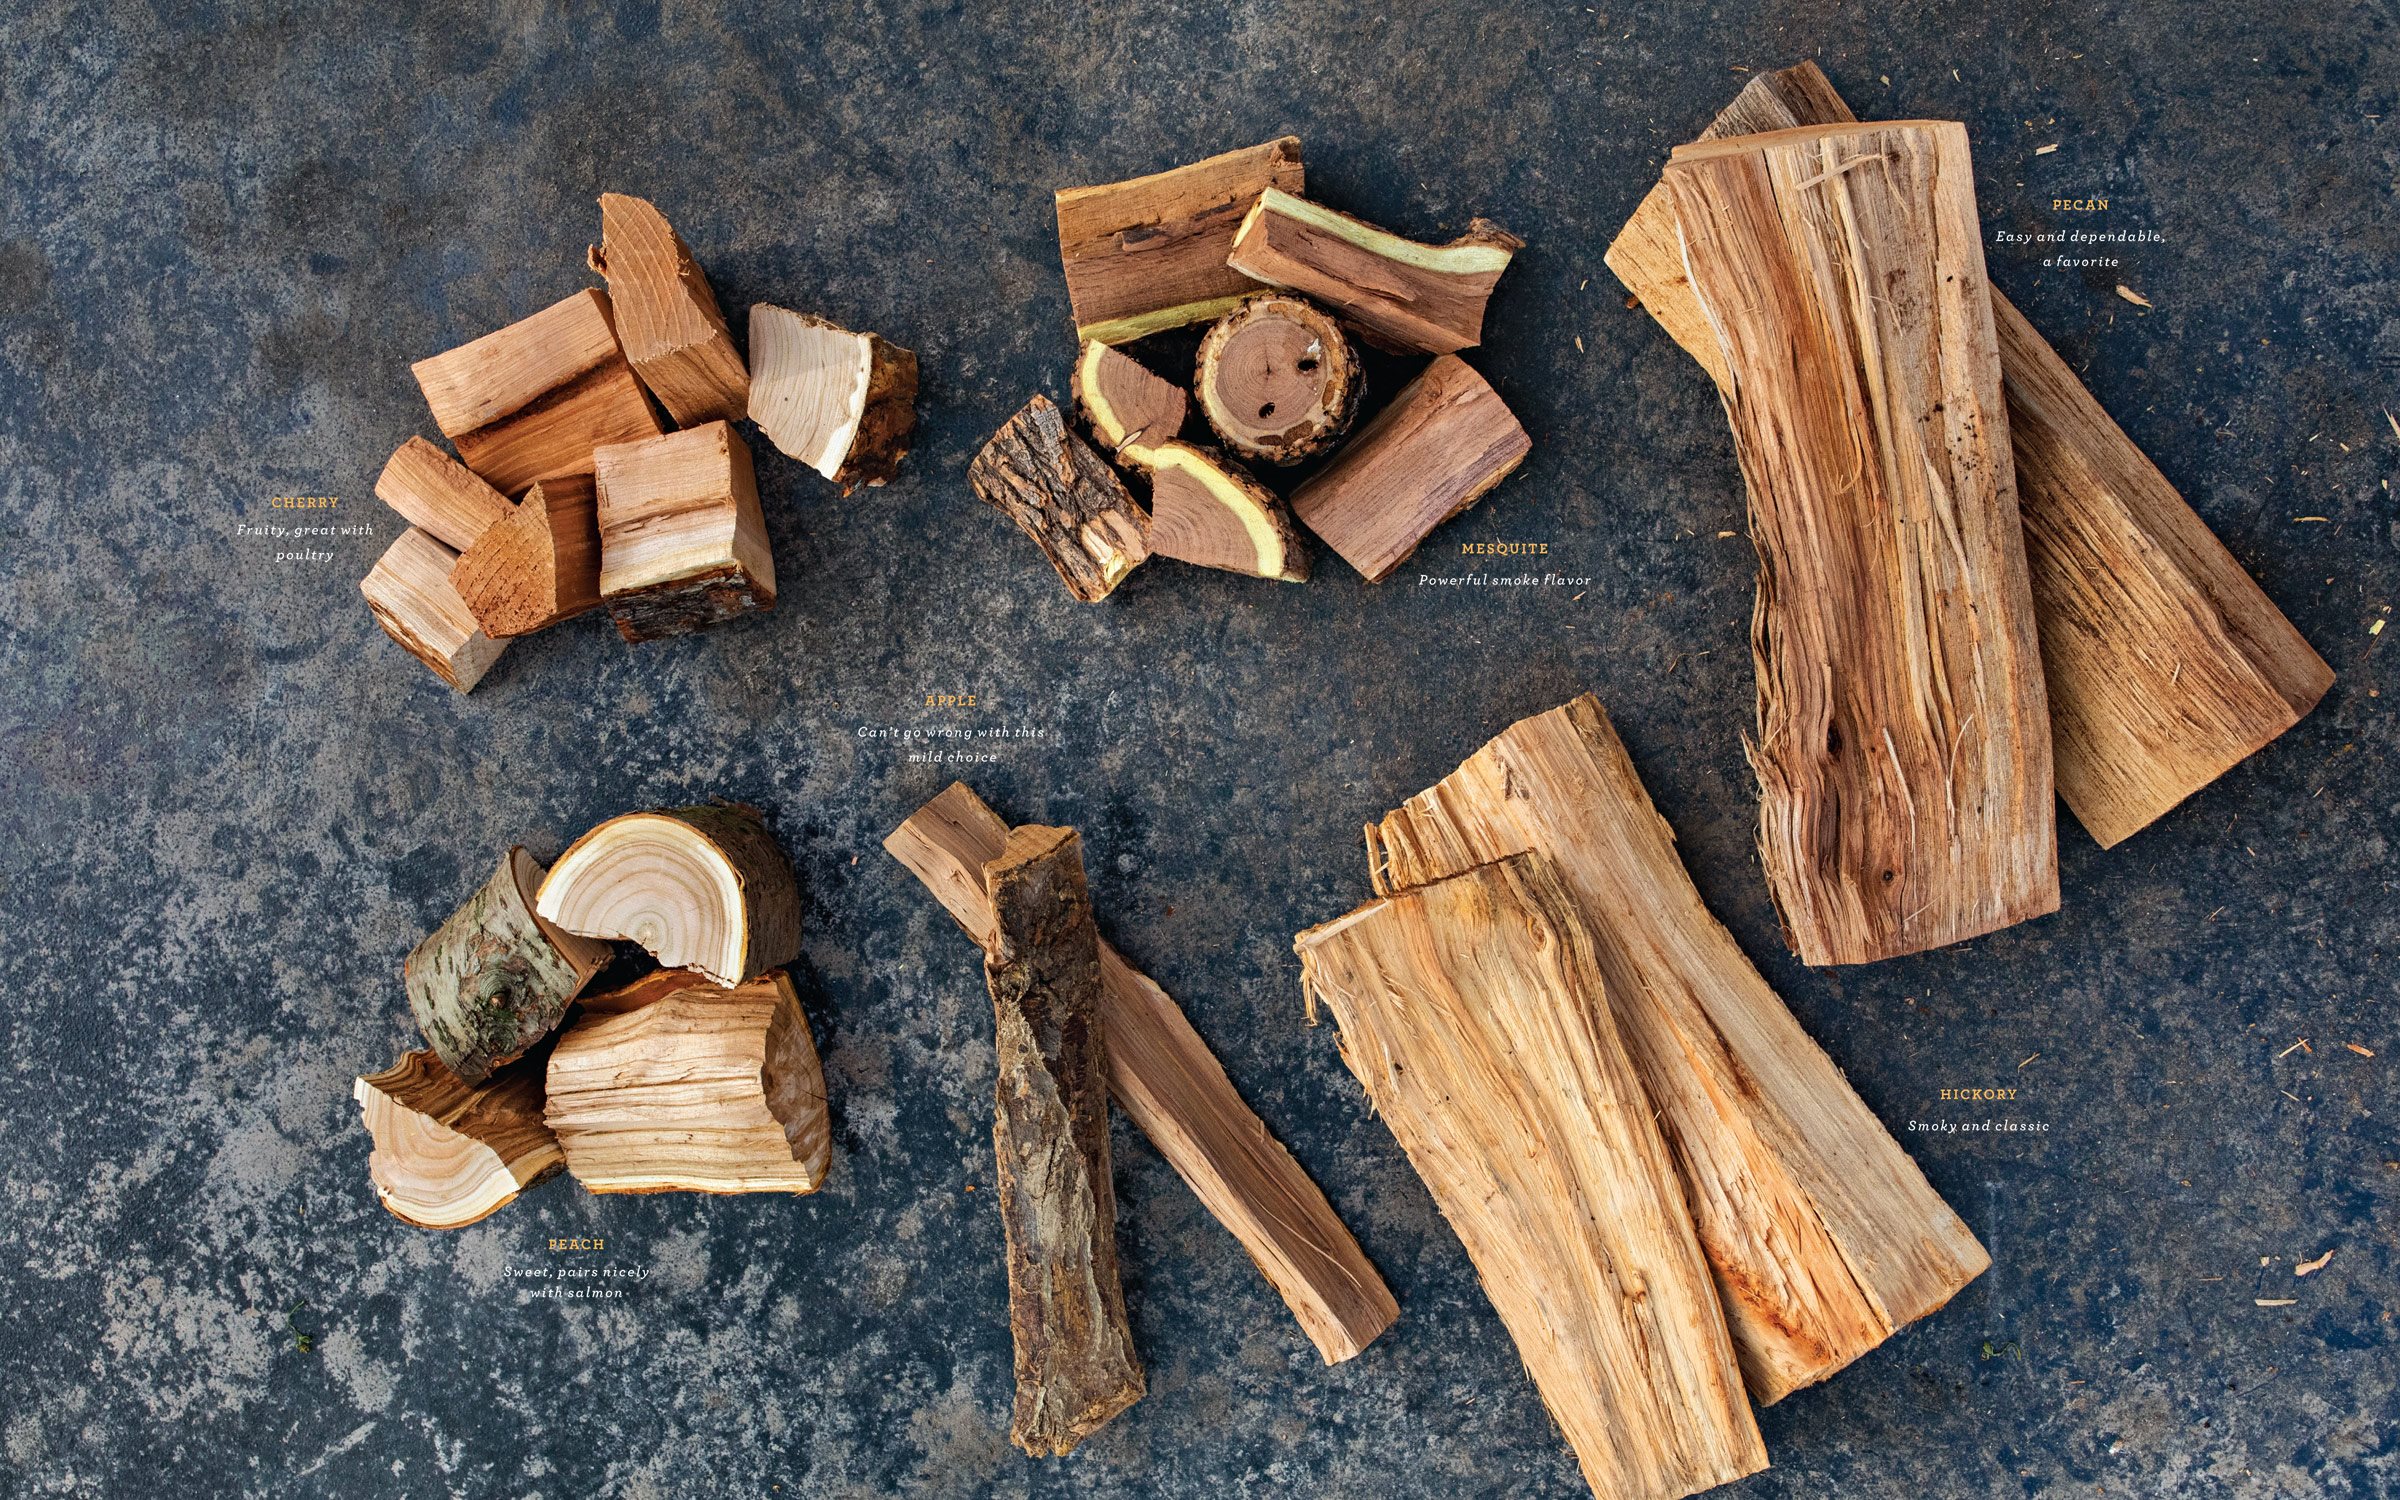
INTO THE WOODS
Everyone wants to know what wood to use when. I like to use whatever is available locally, but when in doubt, oak and pecan are great choices.
HOW TO CARE FOR YOUR PIT
ONCE YOU HAVE YOUR OWN SMOKER, you’re in the BBQ club. We call our smokers “pits,” whether you choose an electric or offset or any other kind. And you gotta take care of your pit, just like your mama checked to see if you washed behind your ears when you were little.
The Basics
Cooking on a dirty pit is not only gross; it’s also a fire hazard. Old meat fats, burnt seasonings, and crusty grill grates can affect the flavor of your food, too.
1. Season the pit: First things first, the cooking chamber on a brand-new pit needs to be seasoned before the first cook. Rub a coat of cooking oil on the inside of the cooking chamber and heat for an hour or so. I would compare this to seasoning a cast-iron skillet. It puts a protective coating on the inside to prevent rusting.
2. Scrub the grates: Using a wire brush, scrub down your grates while the grill is still warm. If you don’t have a proper grill brush, a ball of aluminum foil works in a pinch.
3. Empty the ash: Make sure you clean the ash out of your firebox after every cook. Leftover ash draws moisture and can rust out your firebox.
4. Wipe off the food: Always clean off any spilled food waste inside the cooker. Burnt food particles can become acrid and affect flavors.
Keep It Clean
You can tell by looking at your pit when it’s time for a deep clean: There’s gunk on racks or the bottom half, buildup on the side walls. Nasty! All that charcoal ash and food char builds up over time, so give your pit an occasional power wash. You can use a little soap if you want. A healthy pit means healthy barbecue.
TOOLS AND EQUIPMENT
COMPETITION BARBECUE FOLKS have all kinds of tools to elevate their meat. For you backyard warriors, there’s no need to go crazy or spend a ton of money. Here are the tools that you will want to have to make things a little easier on yourself.
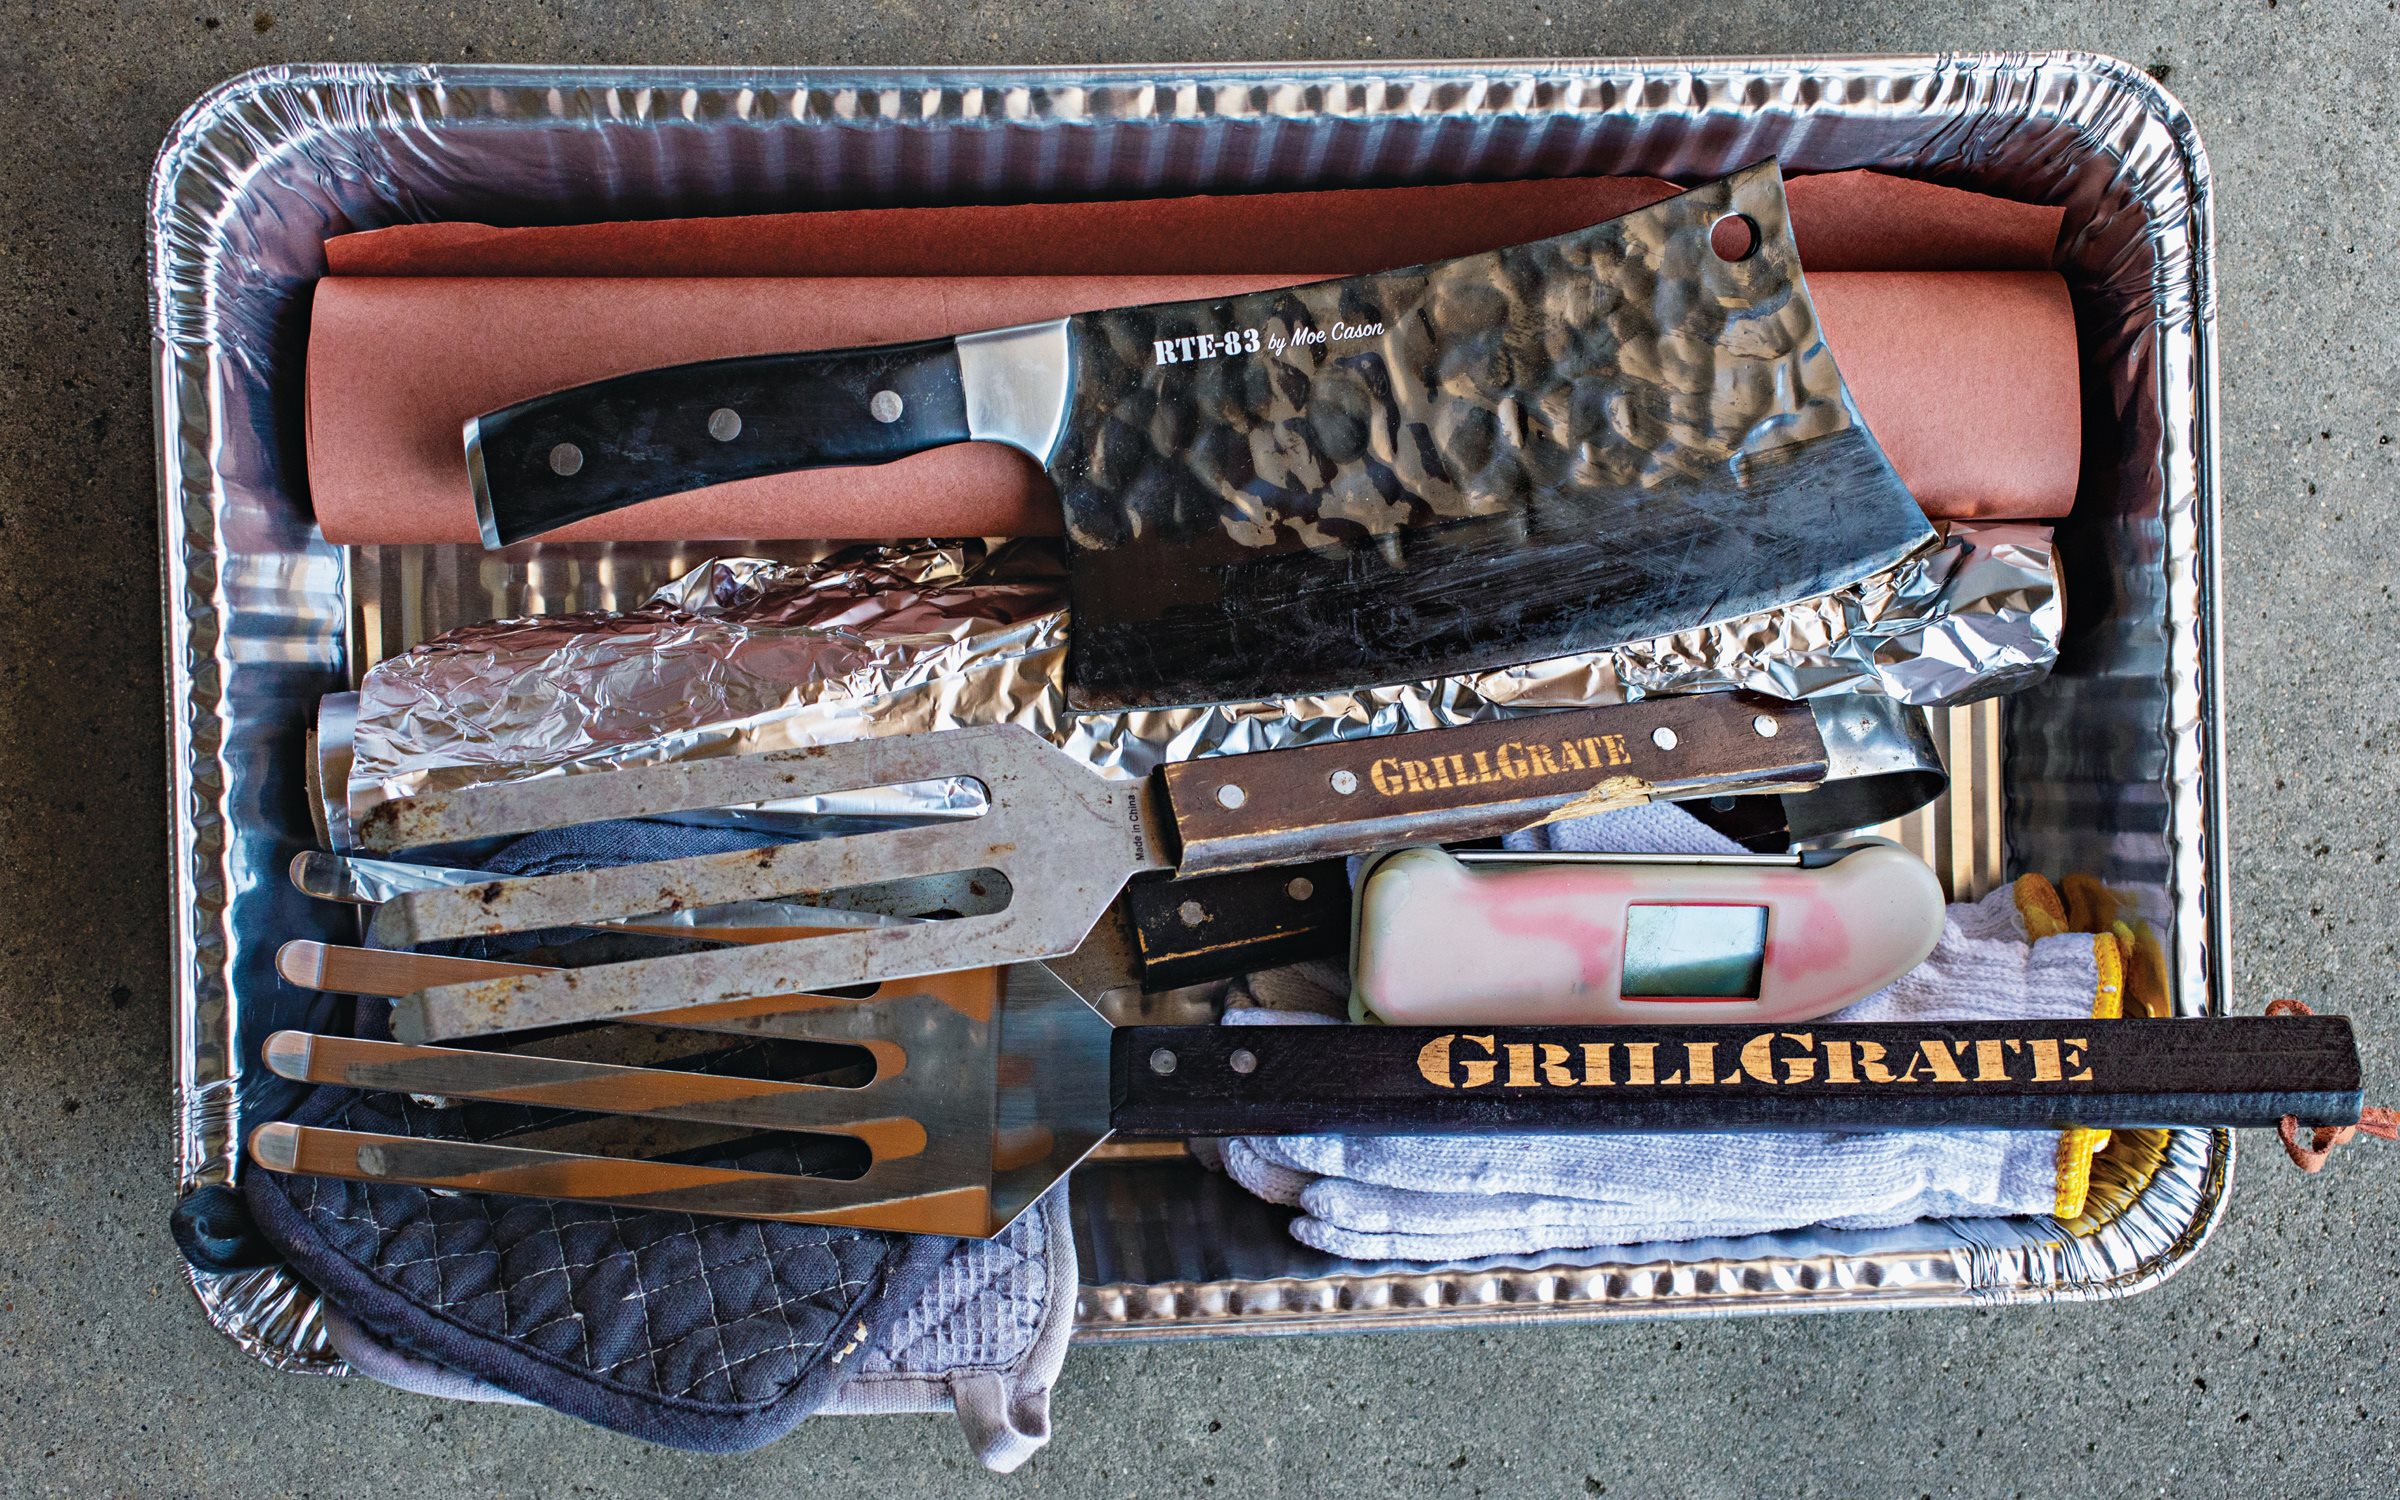
The Essentials
• A quality quick-read thermometer: Probably the number one thing you need. To ensure your thermometer is calibrated, put the lead in a small pot of boiling water; it should read 212°F.
• Commercial-grade tongs: Quality tongs are a nice tool to have at the pit; you can get good cheap ones at a restaurant supply store.
• A heavy-duty wide spatula: You want a heavy spatula that’s big and sturdy enough to pick up brisket or a rack of ribs. You can always use your gloved hands, but a spatula won’t disturb the sauce as much.
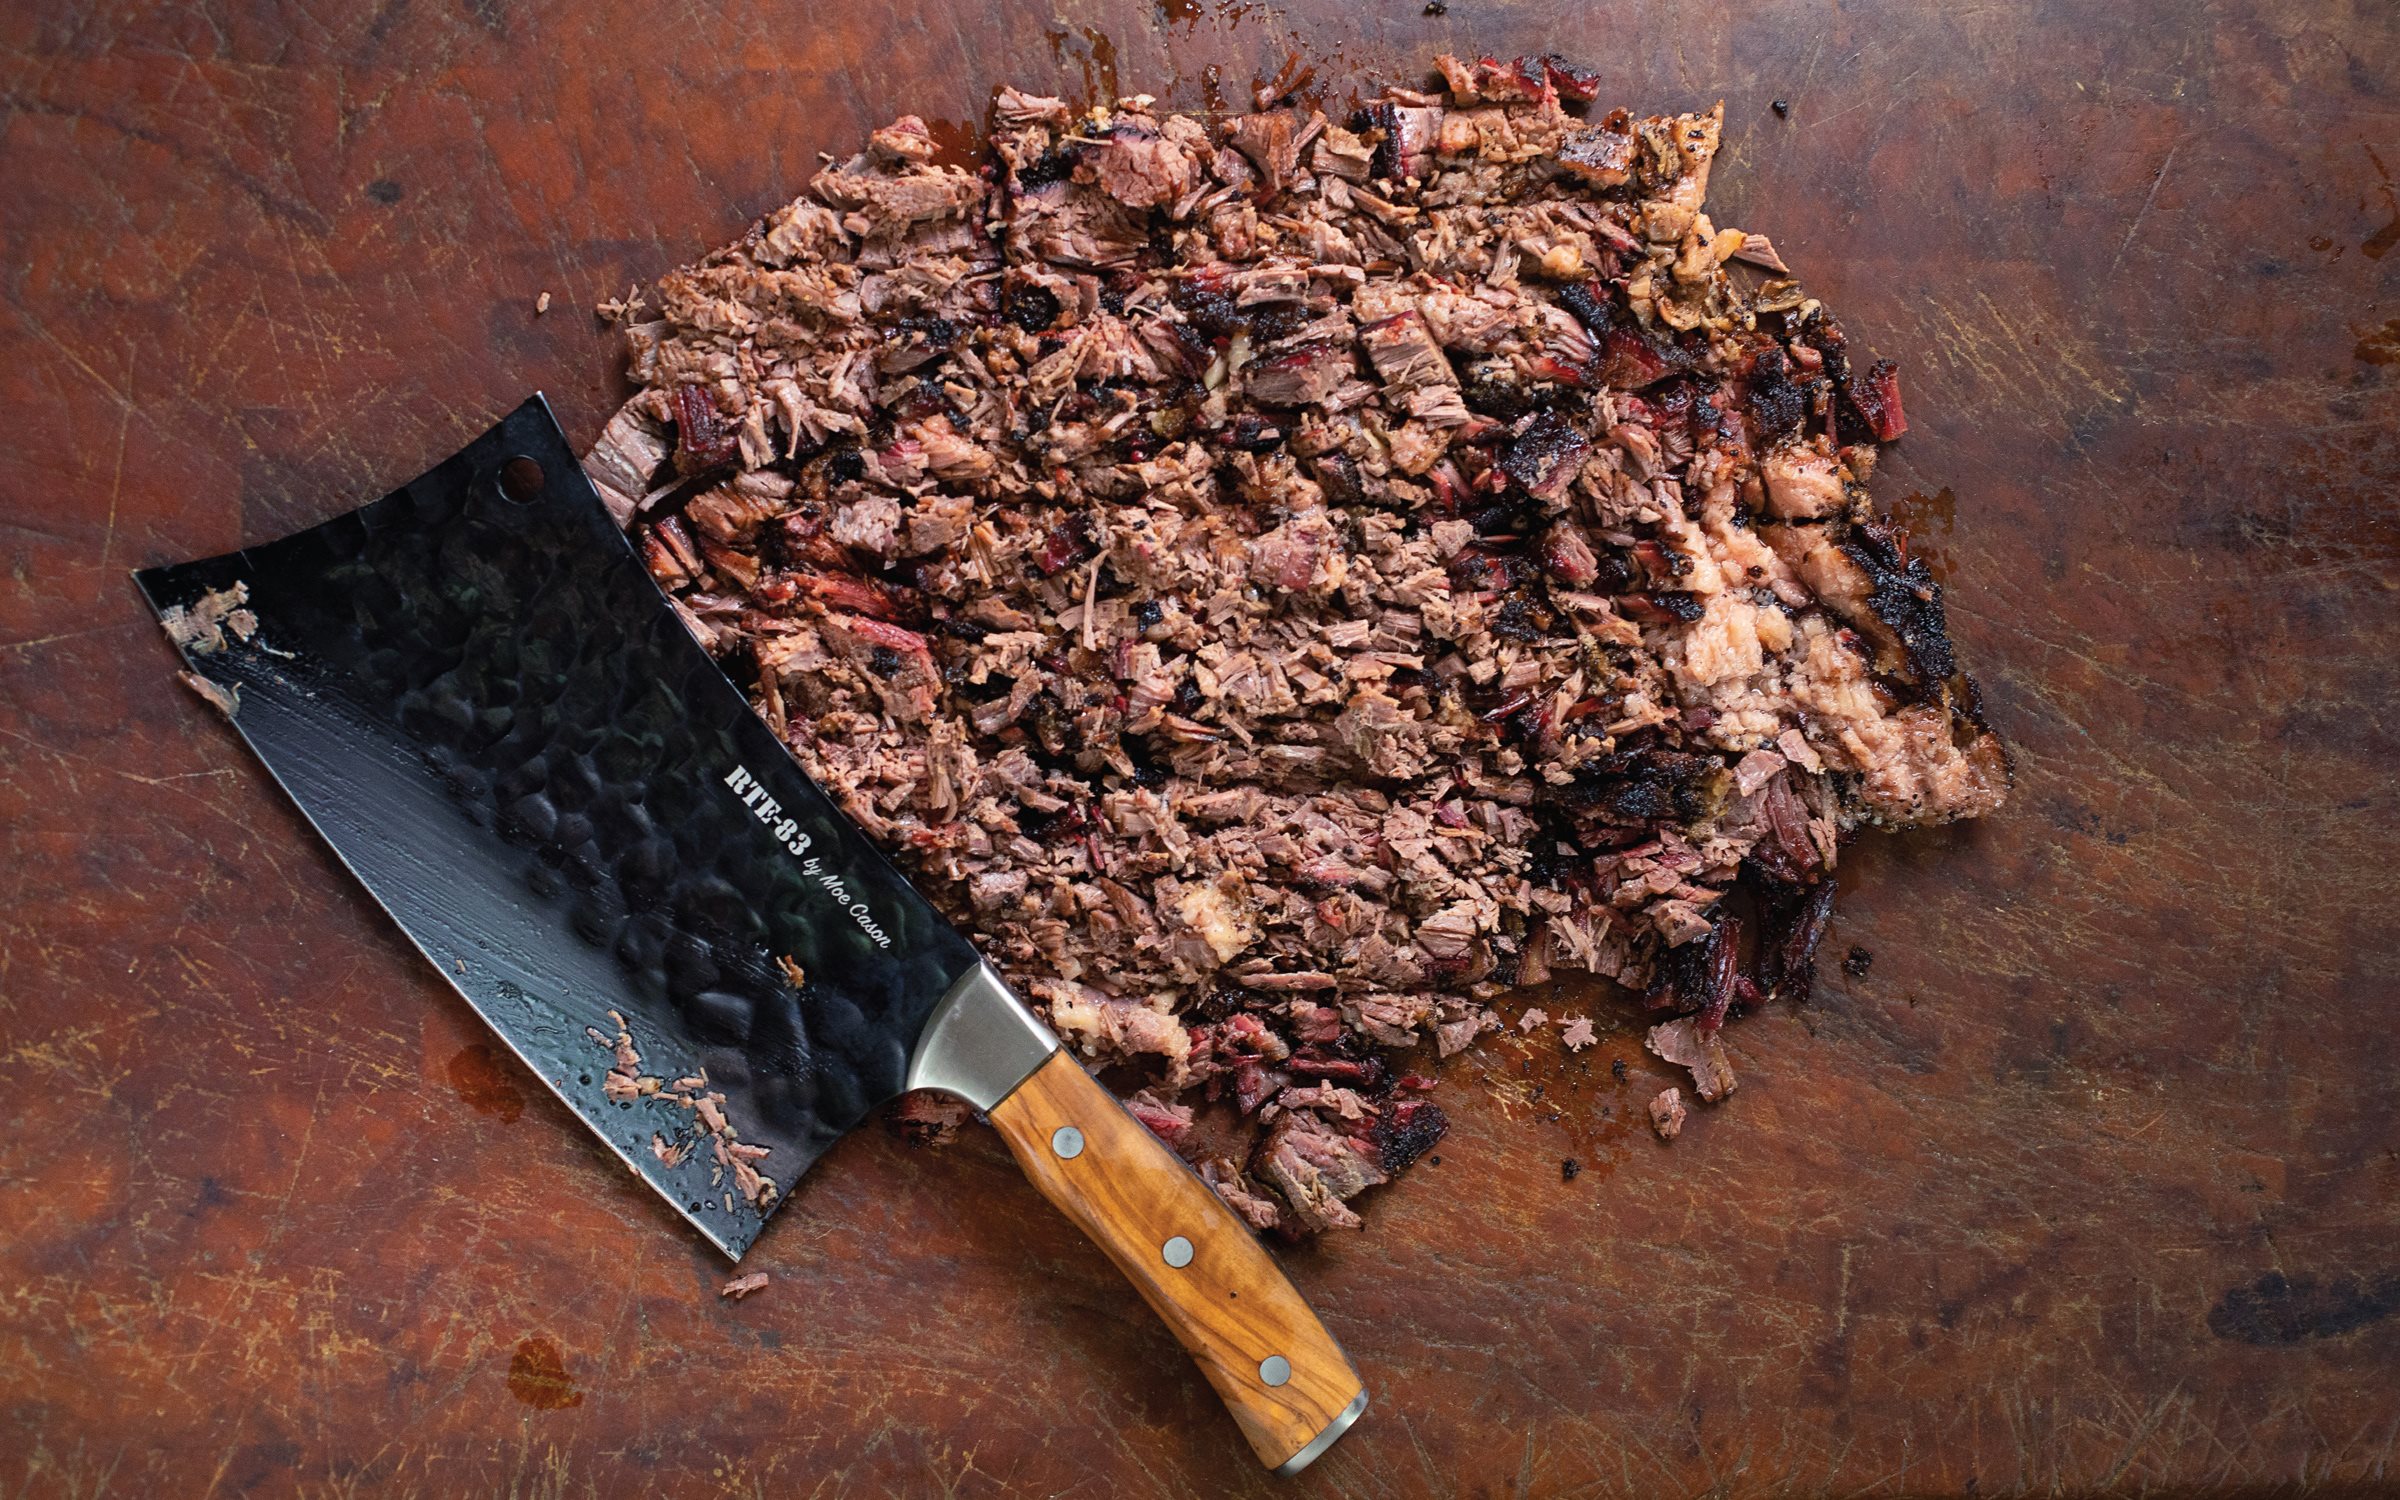
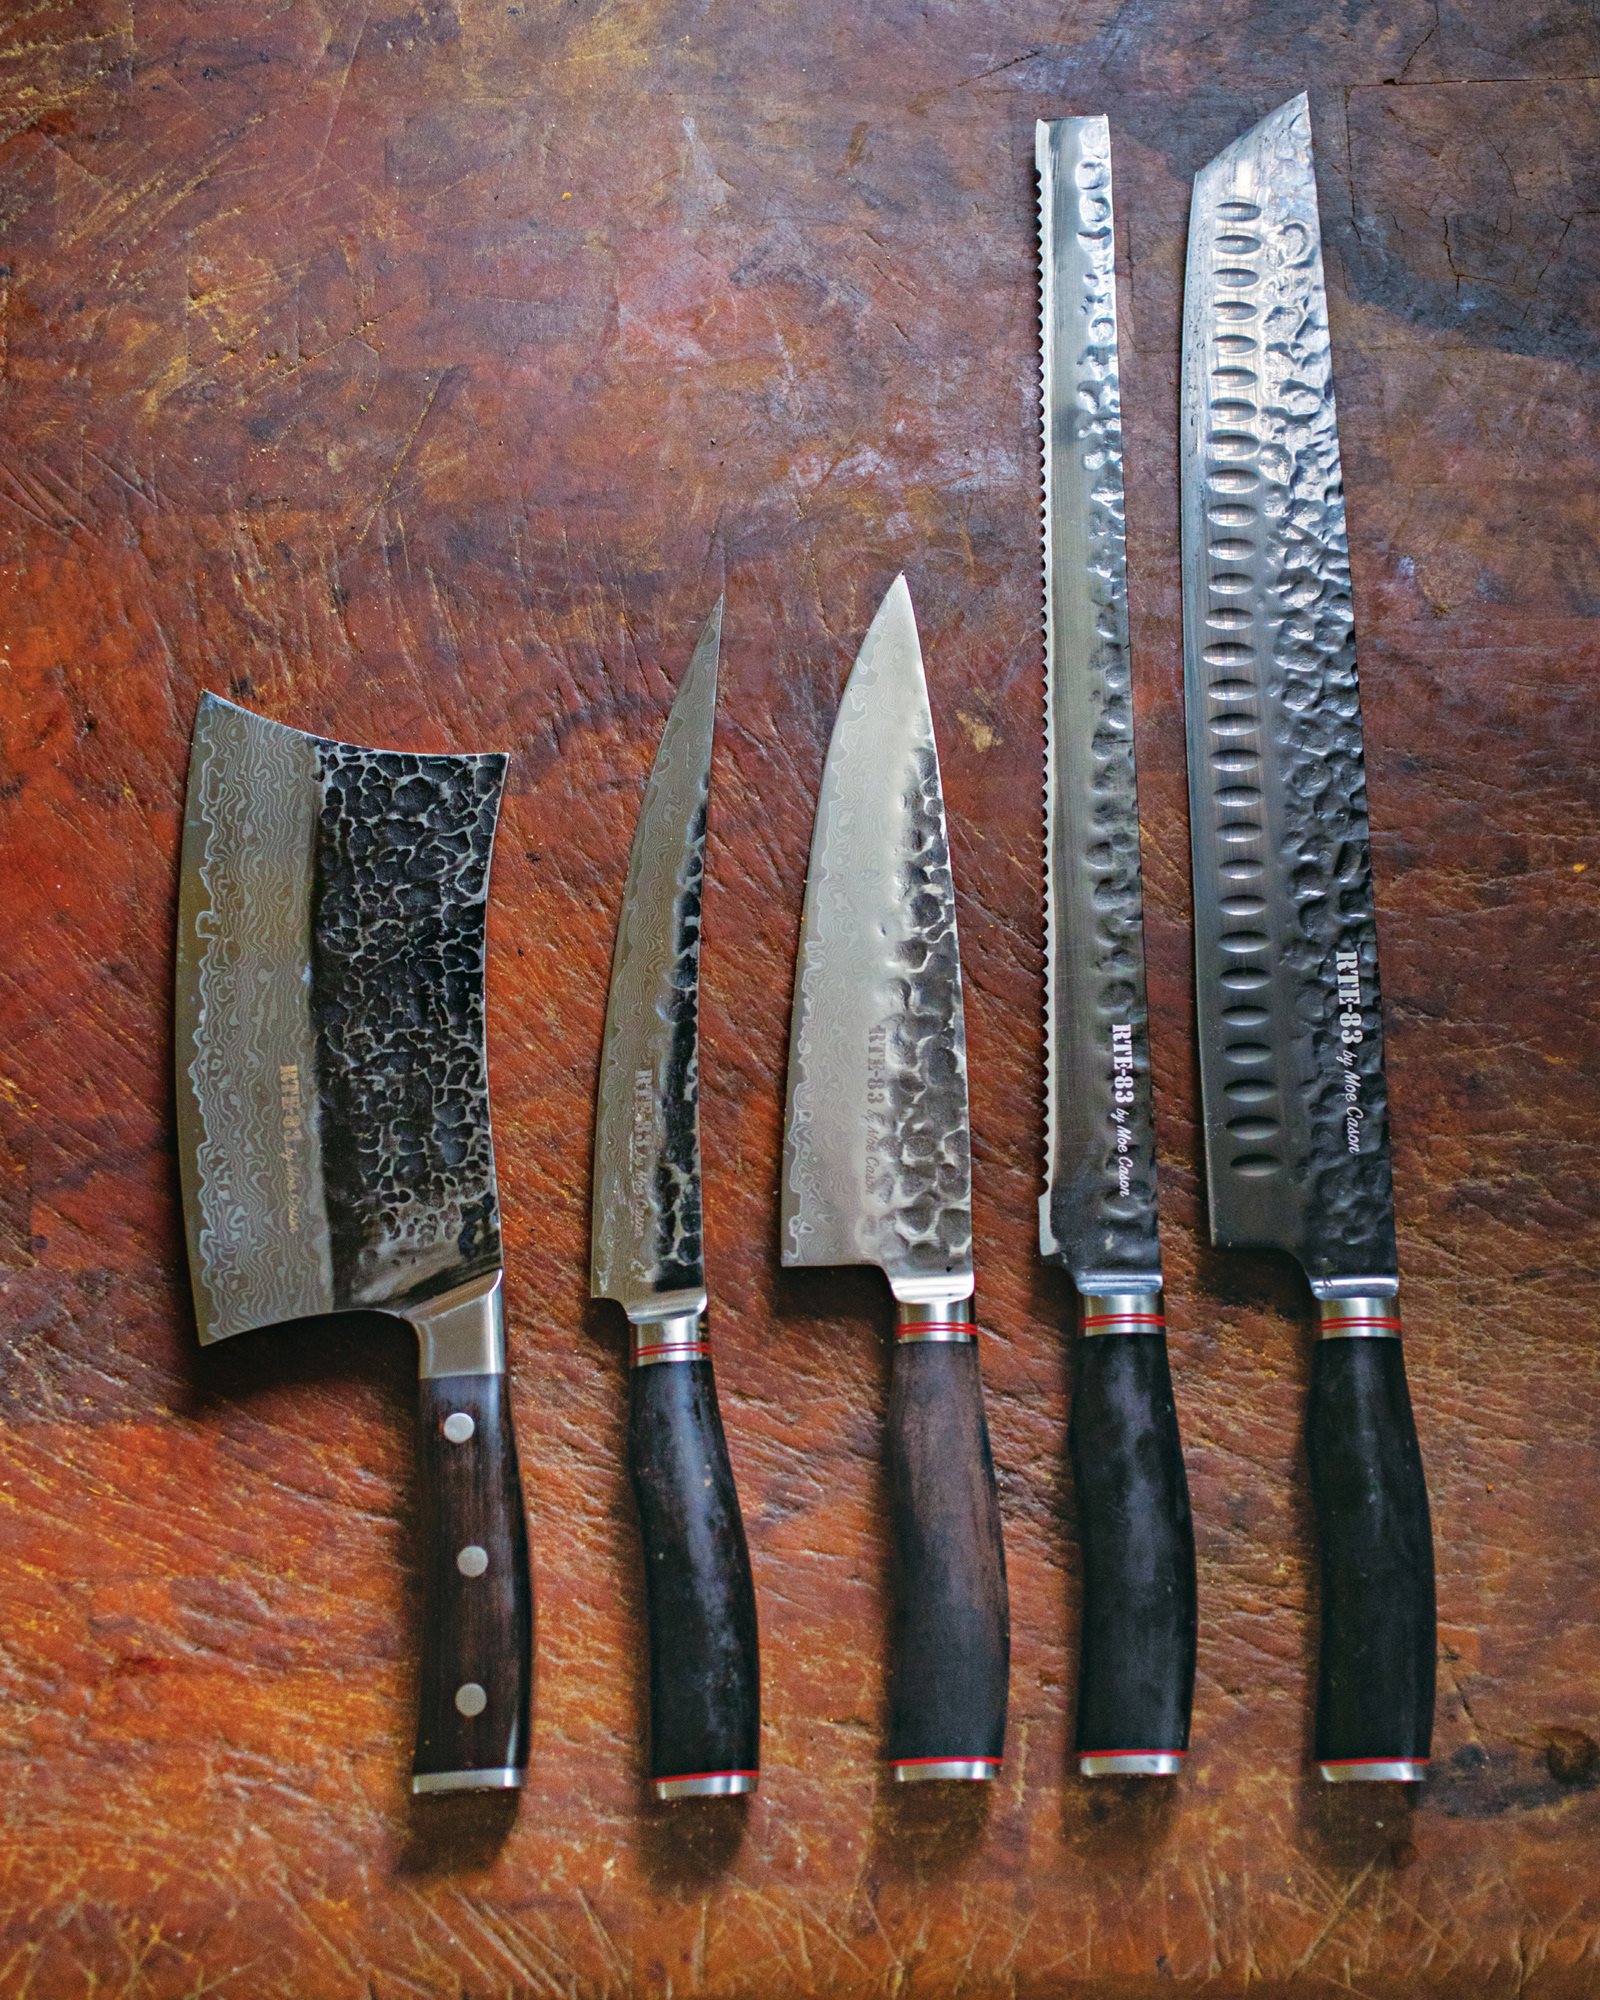
• A sharp knife: Most people will slice their meat with a chef’s knife, and that works well, as long as it’s sharp. A big, heavy cleaver is great for separating joints. And my favorite is a boning knife for finesse work, like cutting off the silver skin on ribs.
• Pink butcher paper: Using butcher paper instead of foil will save the bark (that chewy crust on your meat). I used to use foil, but I hated how my ribs had a wet, mushy bark. Unlike white butcher paper, pink butcher paper has not been bleached. It’s ideal for preventing leaks and allowing the meat wrapped inside to breathe during smoking so that moisture escapes instead of steaming the meat.
• Gloves: I like to use heatproof cloth gloves with latex, or a nitrile glove combo.
• Aluminum pans: These keep your station organized while you cook, and then the meat goes into the pans when it’s done. You can actually cook your brisket right in the pan—that way you save the juices.
• Vacuum sealer: When you’re storing raw meat in the fridge or the freezer, you don’t want any oxygen inside. That’s where a food saver or Cryovac comes in handy. Vacuum-seal any meat and it’s good.
HEATING YOUR GRILL
YOU GOT YOUR PIT SEASONED and ready to go; you got your tools. Before you even buy any meat, sit and start a fire. Learn how to control your temperature and run your pit. Then you’ll be good to go.
Direct Versus Indirect Heat
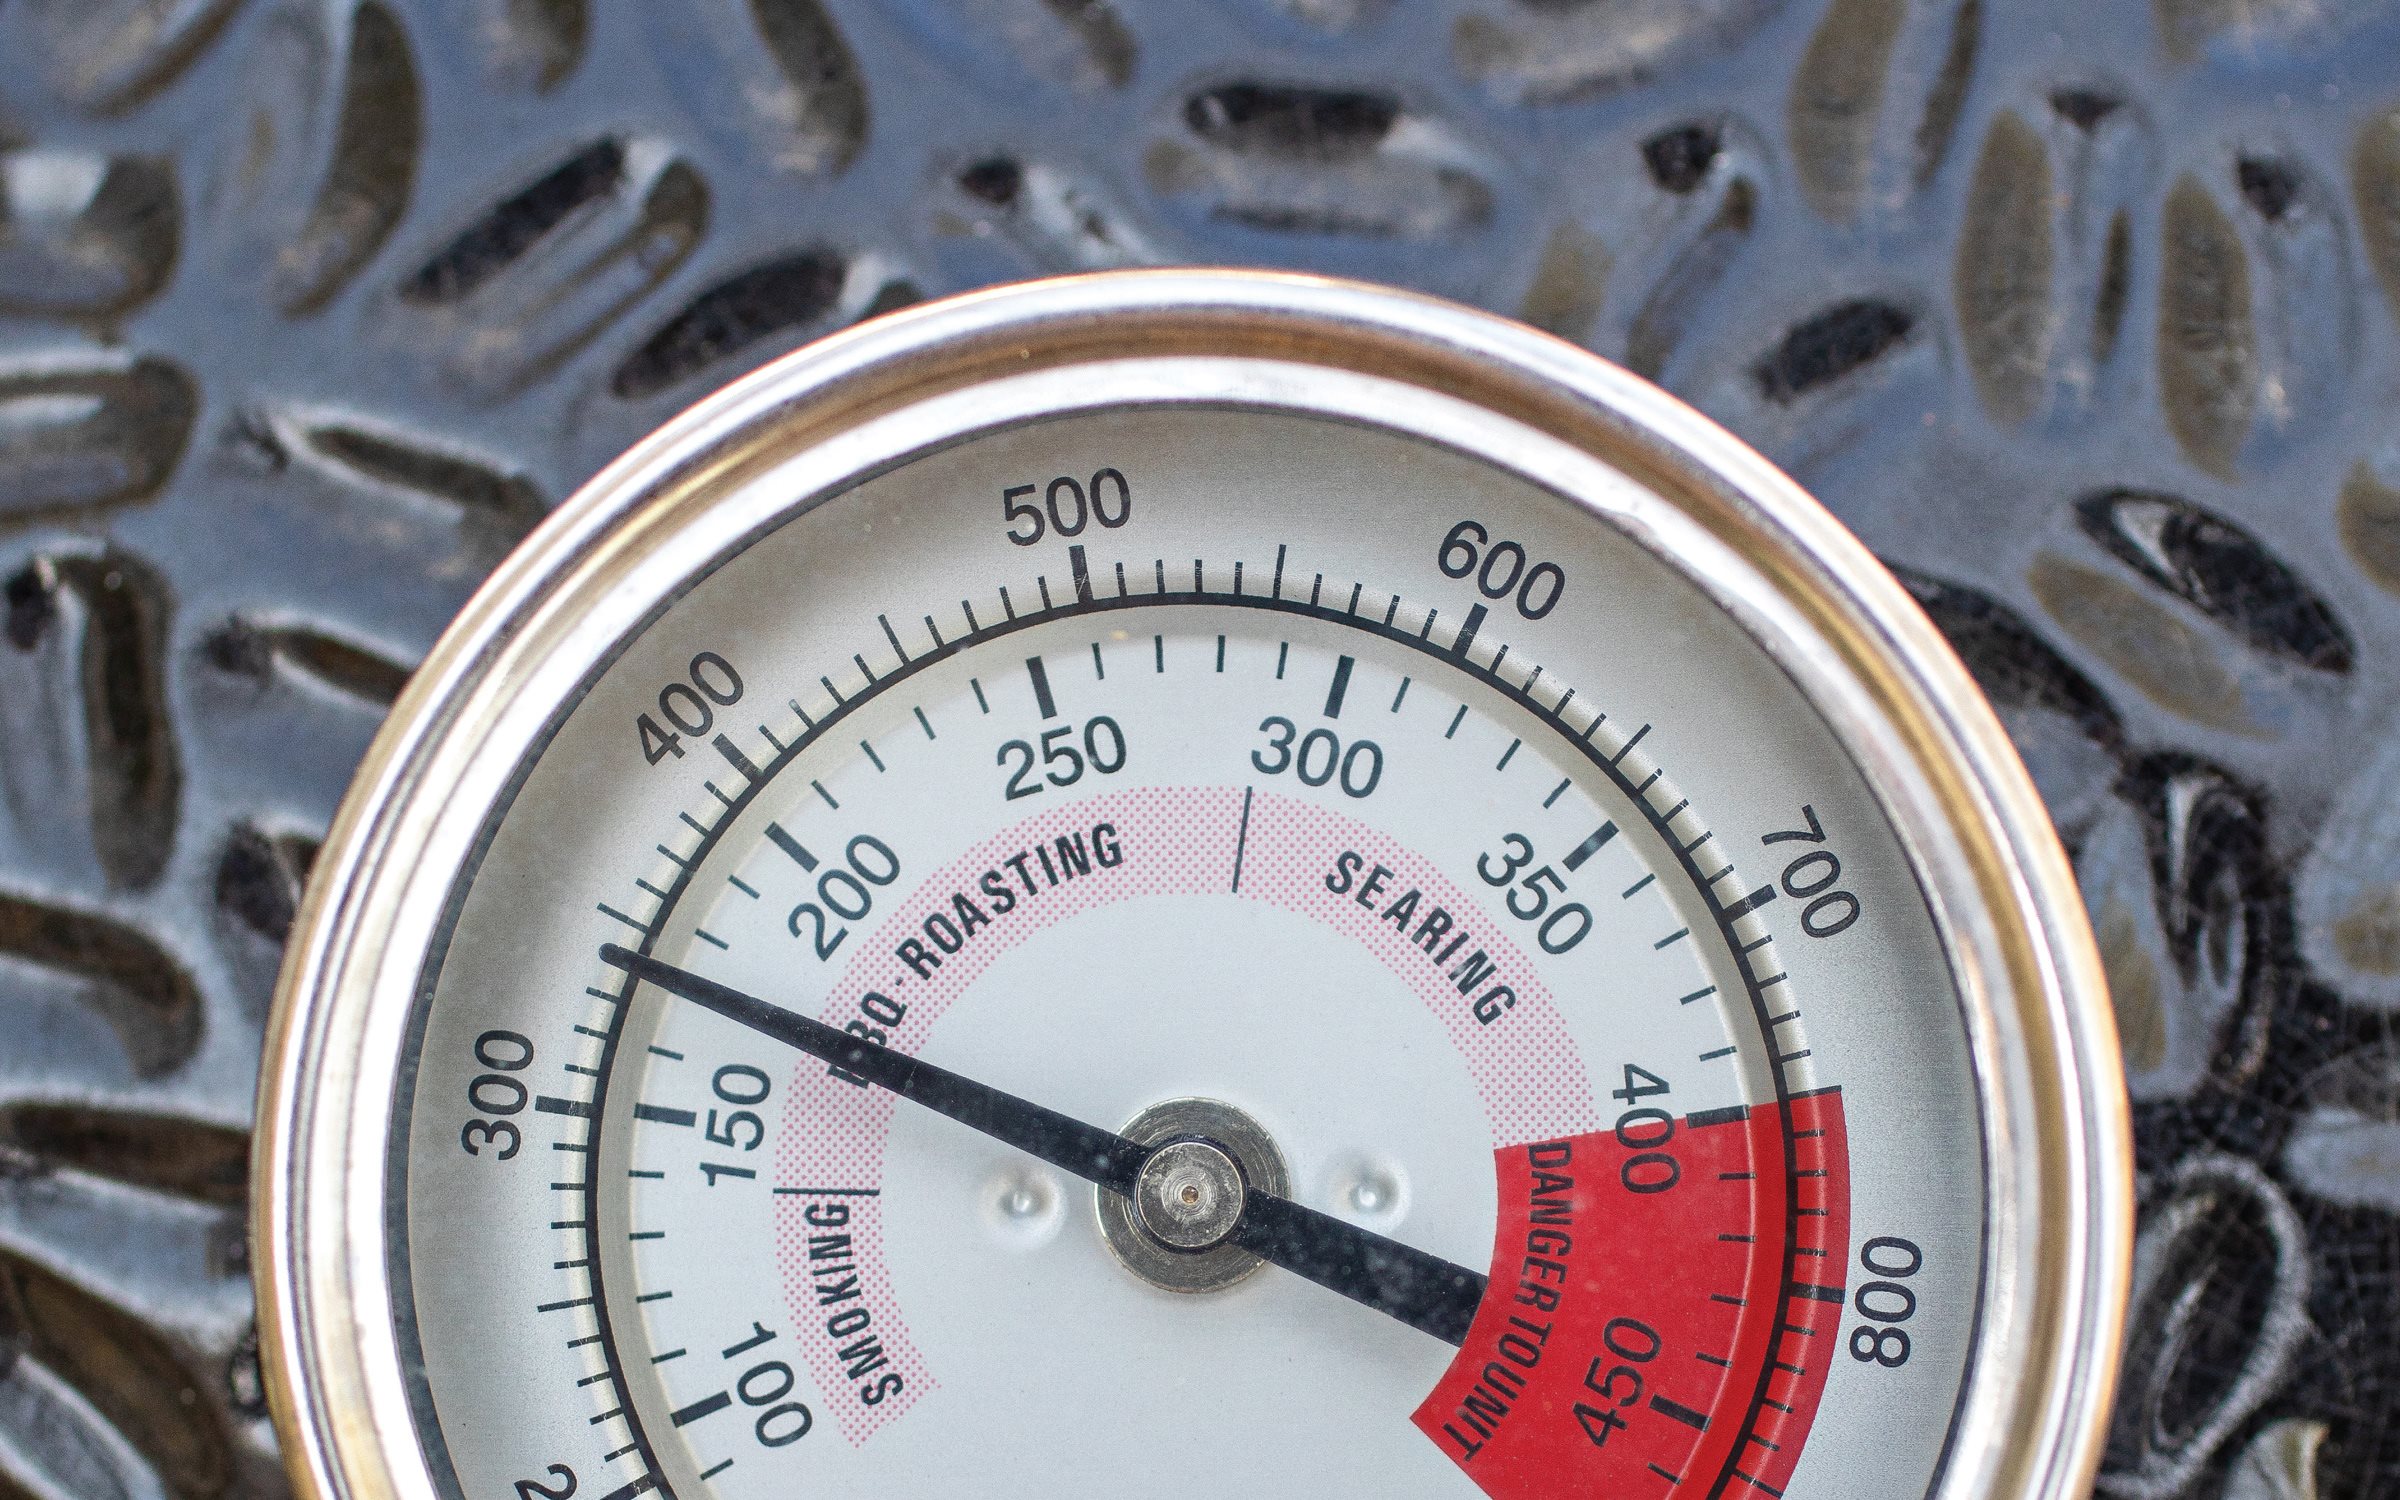
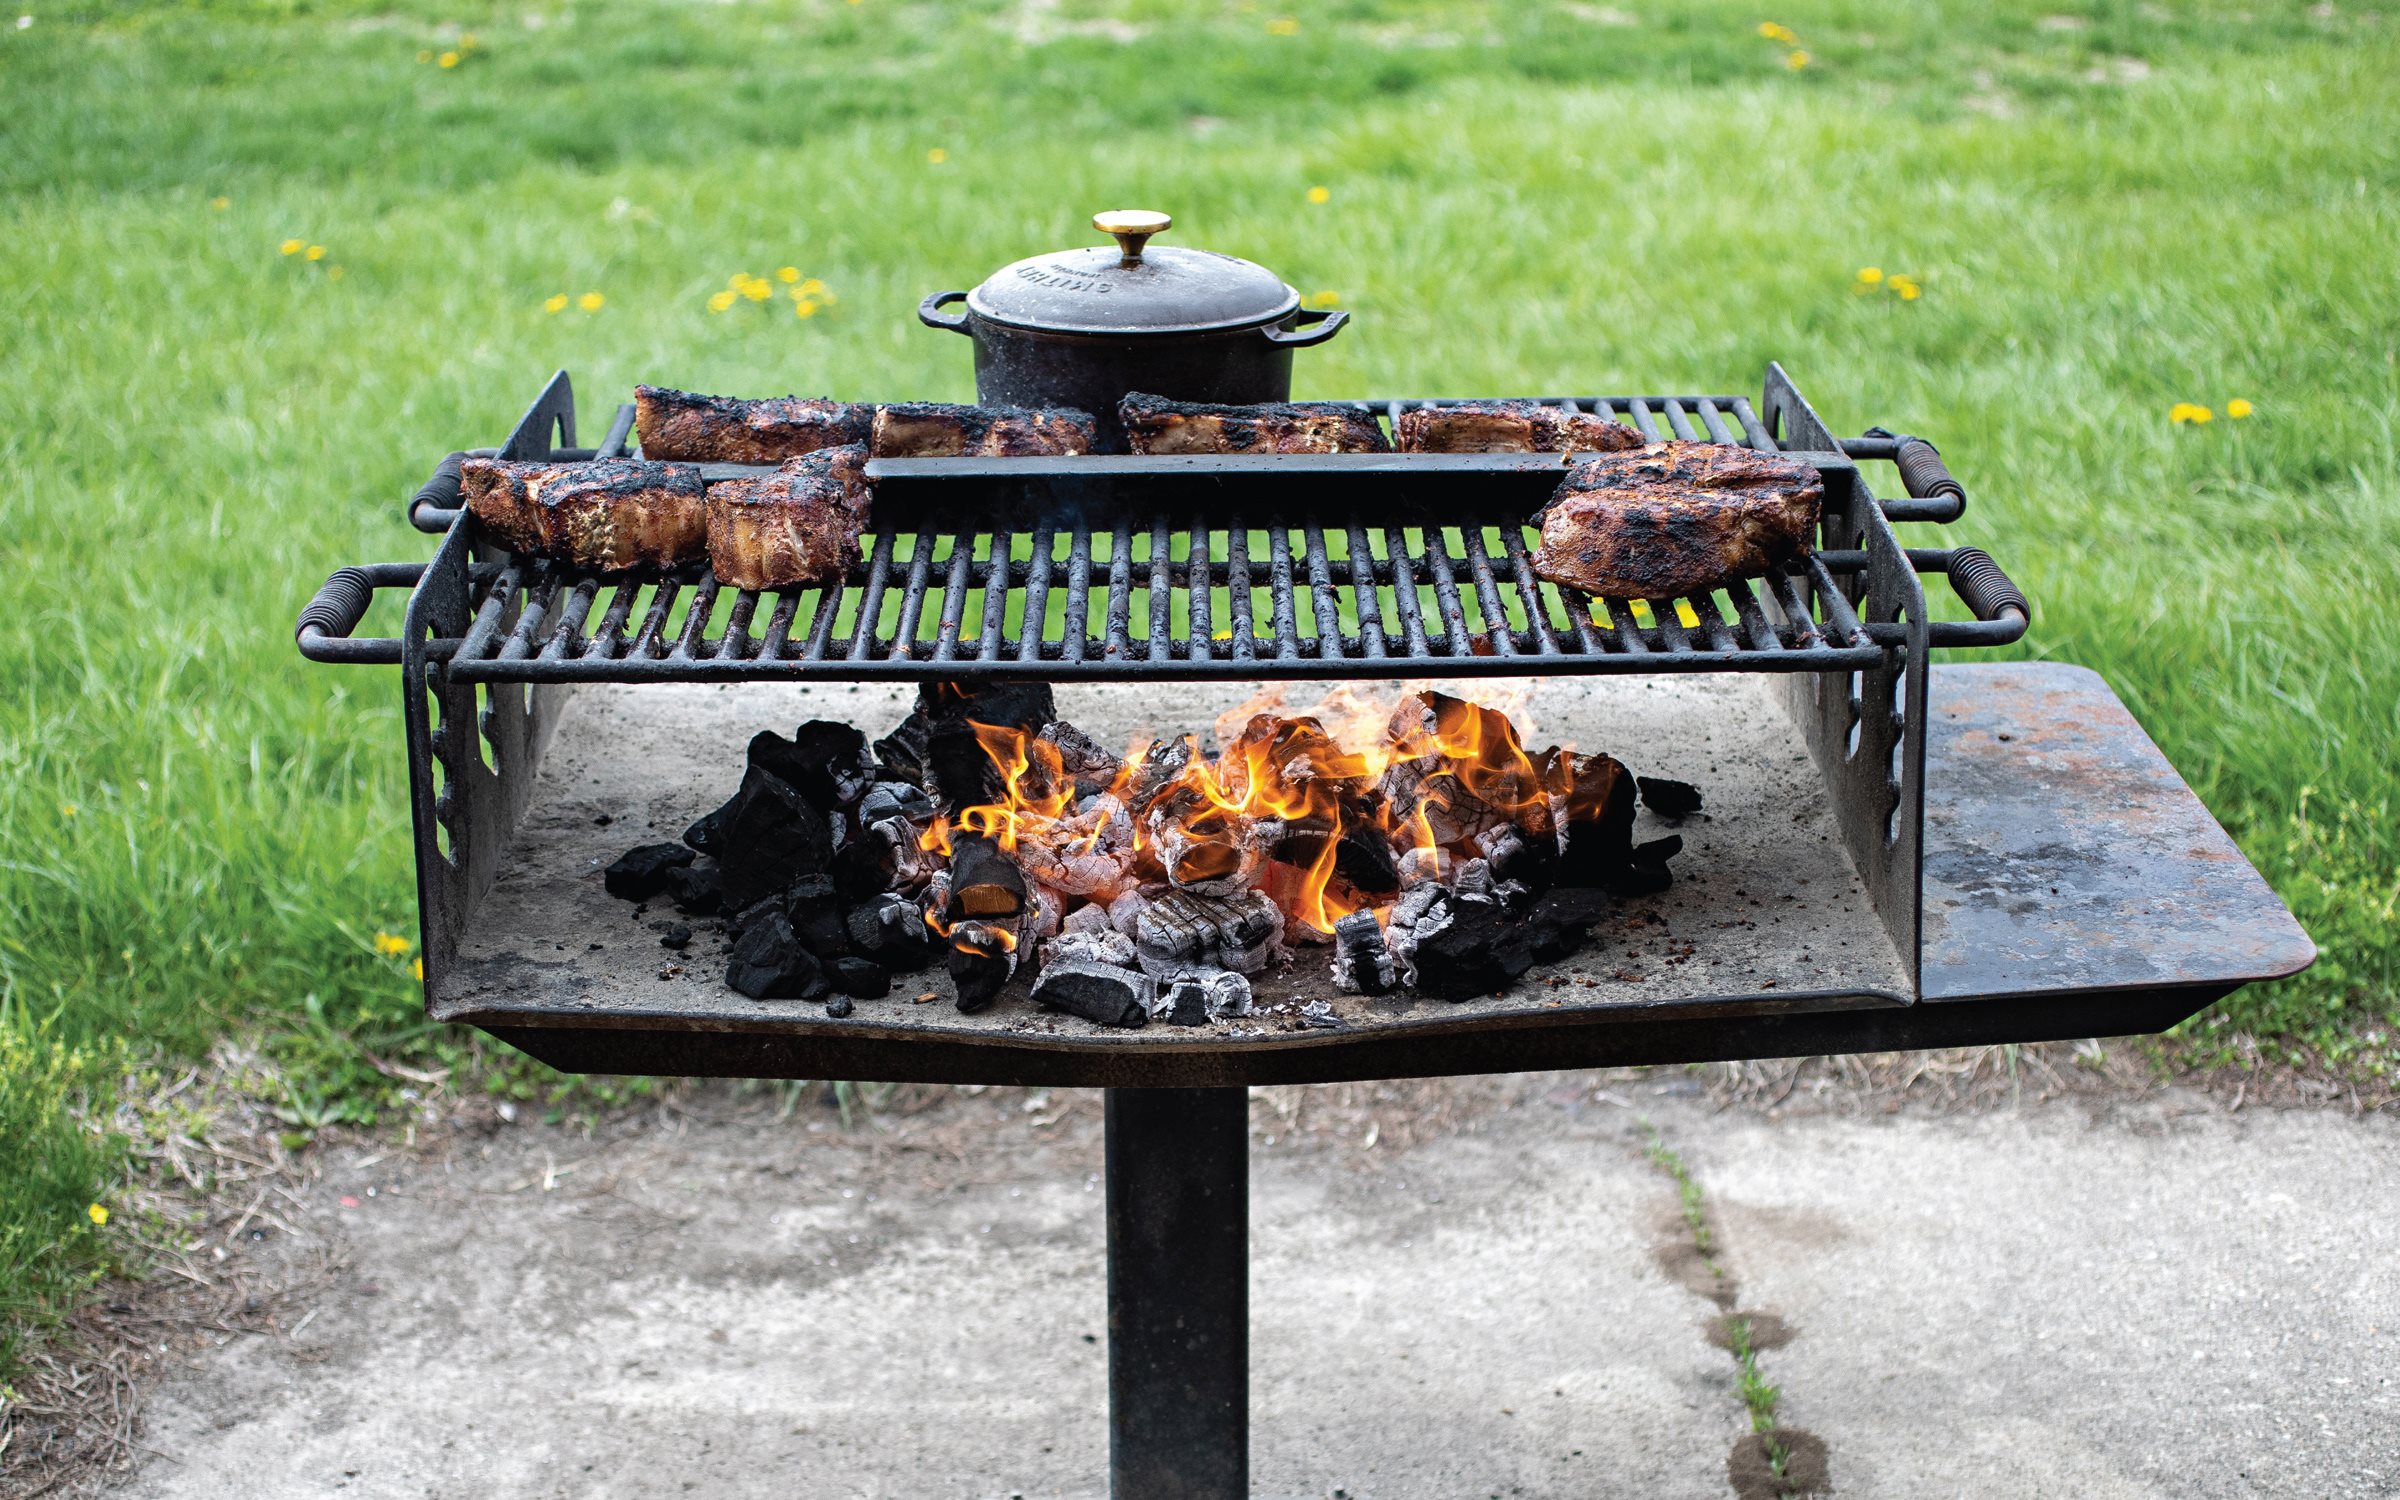
You are only making barbecue if you are cooking or smoking at 200–310°F over an indirect flame. If it’s hotter than that, and your meat is right on top of the flame (aka direct heat), you are grilling, baby.
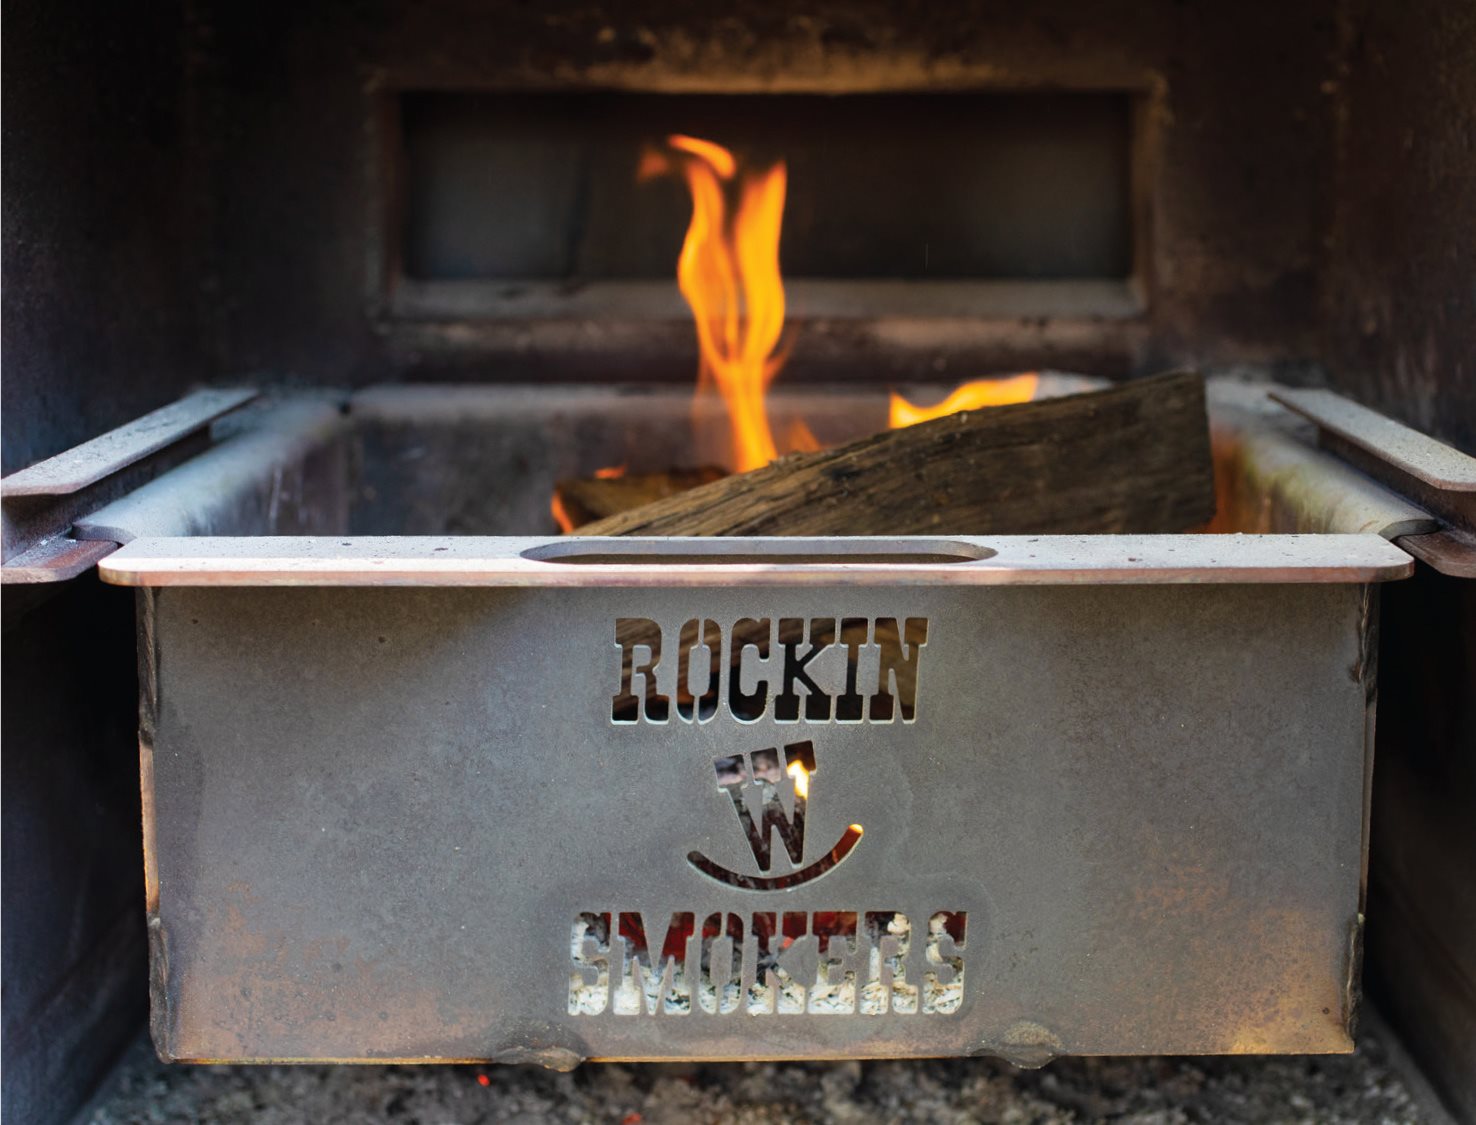
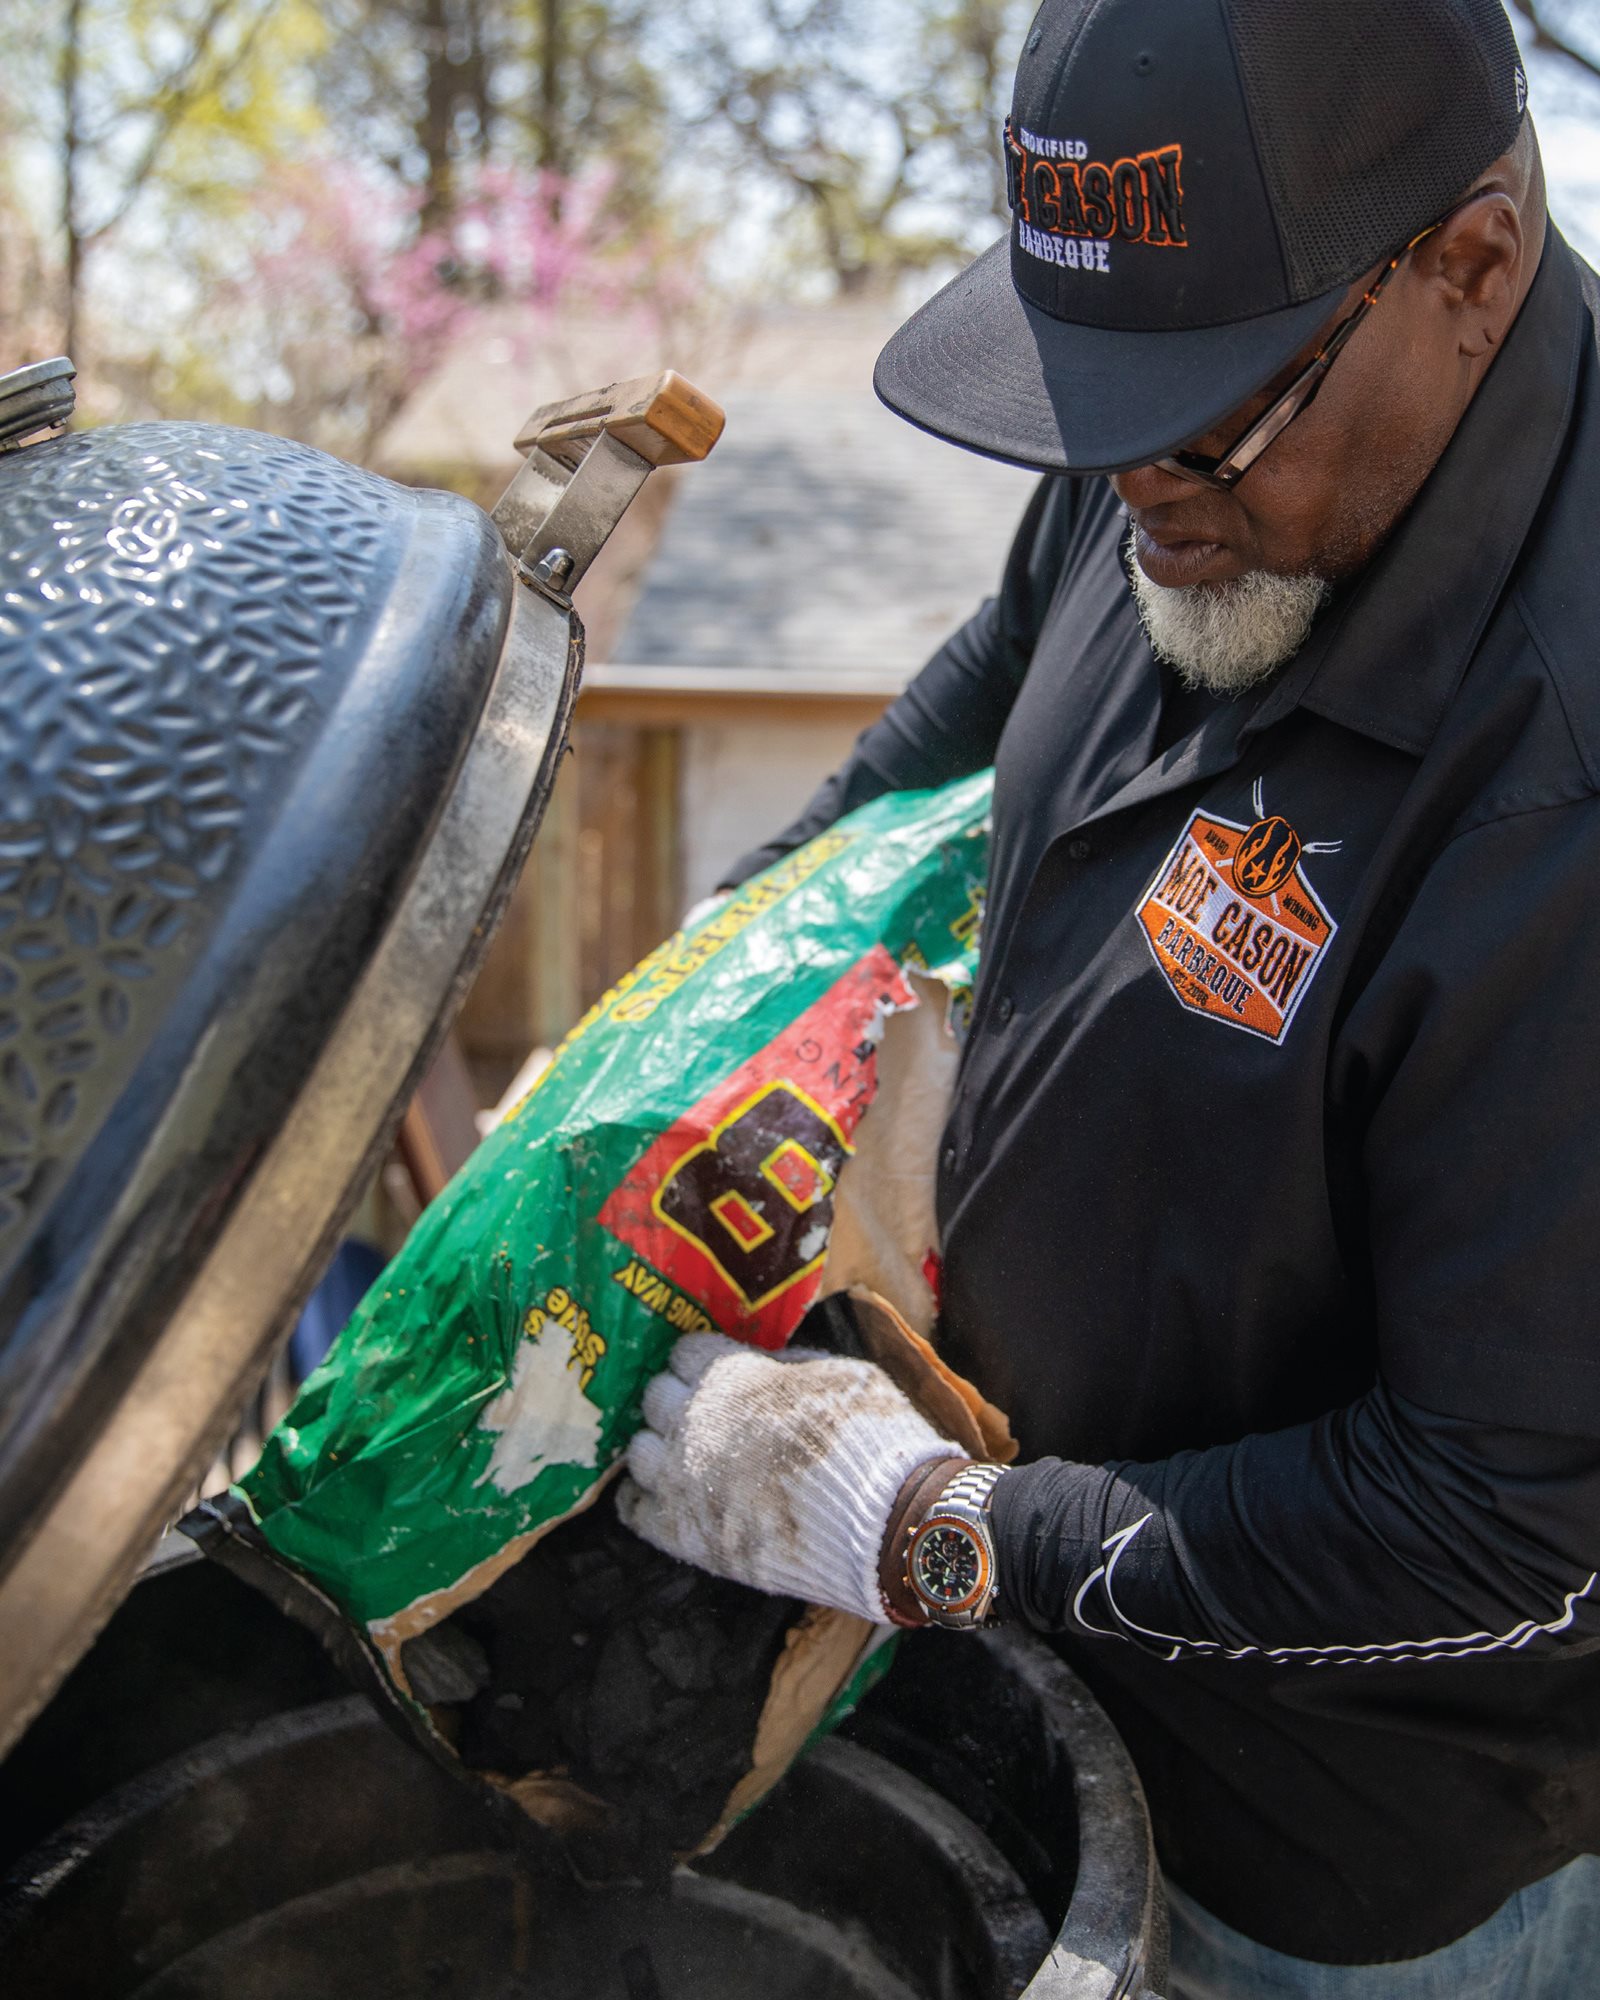
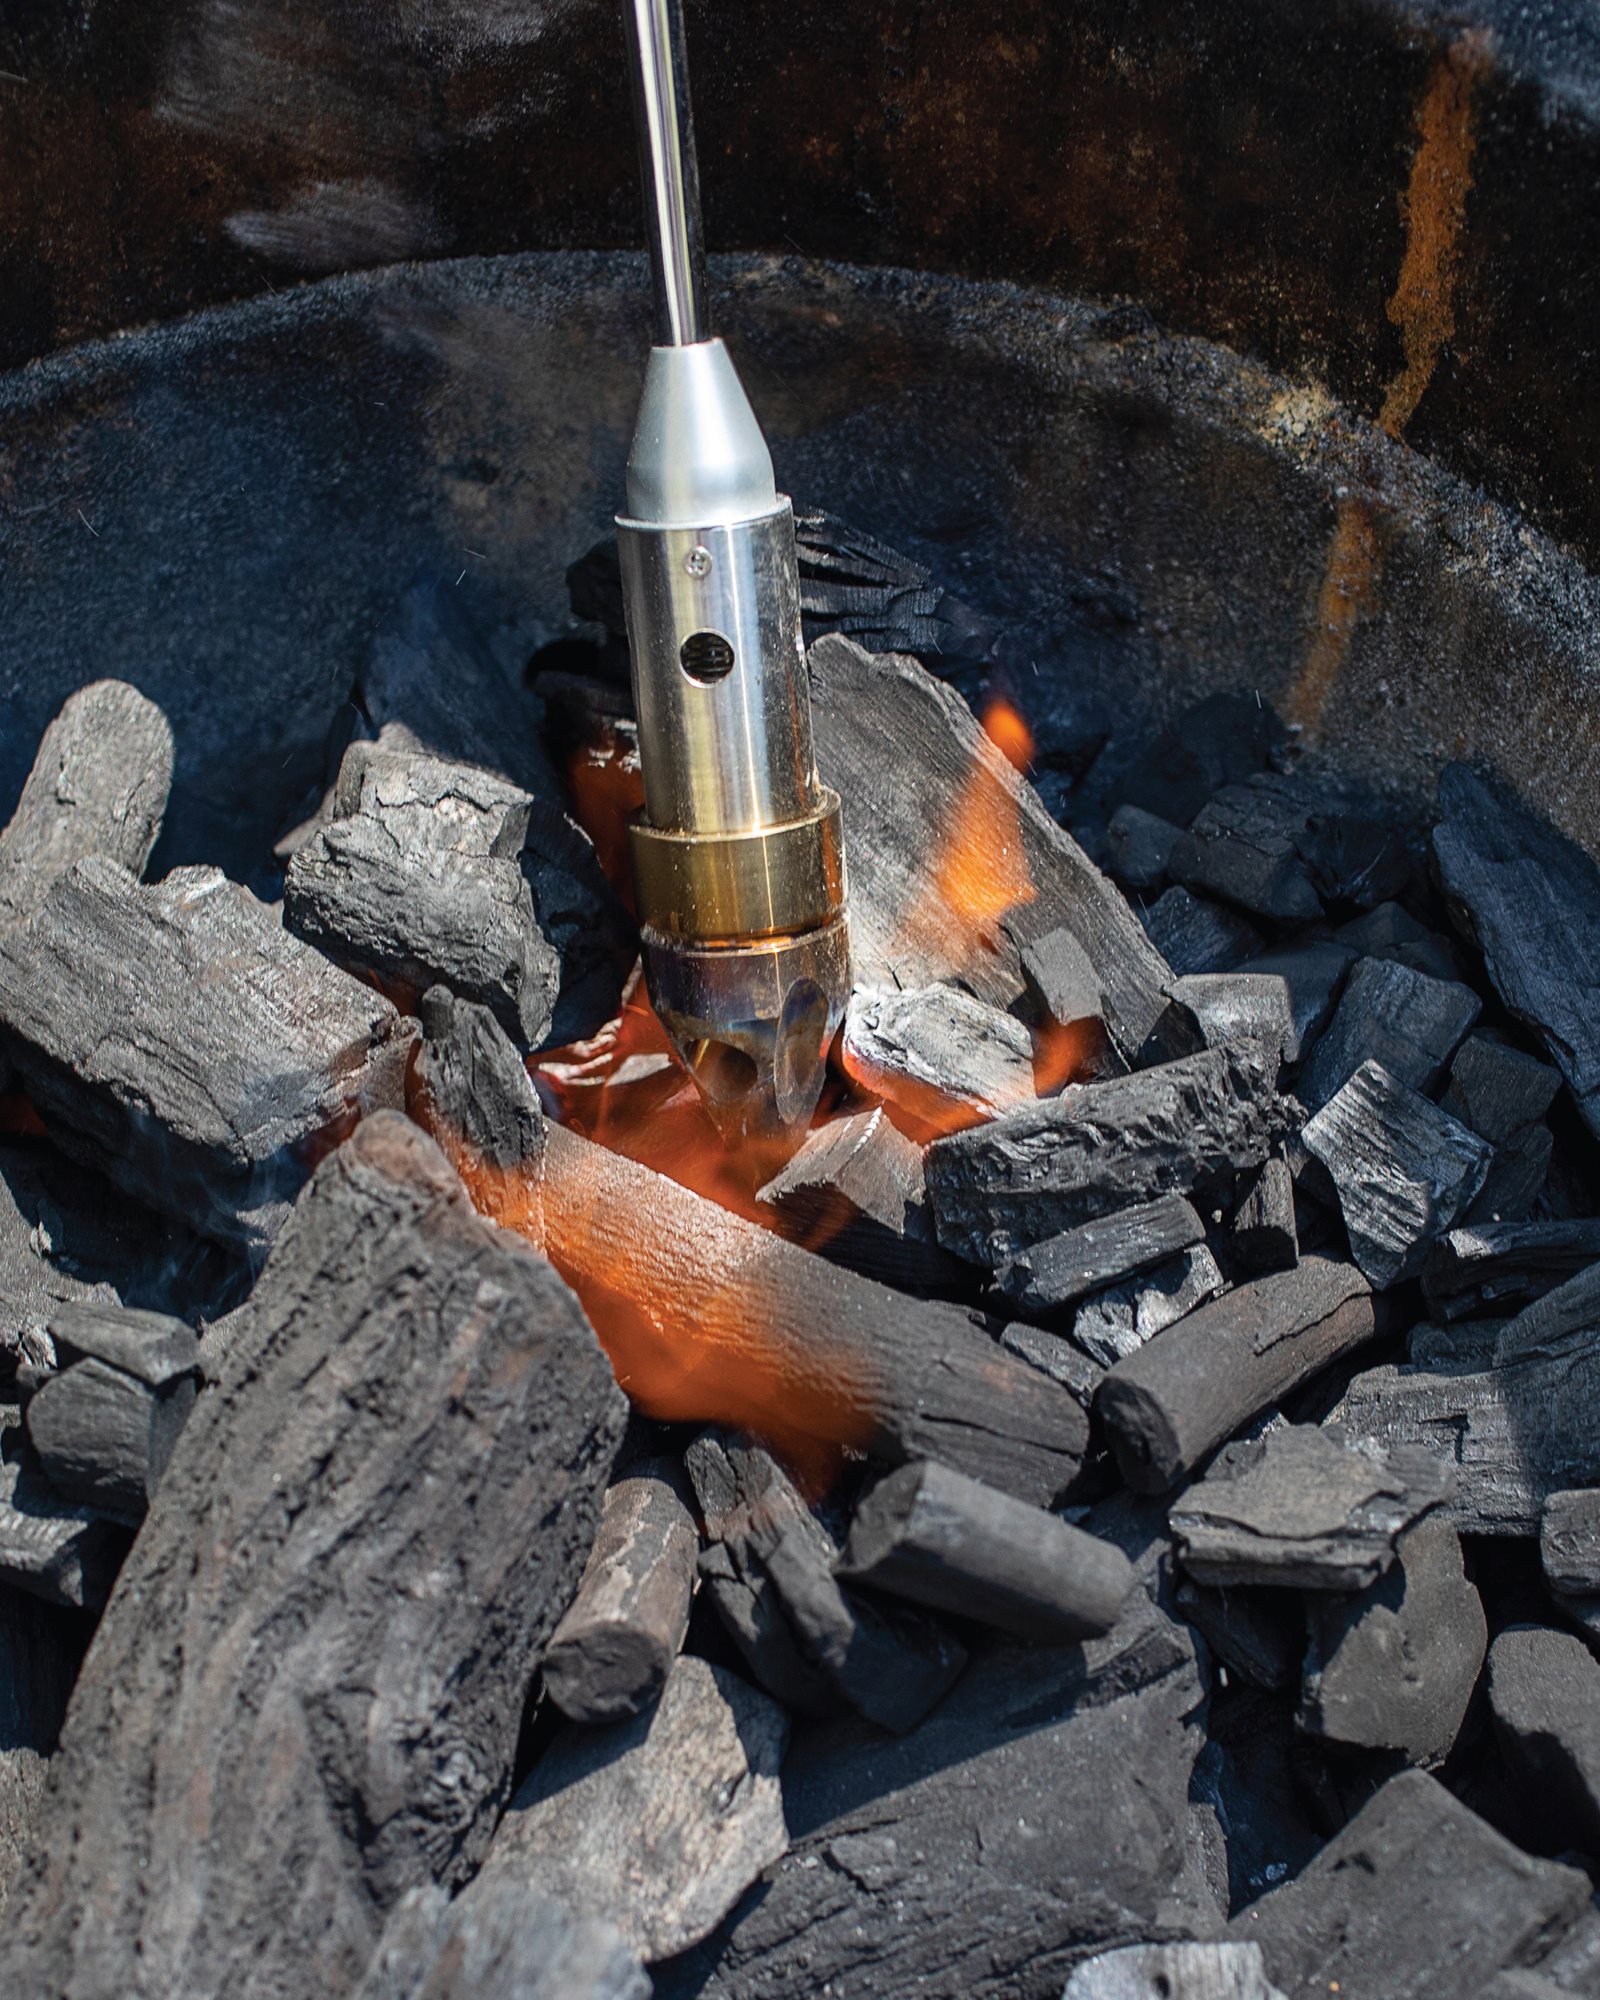
Whether you’re doing direct or indirect heat, it all starts with a nice bright orange coal bed. Start with three to four handfuls of coal, and add the wood as it’s burning. Don’t let the charcoal get too low. Run your pit like your oven. The oven gives consistent heat. You want to mimic that.
Direct Heat—Fast and Flavorful
Things will cook quicker over direct heat because the heat source is closer. Cooking ribs takes maybe two hours, usually less. In an offset, it’ll take around three hours.
There’s a beautiful grill flavor as the fat renders, drips into the fire, and comes back to the meat. I like using a drum smoker for this, which is a 55-gallon drum that stands up, with a basket below. It can be used as a grill or a smoker, with the meat directly over a fire. Sometimes for a competition I will start a brisket on a drum smoker, then move it to an offset once that flavor has been imparted. But for the backyard folks, think of using direct heat on leaner proteins like chicken, turkey, and venison.
Indirect Heat—Low, Slow, and Consistent
If you’re going to do low and slow, that’s pretty much in the range of 200–310°F. Most books will recommend 225°F. I learned over the years that hotter and faster works better for me, so 275°F is my number.
Fired Up
The whole name of the game is consistency. You have to learn to feed your pit on a regular schedule—it’s key. Maybe your pit wants one wood stick an hour. Remember to try to run the same size stick every hour. And every time you open that pit, add another 15 or 20 minutes to the cook time. Try to keep your pit closed as much as possible.
HOW TO CHOOSE THE RIGHT CUT OF MEAT
GET COMFORTABLE with your butcher. You want to ask them to slice your meat a certain way; you might ask their opinion about how fresh the pork is. A good butcher will be happy to have those conversations. Here’s what you need to know to shop for brisket and shoulder—two of my favorite proteins.
Beef Brisket
• What to buy: A packer cut of brisket is the flat and point together, separated by a layer of fat. You can buy just the flat, which is more expensive, but you don’t want to do that. The point is my favorite part of a packer brisket.
• What to look for: You want an 11- to 20-pound brisket, one where you can see a lot of internal marbling and a thickness across the flat area.
• How to age your own meat: Go to your local store for Angus Choice or whatever they have. Ask to see the kill date on the case and add 30 to 40 days to that date. That’s how long I wet-age brisket. Brisket from the store comes Cryovaced. If you get yours from a butcher, ask them to Cryovac it. Then put it in the fridge and walk away. The flavor will become more intense, and the texture more tender. Win-win.
Pork Shoulder
• What to buy: A whole pork shoulder is the Boston butt (top of the shoulder) and the picnic together in the same uncut piece, which should be about 17 to 20 pounds. Both Duroc and Berkshire breeds have outstanding internal marbling for moisture and flavor.
• What to look for: Pork should have a fresh, almost neutral, smell. When you open up the package, if there’s any funk, take that sucker back to the store for a refund.
• What to ask the butcher: For a bone-in pork roast, ask the butcher to remove the chine bone (the corner of the chop). If you don’t take it off, you’ll have a hard time cutting all the way through.
The Key to More Flavor
Buy the best meat you can afford, then season it up right. My rubs and sauces are who I am.
SEASONING FOR THE GRILL
THE MAIN WAY to impart flavor to your barbecue is with your rub. Sauces are not as important. The rub is the signature of someone’s barbecue. Of course, there are other ways to enhance that flavor. And the more flavor you put into your protein, the more you’re gonna get out of it.
Sauces, Brines, and Seasonings
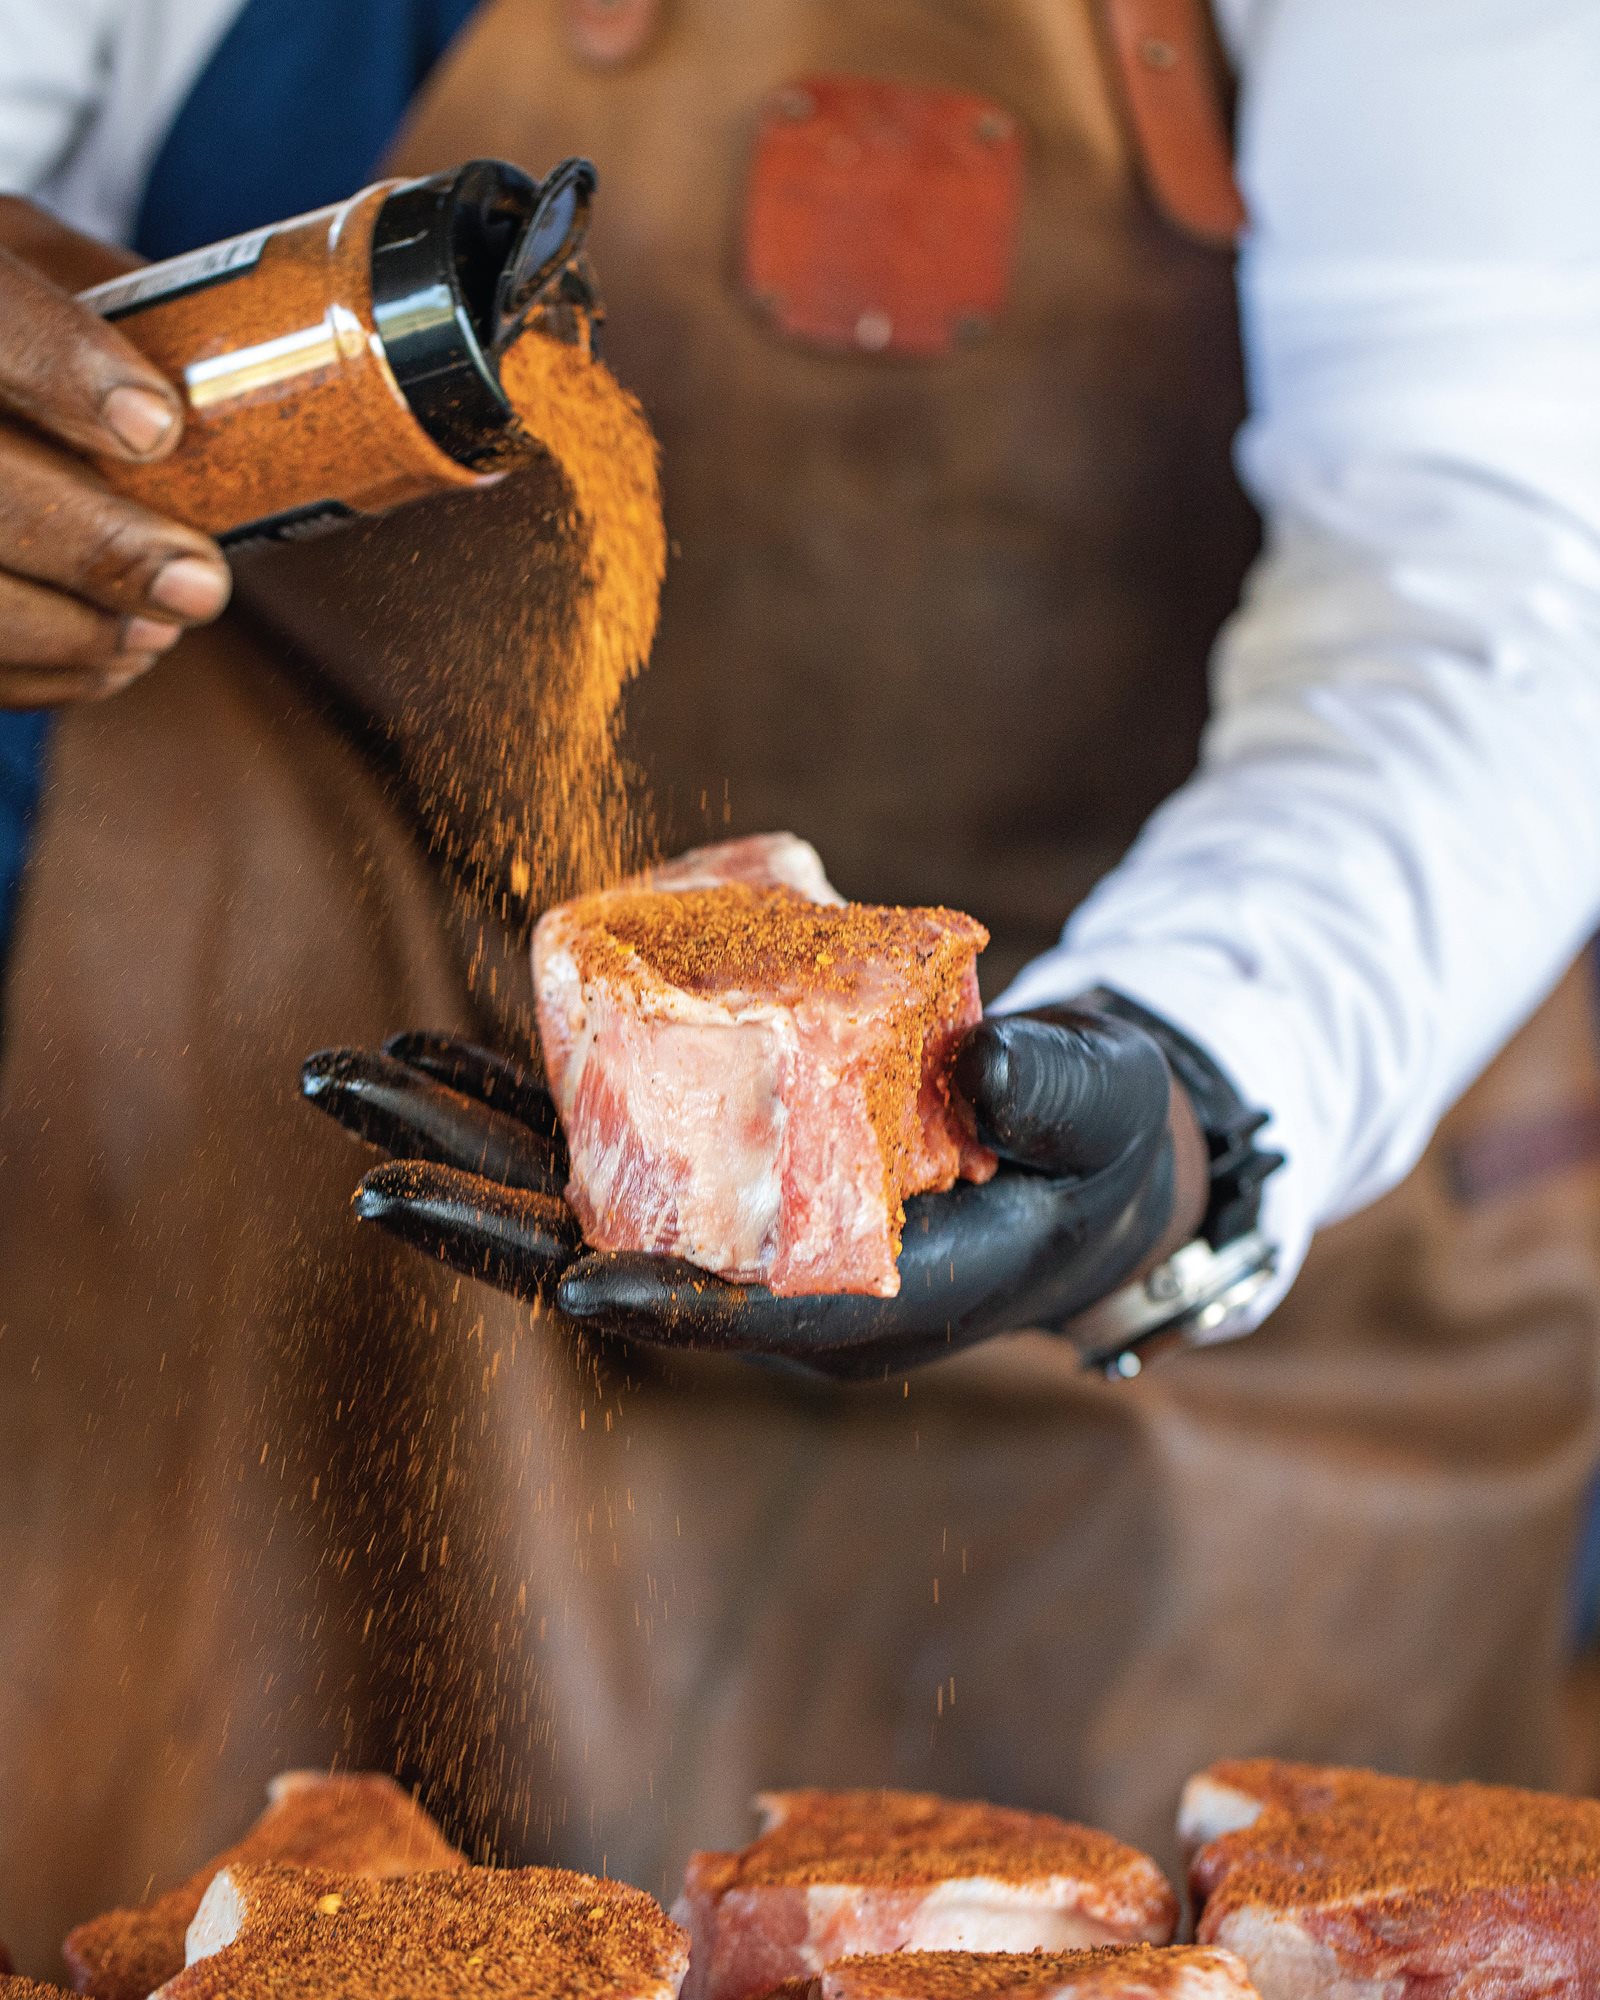
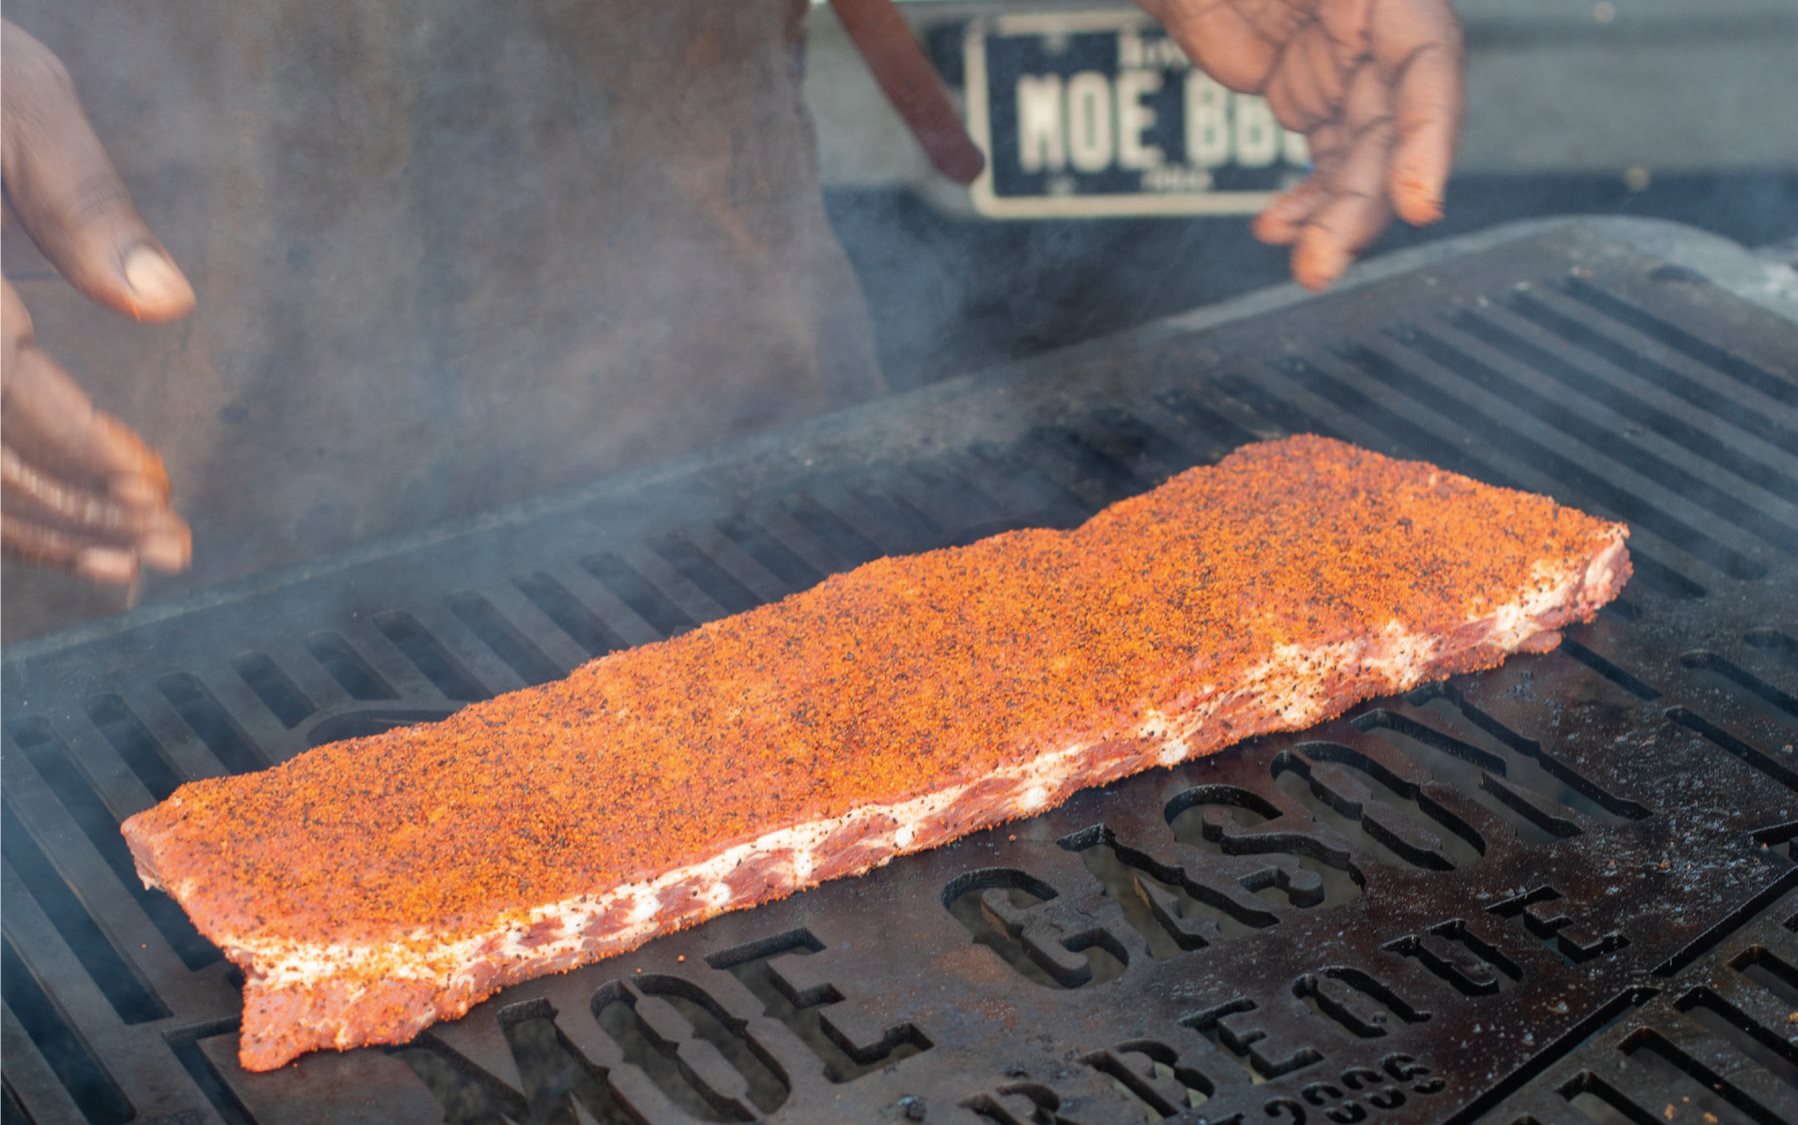
• Rubs: A good rub has balance. When you make one of mine (see here), taste it raw. If you’ve used fresh, good spices, you’ll taste the punch, which is good. If the raw rub tastes flat, you have a problem. But when you have a rub that’s a little punchy, that builds a beautiful crust? That’s a home run. Sprinkle multiple light coats of rub 30 minutes to an hour prior to putting meats on the grill. Don’t do it any sooner than that because the salt in the rub will draw moisture out of your meat.
• Injections: Competition folks go big on injections—using a syringe to inject their meats with any number of flavors. I do like to inject my pork butt with a combo of phosphates (such as Kosmos brand injections), cola, juice, and other flavorings (see here), but I think of it as sprinkles on a cupcake. Or it’s the person behind the stage making you look good, hidden in the background. Chemically, the phosphates allow the tissue fiber to hold on to its juices longer before it starts to lose its flavor. You get a juicier piece of meat. A lot of people overdo it and ruin the meat—when you use too much, phosphates actually toughen it up.
• Spritzes: You’ll need a little spray bottle for this one. You’ll see my recipes (see here), but generally the base of a spritz is a mix of vinegar, water, and fruit juice. Spraying it on the meat adds another flavor note to the exterior. Wait until after the bark (that chewy crust) sets up, maybe three hours. Otherwise you’re just going to wash off your rub.
• Mop sauces: Mop or basting sauces are thinned-out barbecue sauce that you paint onto the meat at regular intervals. You use this for the same reasons you might spritz, and with the same downside, which is that it increases your cook time because you’re opening and closing the pit, which stalls the cooking process. Here’s my tip: Put that sauce in a metal bowl and get it nice and warm on the pit. Paint it nice and thin—you don’t want a bunch of globs of sauce on the meat. Do this as a finishing touch.
BBQ FAQ
AS A PITMASTER, I get asked for tips a lot on the road. It’s hard to condense the entire spectrum of barbecue into a few tips, but here are my answers to the most burning questions from everyday barbecuers.
When should I sauce my meat? Wait until your meat is done. Hit it with sauce and let it set on the pit for just a couple of minutes for that sheen. Sugar caramelizes quickly, so don’t leave it for long.
When should I wrap my brisket? Wait till your brisket comes up to about 160–170°F internal temperature, and the bark (the chewy crust) is set up pretty good. Wrap it in pink butcher paper and foil, and back in it goes. See more about this process on see here.
When should I inject my pork butt? I like to do it six hours before the pork goes on the grill. Just follow my recipe on see here and don’t overdo it.
How do I know when my protein is done? You are looking for a specific internal temperature for your meat, but you are also looking for the way the meat feels as you slide in that gauge. It’s gotta be a smooth insertion.
What is a smoke ring and why is it important? Burning wood or charcoal gives off nitric oxide, and the chemical reaction that happens between that and the meat creates a smoke ring, a color change in the outermost millimeters of your protein. You’re not going to gain any more of the smoke ring after three hours, so don’t get caught up on it. It’s something we like to talk about in competitions, but it isn’t too important for taste or texture.
Why does my protein have this long pause toward the end of the cook time? It’s called “the stall,” and it generally happens around 175°F on the internal temperature, when you’re cooking very low and slow. The reason is that a lot of action is happening in the protein at that point; the collagen is breaking down. Try cooking at a higher temperature—at 275°F, say—and you’ll be amazed.
My meat always takes so much longer than it’s supposed to, and I end up with a party full of hungry guests. What should I do? Quit opening the pit. Especially in the beginning when the meat is cold and raw. You don’t need to look at it! Put a probe in it and walk away. Every time you open the chamber, you are adding 15 to 20 minutes of cook time. Figure out how often you need to open the pit and add that time into your estimate.
How do I get a better bark on my meat? Bark happens when you have a lot of air moving over the protein. That’s why an offset cooker will make a better bark than a pellet cooker—because there’s better air circulation. Air is blowing over your protein and drying out that outside, creating that nice crust. On an offset, you can feel air pushing your hand. That is love; that’s what you want.
What’s the trick to a good barbecue sauce? When making sauce, I shoot for a balance of sweetness, tang, and heat, so no one flavor note overpowers the others.
What’s your best advice for beginners? Learn your pit. There’s no substitute for that. Put the time in.
What’s your favorite wood for smoking? You can’t go wrong with pecan or oak. Those are basic and go with everything. Other woods out there get trickier to use. Mesquite can get out of hand quickly if you don’t know how to use it, and that can ruin a piece of meat. Hickory is another great one. And you can’t go wrong with fruit woods. Those are mild and go better with leaner proteins like chicken or fish.
Any other tips on wood? Always use “seasoned” dry wood sticks, chips, or chunks. That means the wood has been dried to remove as much moisture as possible. They will burn better in your pit. And I always say the best woods to use are the ones that are readily available in your area.
What about wood chips? Only use chips in a chip box on your gas grill. If you have an offset, they burn up almost instantly, so there’s not much benefit. You’re better off putting in a chunk of wood and letting it rock.
How do I step up the flavor of my meat? Here’s a little competition trick: Hit your rub for a couple of seconds in a coffee grinder until it turns the consistency of baby powder. Put that in a fine mesh sifter, like a broth skimmer, and tap that over your meat before serving. It melts instantly on your hot sauce or meat juices.
What would be your last meal? Easy. Beef short ribs, baby. With some collard greens, mac and cheese, and my baked beans on the side.
ALL ABOUT RIBS
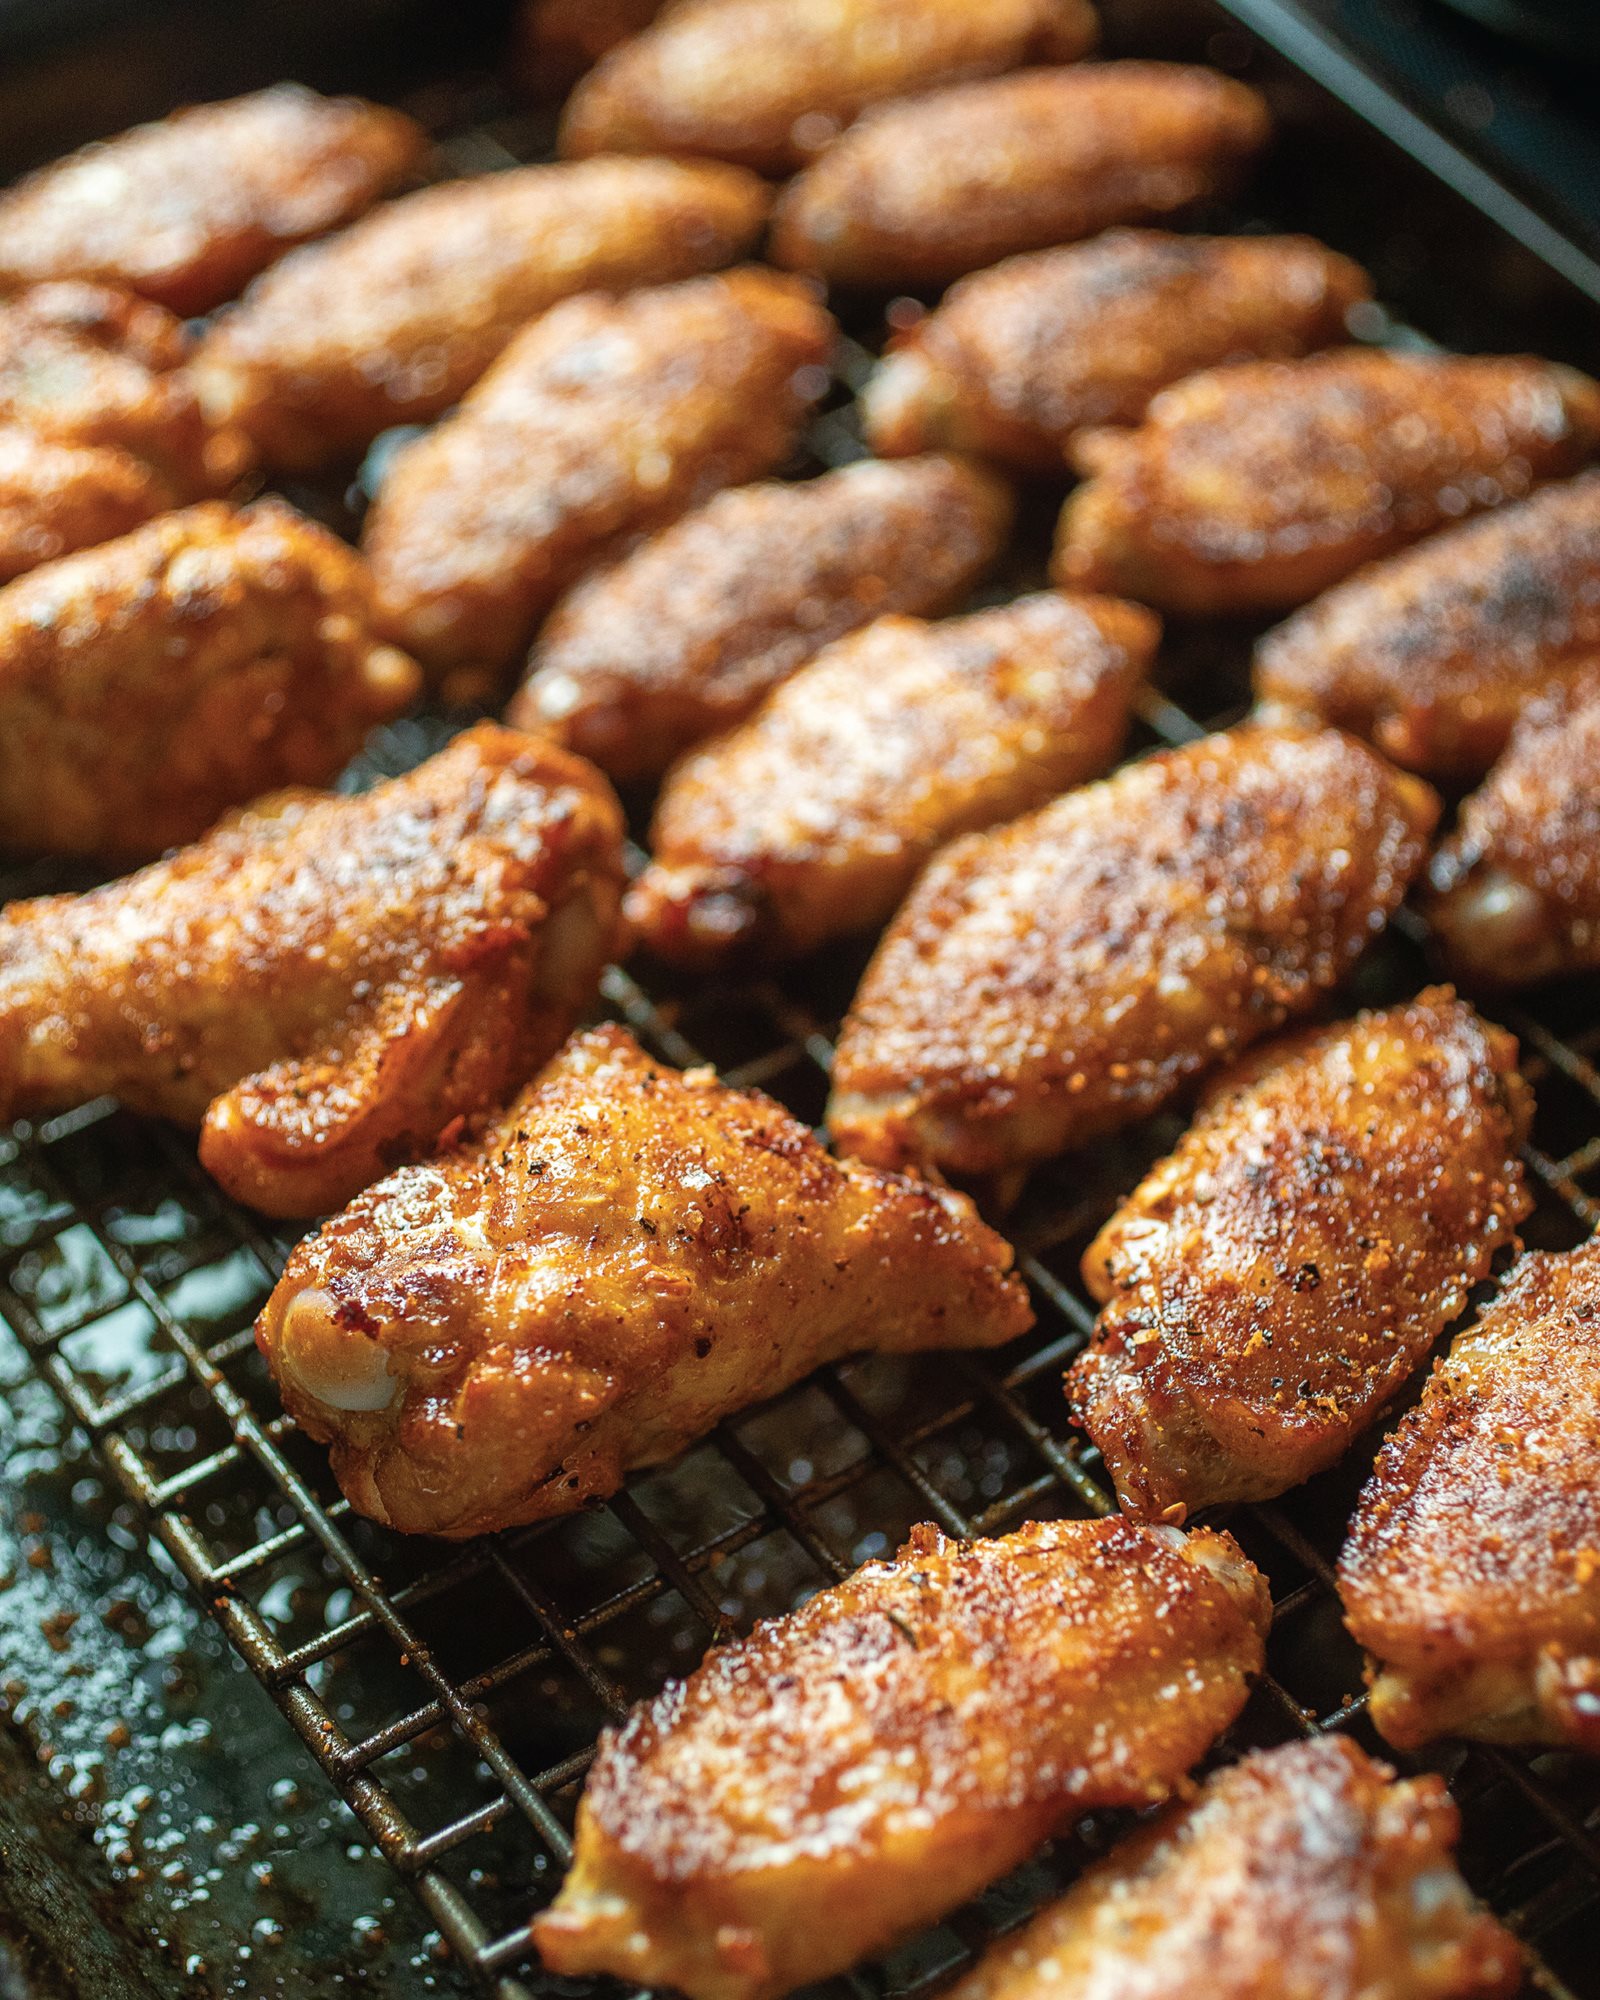
MY PERFECT RIB IS MOIST, with a texture that pulls easily away from the bone. It should be seasoned well with flavors that complement the pork. The rib should have a nice mahogany color with a well-defined smoke ring. If sauced, there should be a good balance of sweet and spicy.
Choose Your Cut
Look for ribs that have a darker red meat color to them. Marbling is key. Avoid ribs that have “shiners,” which are ribs with exposed bone. Those bones will eventually fall out of the slab.
Spare Ribs
Spare ribs are cut from the bottom section of the loin back ribs and the breastbone, just above the belly, and they’re flatter than other rib styles.
Why I like them: They are the most flavorful, as they are located close to the bacon on that pig!
St. Louis Ribs
St. Louis–style ribs are cut from the same part of the pig as spare ribs, but the brisket flap and rib tips are trimmed and removed, so the shape is rectangular.
Why I like them: This is a great cut for a competition because they fit nicely in a 9-x-9-inch takeout box.
Baby Back Ribs
These babies, also known as loin back ribs, are from the top of the rib cage; they are more curved and have shorter bones than spare ribs.
Why I like them: They have the most meat of all the types of ribs, due to the meat on top and between the bones.
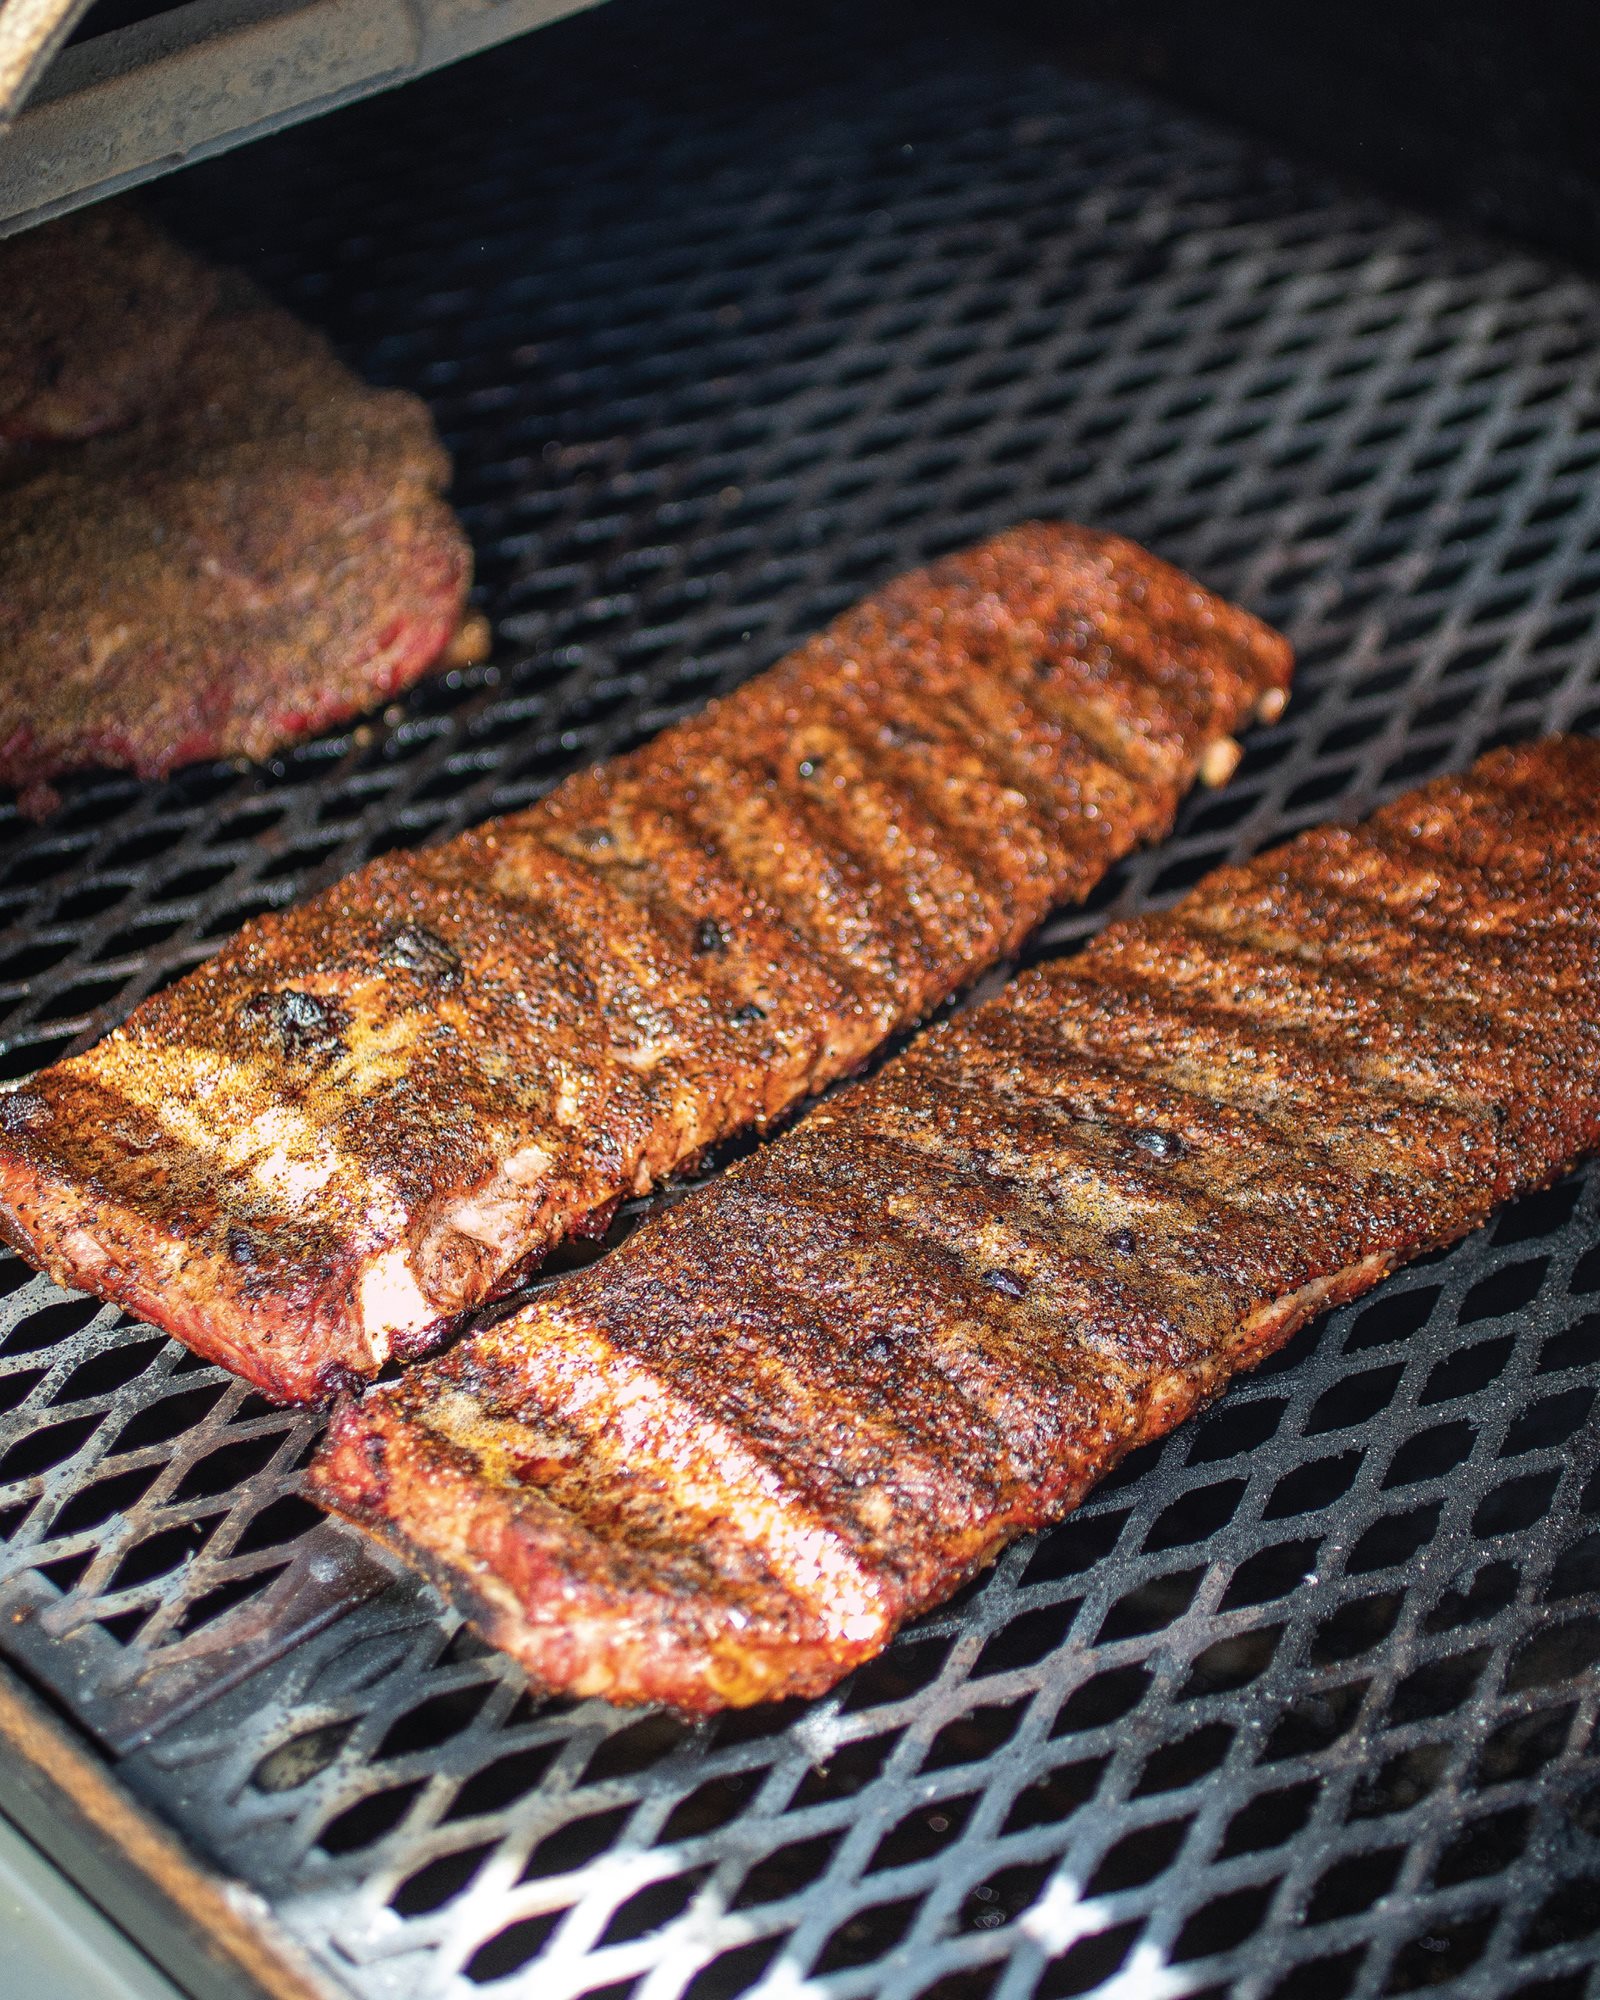
HOW TO COOK RIBS THE RIGHT WAY
• The setup: Your pit should be at 250–275°F. Keep a steady pit temp throughout the cooking process. I like hickory, oak, pecan, apple, and cherry woods for ribs.
• The rubdown: Spray cooking oil on the ribs before seasoning so the spices adhere better. Some folks use mustard, but I feel oil helps the rib surface stay moist longer and creates a nice bark in the cooking process.
• The temp check: Ribs are done when the internal meat reaches 200–202°F. When you slide that thermometer tip between the bones, it should go in very smoothly, with little to no resistance.
• The finishing touch: If you want sauce, add it at the end. Place the ribs back in the smoker to set the sauce, but be careful not to leave them in for too long, or else the sugars can overcaramelize and burn.
To Sauce or Not to Sauce
Most people are used to saucy ribs, but traditional Memphis-style ribs have no barbecue sauce. The emphasis is on the mop and rub.
HOW TO TRIM RIBS
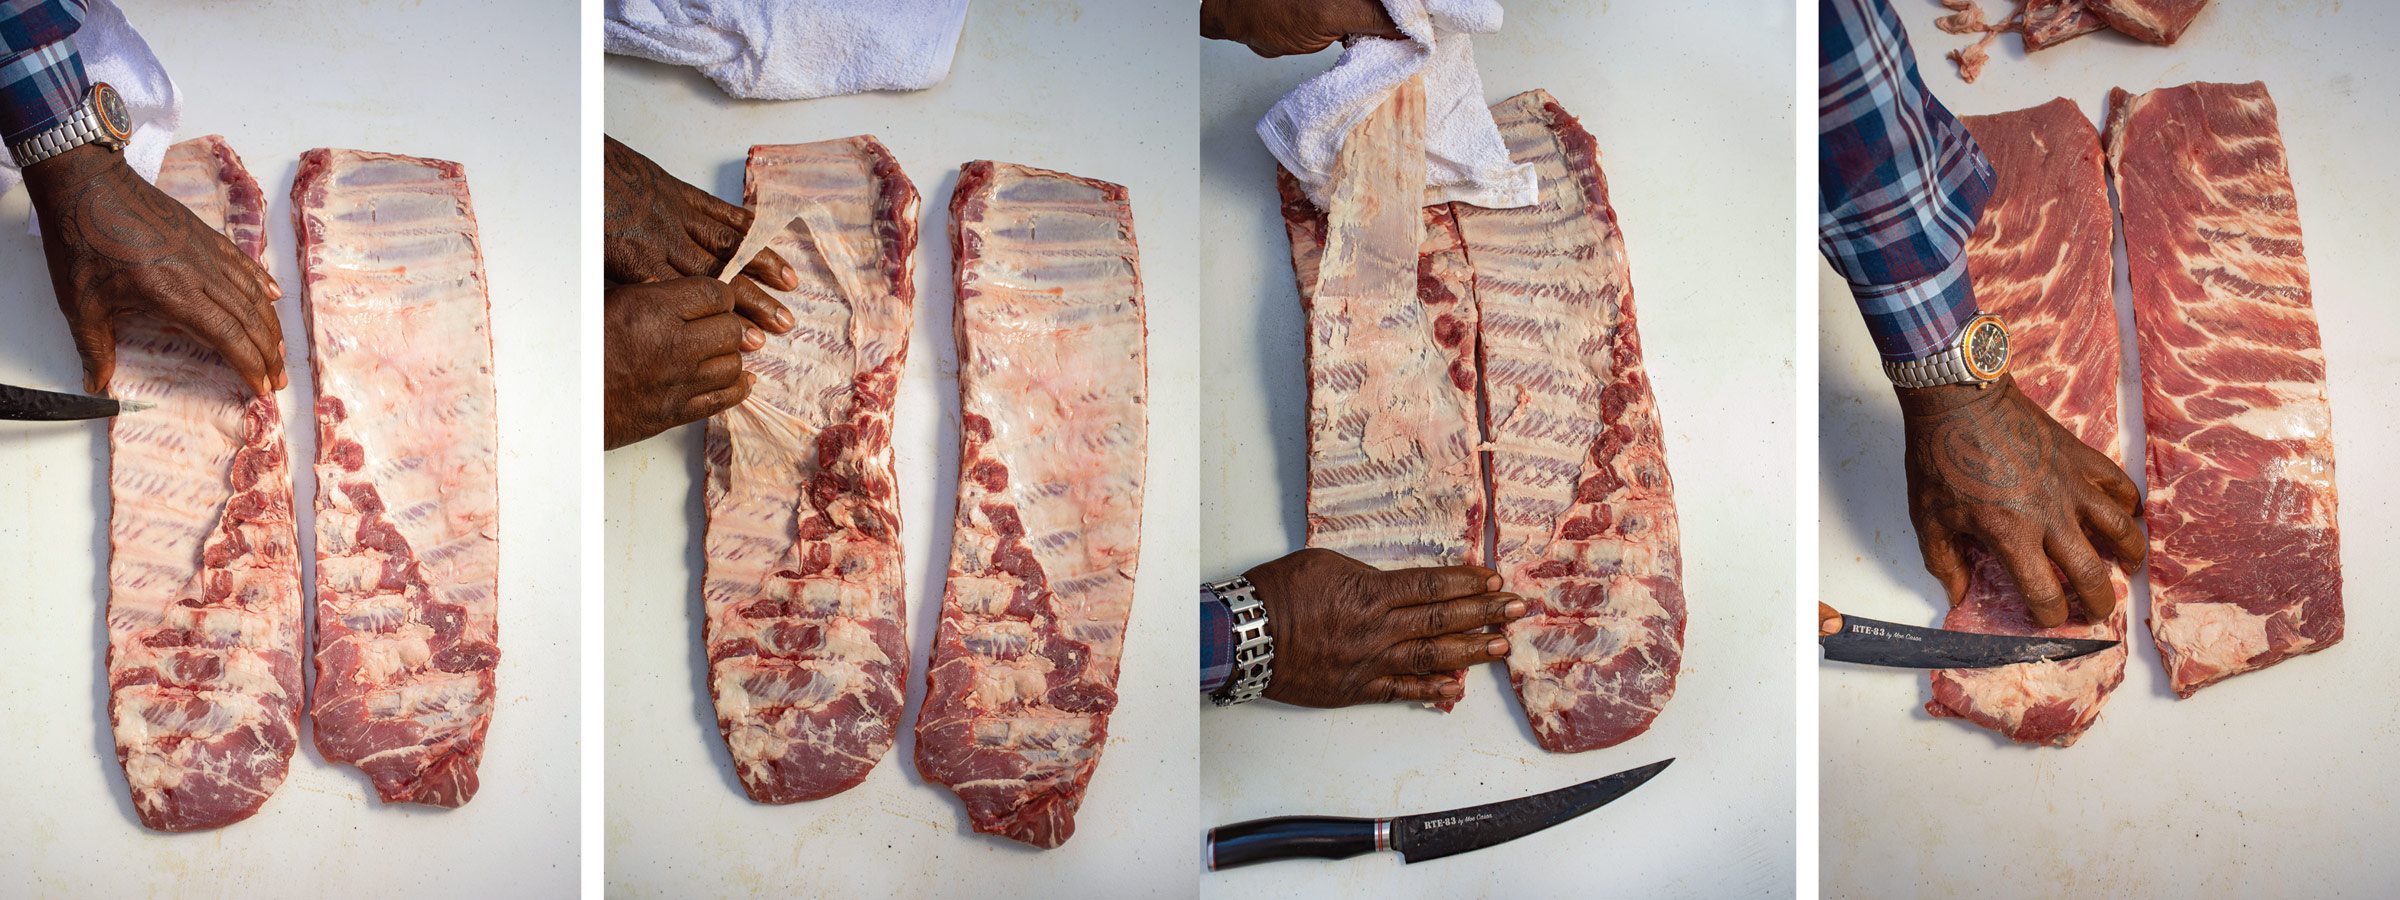
YOU NEED TO TRIM YOUR RIBS before cooking to maximize texture and flavor. Remove the membrane (the thin piece of tissue on the back side of the ribs), because otherwise it will diminish the eating experience by creating a chewy, tough texture. If you’ve ever had a bad batch of ribs, chances are someone left the membrane on. Also, the rib membrane on the back side of the slab acts like a barrier; it won’t allow seasoning or smoke to penetrate the meat. It only takes a few seconds to trim off the membrane if you know how to do it properly. Here are four simple steps to trim your ribs like a pro.
A Cut Above
Loosen: Take a sharp boning knife and wedge it between the meat and membrane to loosen things up.
- Get a grip: Use a towel to grab hold of that slippery slab.
- Let ’er rip: Carefully pull back the membrane.
- Remove stray bones: Feel all around the slab and remove any bone fragments that may still be attached. You don’t want anyone biting down on a bone shard. Also remove any remaining pockets of fat.
HOW TO COOK BRISKET
B RISKET IS ONE OF THE CORNERSTONES of good barbecue. After you’ve gone to the butcher for the best packer cut you can find—and maybe aged it yourself (see my instructions on see here)—it’s time to go to the pit. When you cook that brisket, here’s what you’re going to do. (See the full recipe on see here.)
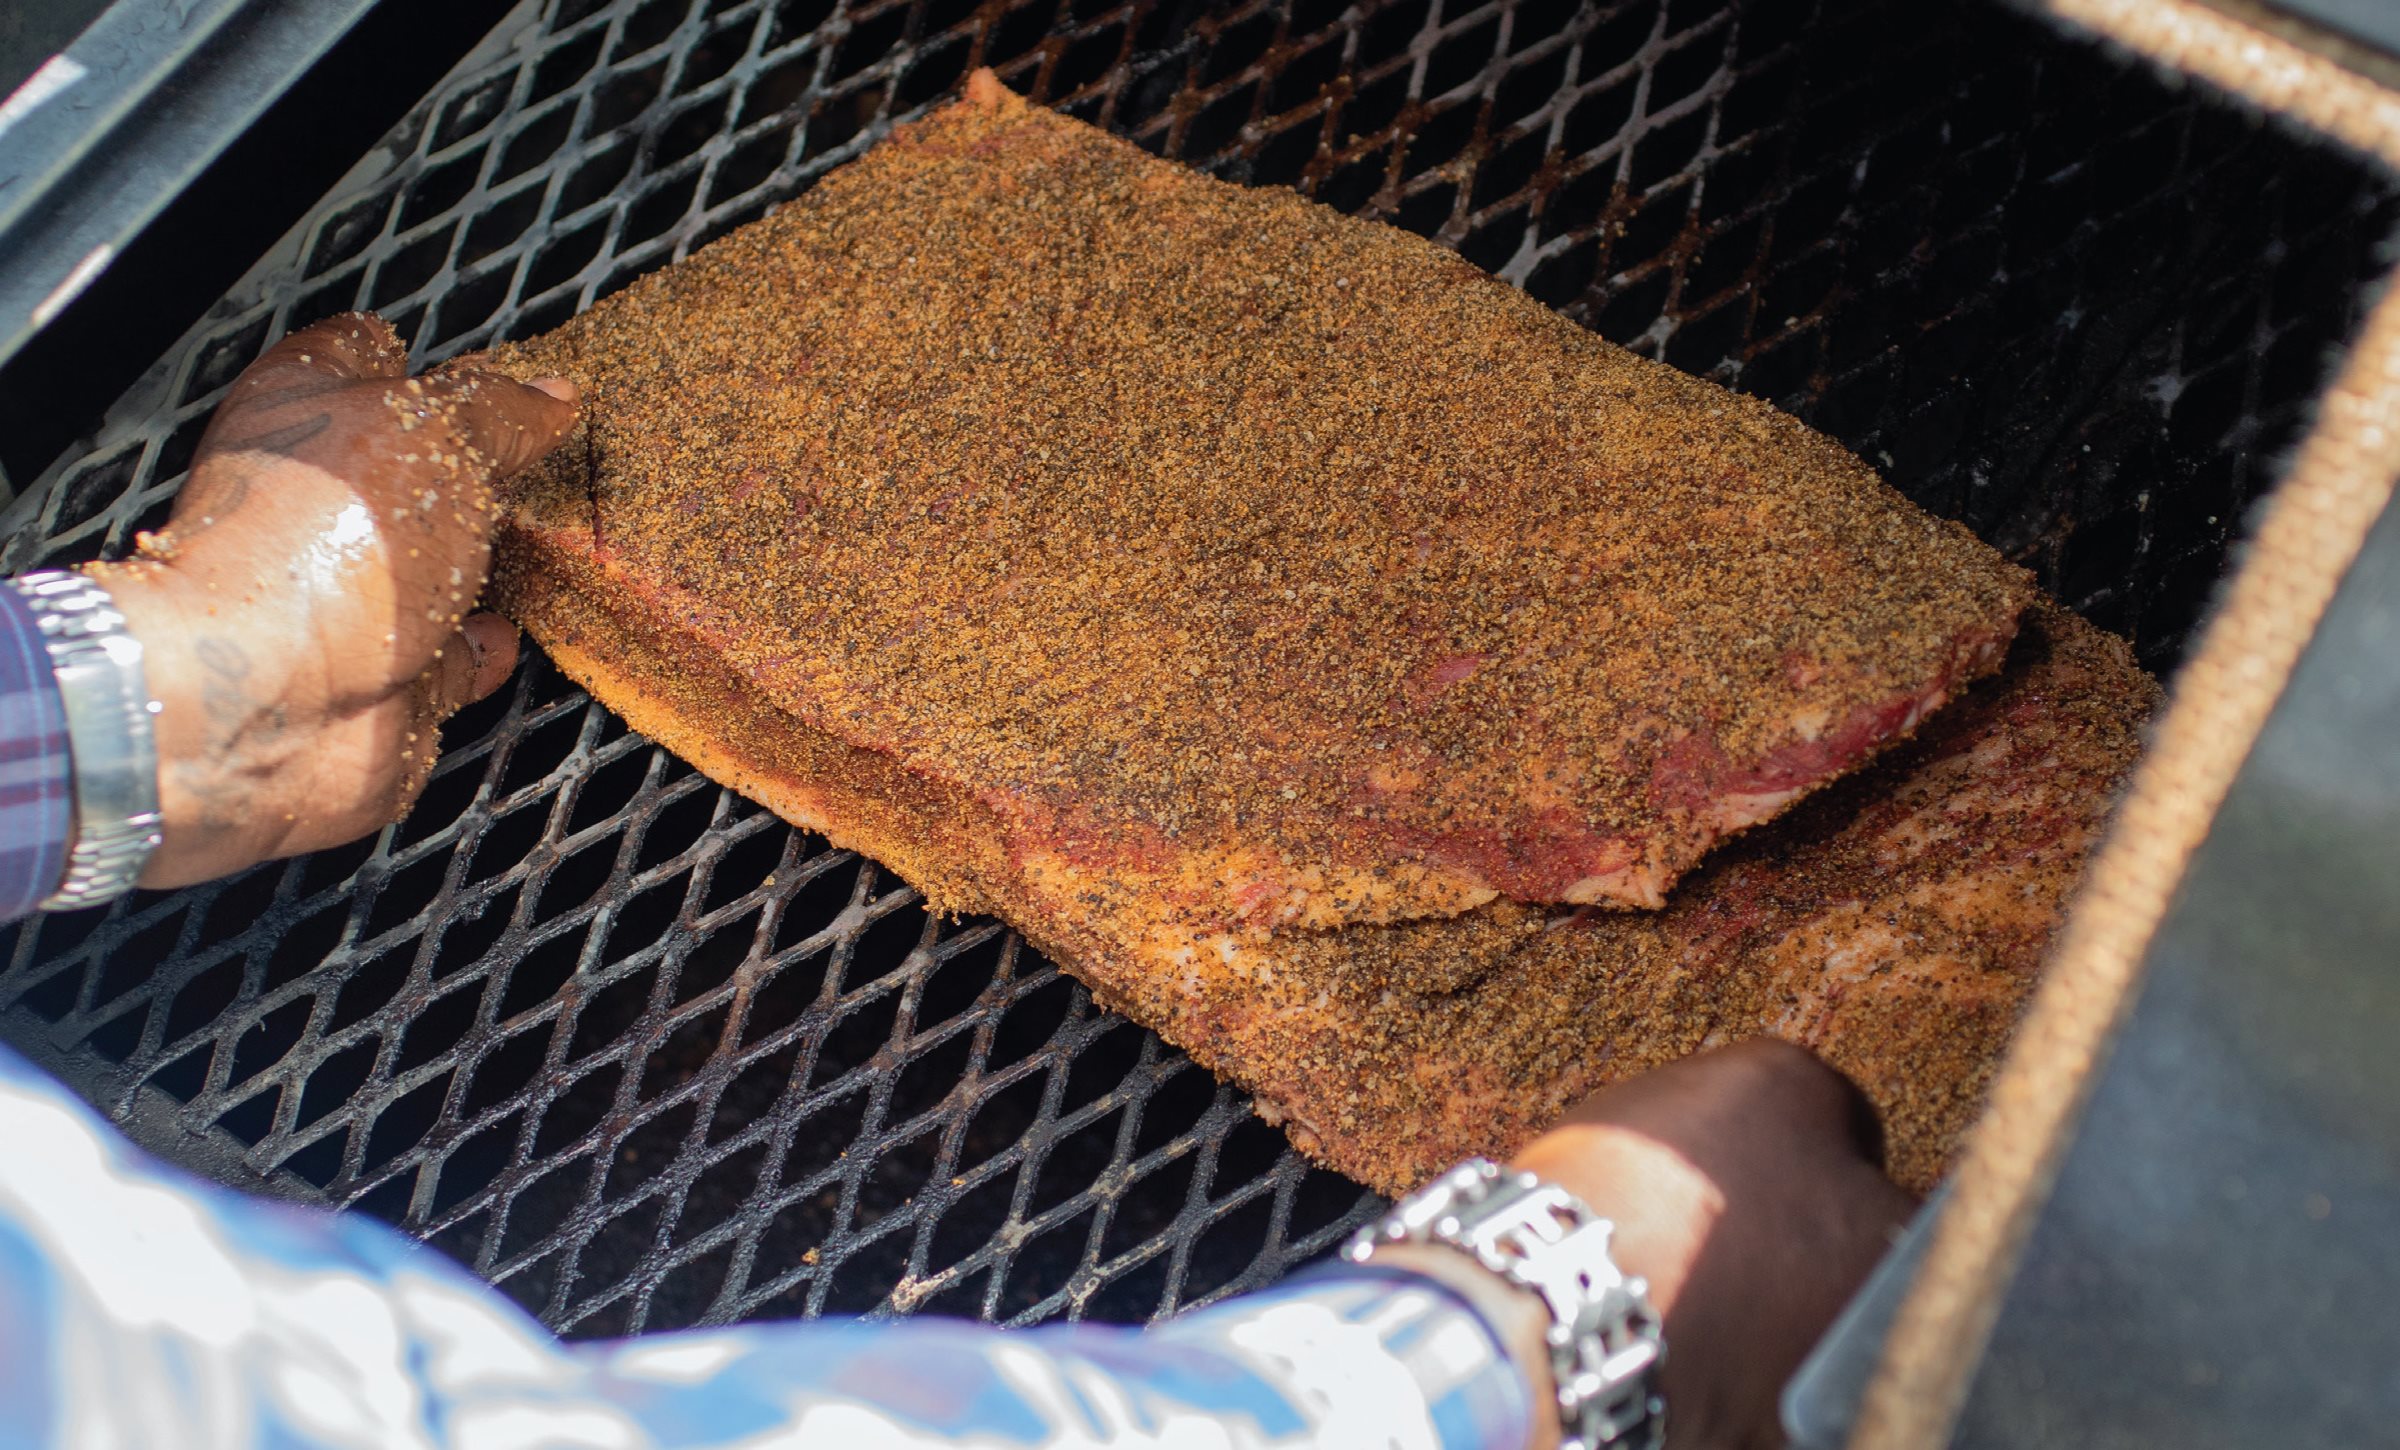
Step one: While you’re building your fire in the pit, bring the brisket to room temperature. Trim the excess fat until the fat cap is about 1/8-inch thick.
Step two: Coat your brisket with oil and then your rub, which you should sprinkle on generously and evenly.
Step three: Once your pit is at 240°F, add your meat, fat side down (see opposite). Cook until a meat thermometer reads 170°F, which will take about five hours.
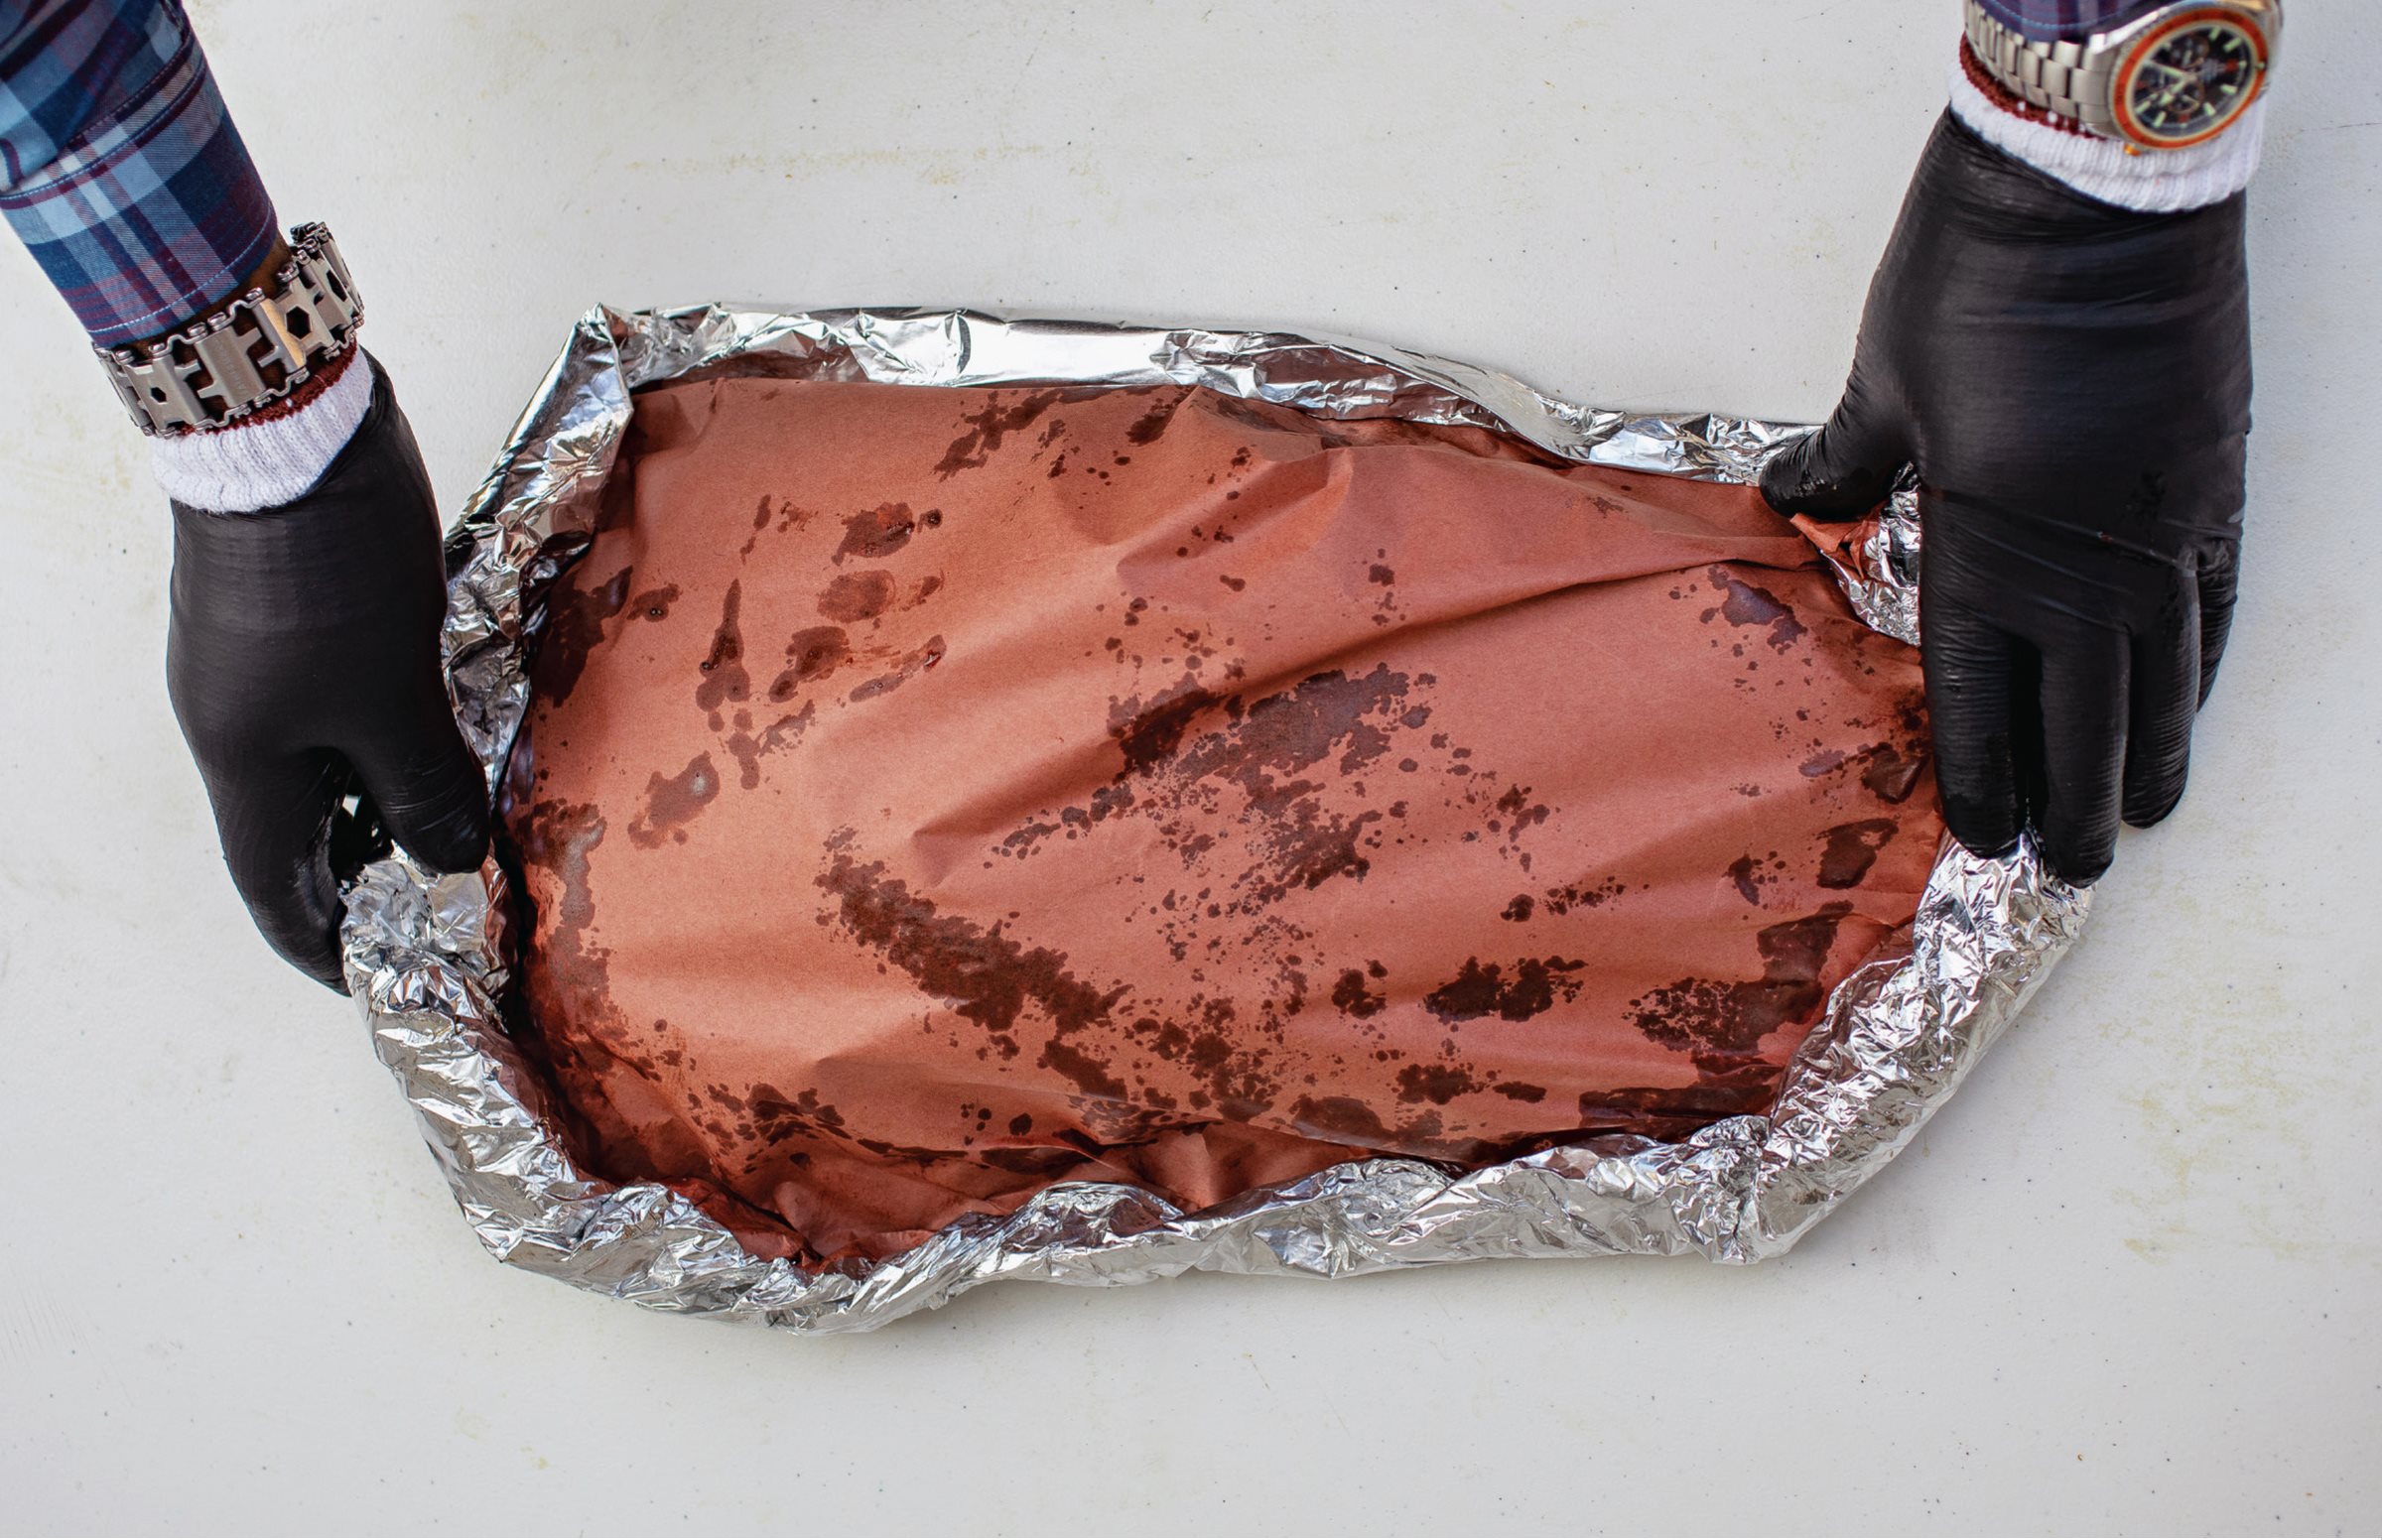
Step four: Using gloves or tongs, remove the brisket from the smoker, and place it fat side down on a sheet of pink butcher paper. Stick a remote thermometer probe in the thickest part of the brisket, wrap the brisket entirely in the butcher paper, and then place it on a piece of aluminum foil (see opposite).
Step five: Return the wrapped brisket (with the foil) to the smoker, and cover with the smoker lid. Keep it rolling at 240°F until the probe reads 203°F, typically about three to five hours.
Step six: Remove the brisket from the smoker, and immediately place it in a clean, dry cooler, still wrapped in the pink butcher paper. Let rest for three to four hours. This allows the juices to redistribute. Once the brisket is rested, take it out and slice against the grain to serve.
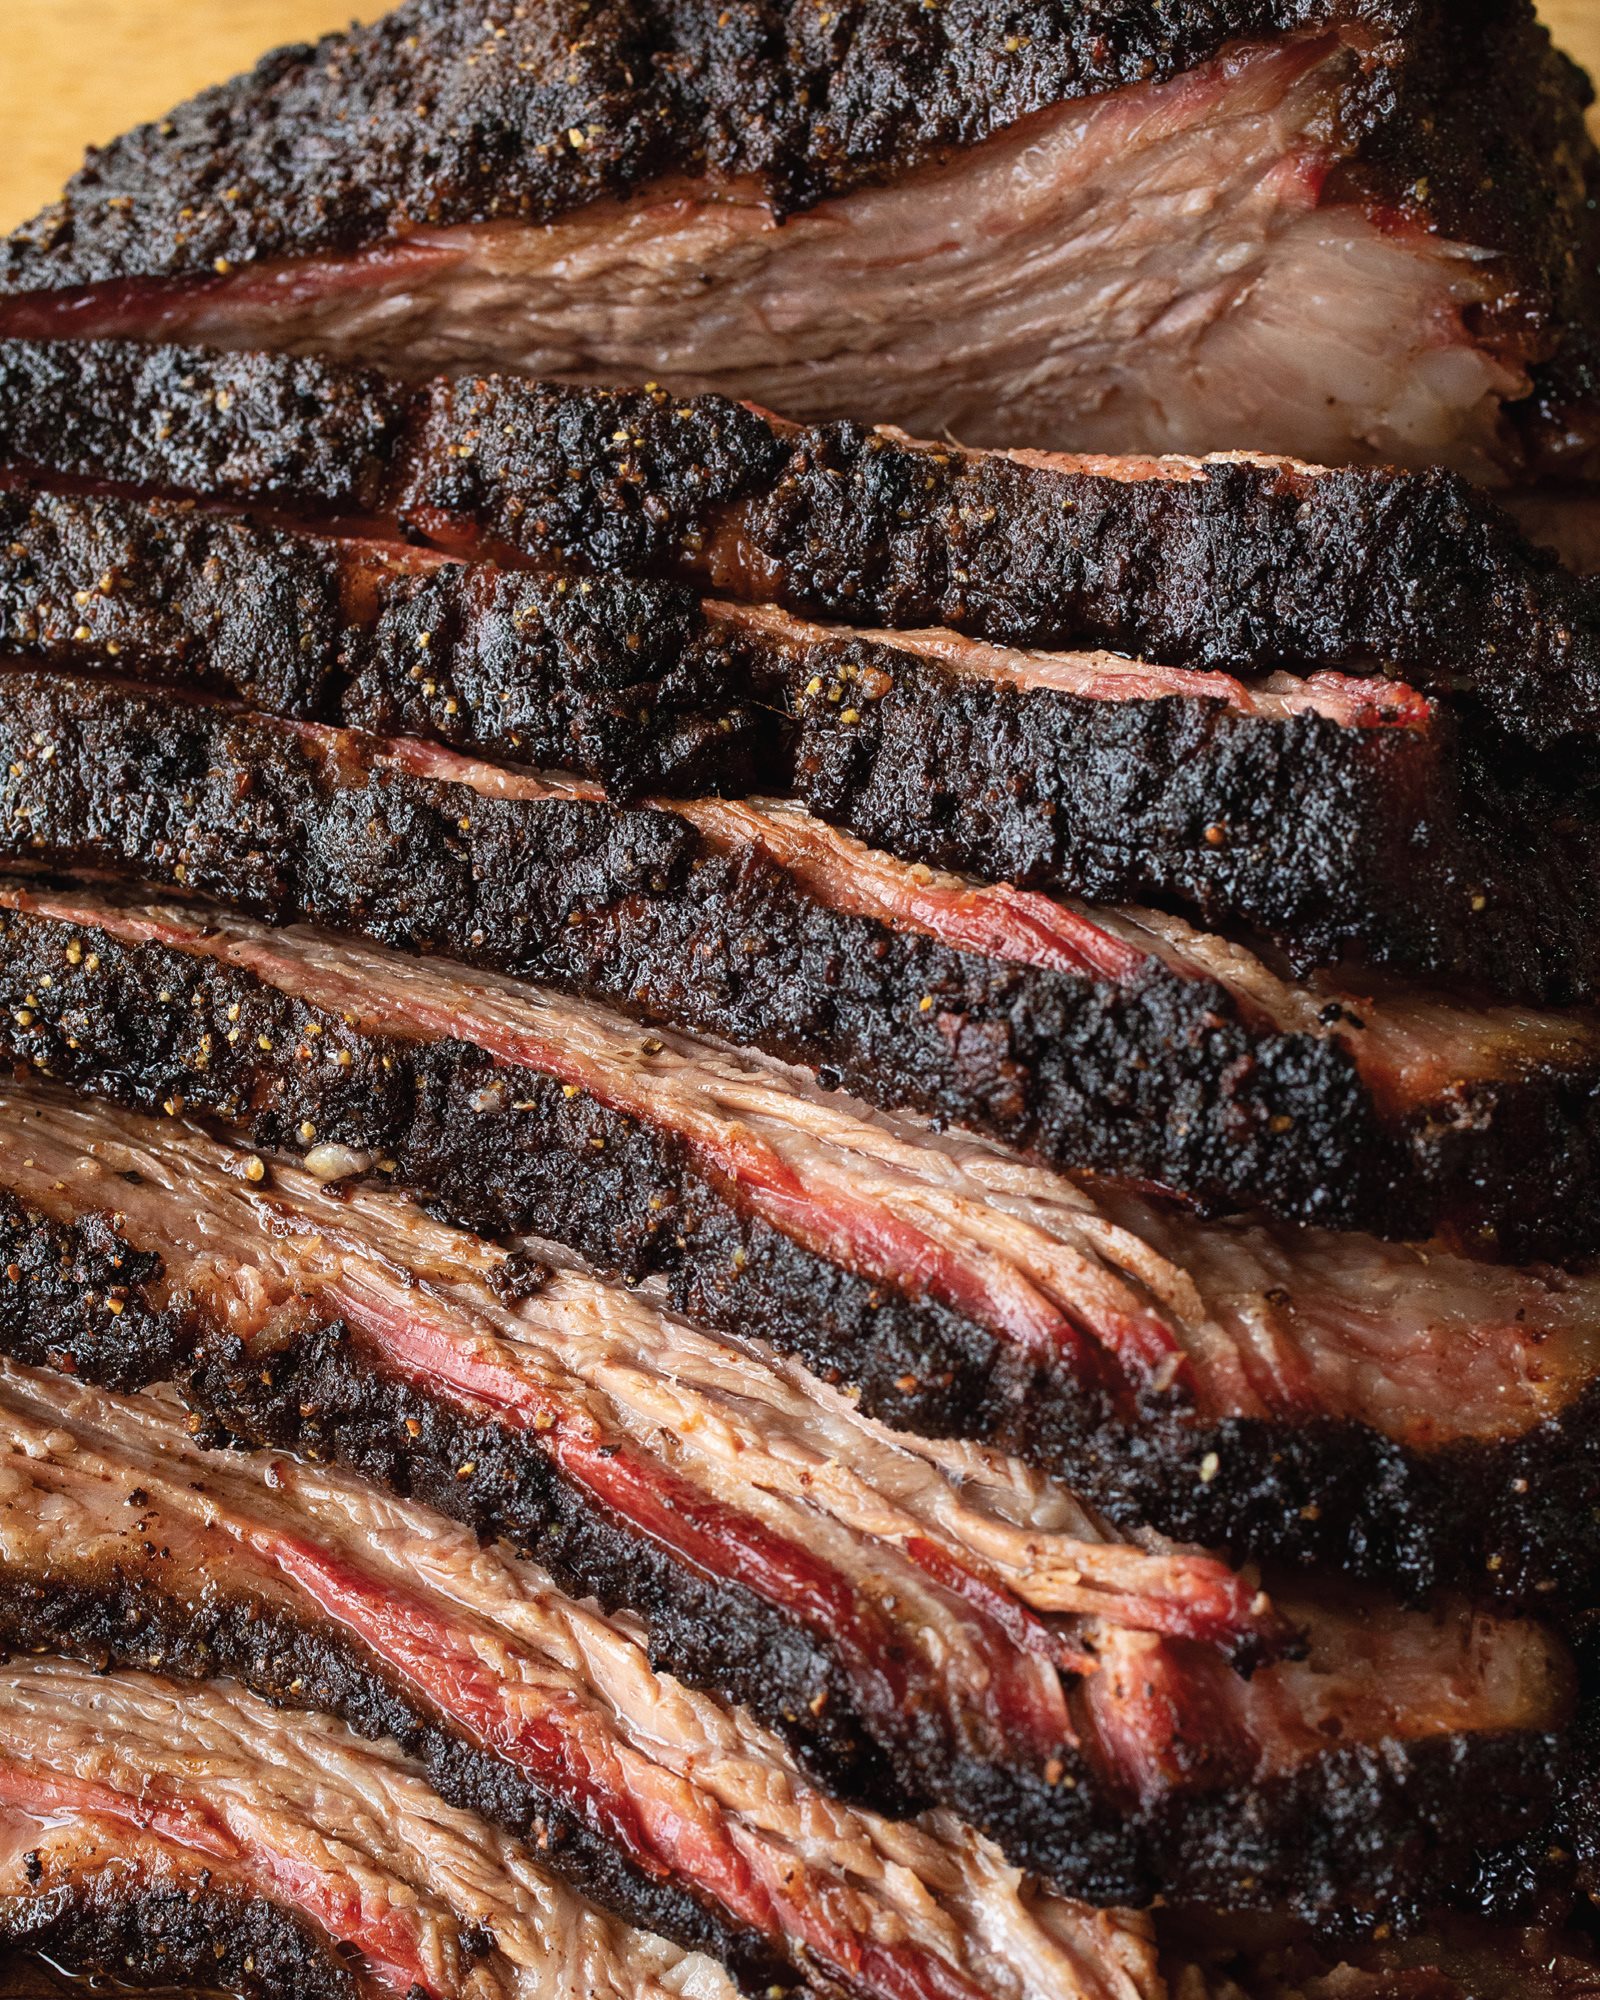
A Good Bark
Once your internal temperature reads 170°F (step three), your bark (that beautiful crust on the meat) is set up pretty good. From there you can add some sauce or spritz if you’d like.